


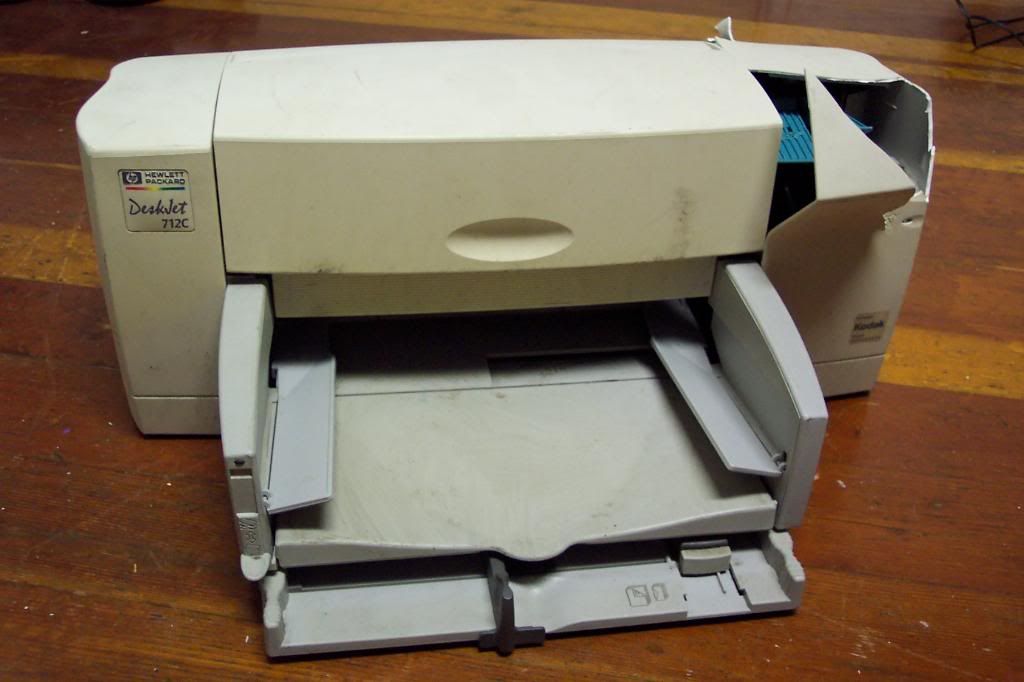
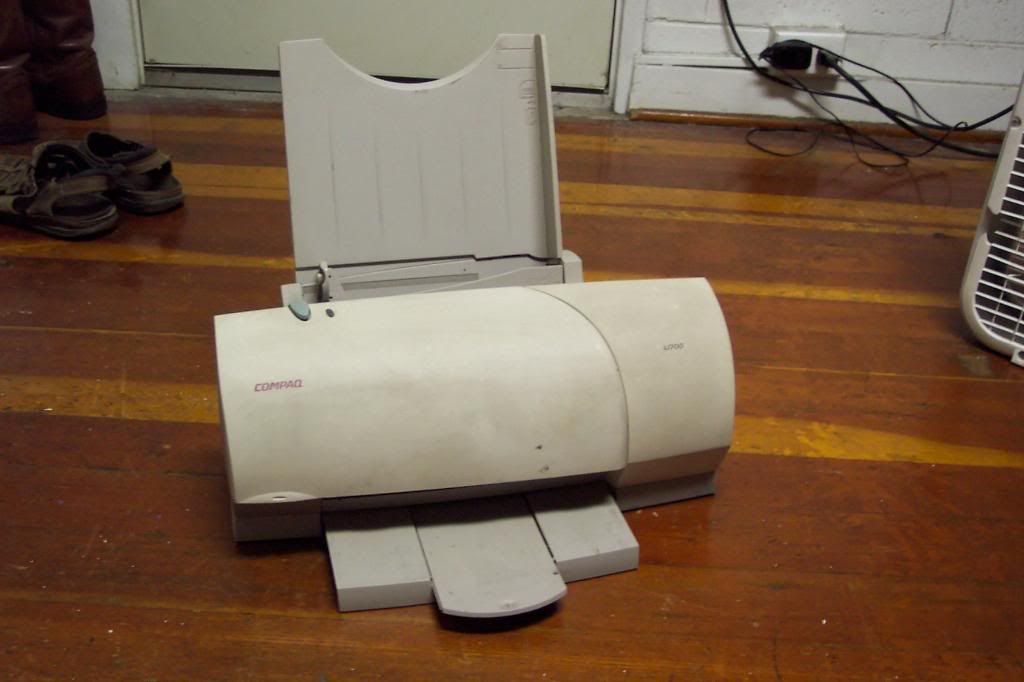
 I'm not sure why, but there was just something boring about this printer. It wasn't huge and heavy, but it wasn't tiny and feather-light. There weren't a huge number of parts, nor were any of them especially interesting. Thus, I didn't take many pictures of the teardown process. But I think you can get the idea anyway.
 I guess this is sort of interesting. I found the printer already with this damage, but I'm not really sure why someone would bother. There's not anything really valuable inside a printer, as opposed to, say a TV which has that copper coil around the CRT. Maybe some homeless guy thought there was a leprechaun inside. Maybe a kid with a screwdriver just wanted to vent some rage on something he could break without getting in trouble (assuming that this damage happened after the printer was in the junk pile). I don't know.
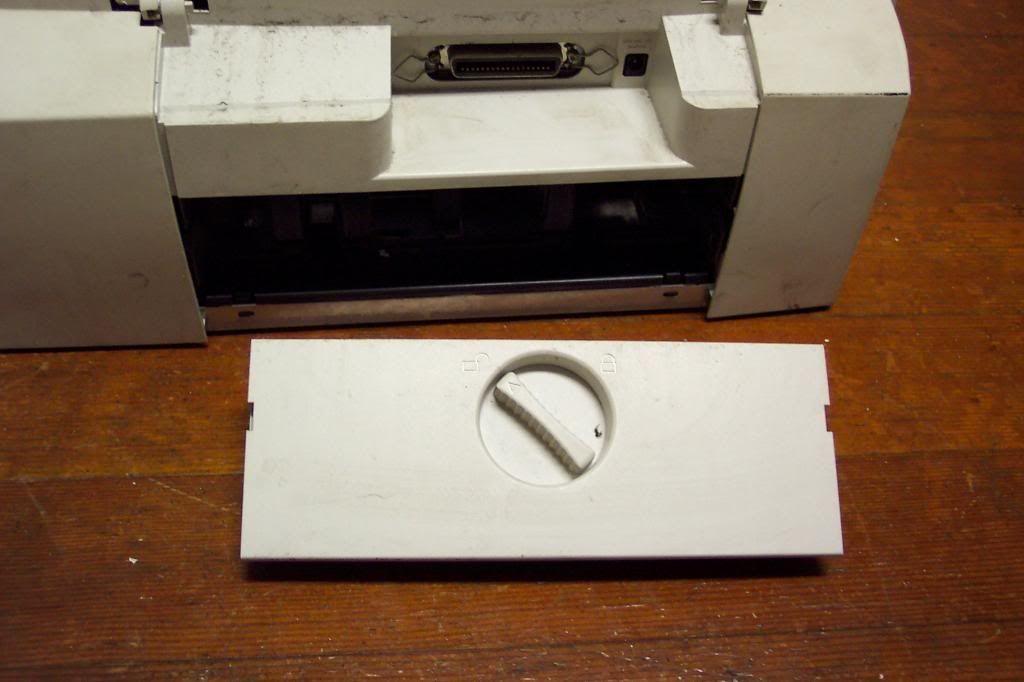 Access panel, but from the angle of the picture, I can't tell what was behind it anymore.
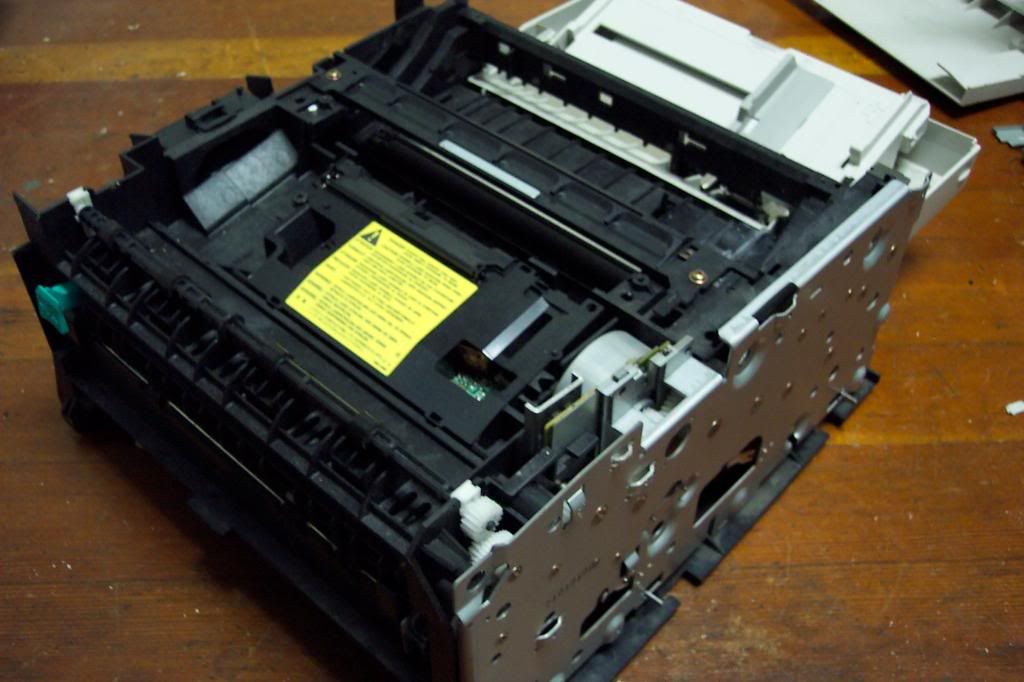
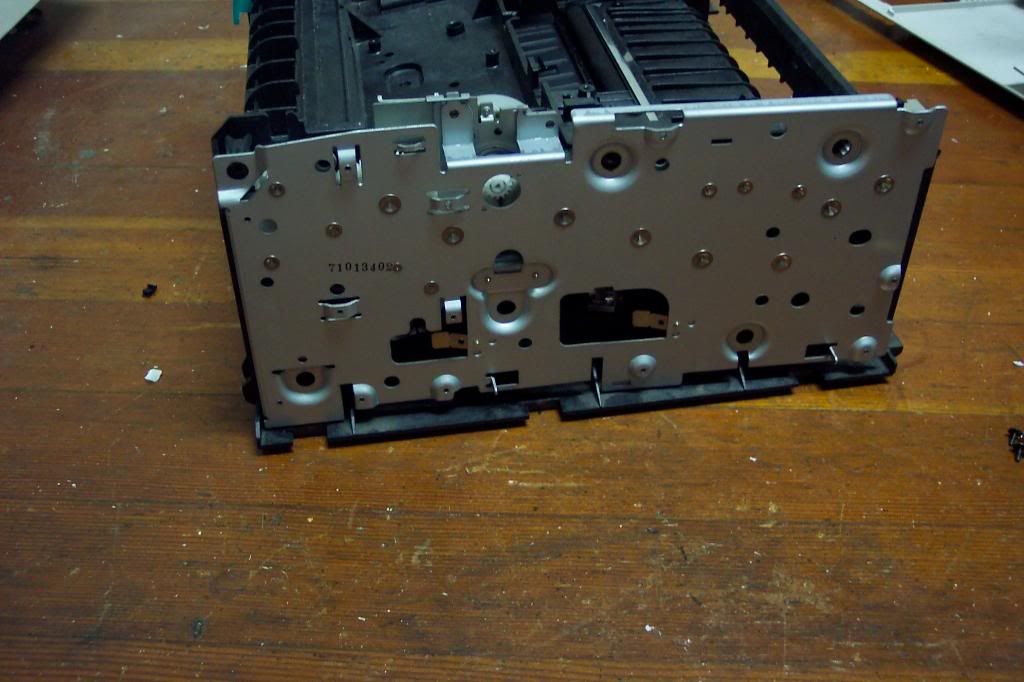
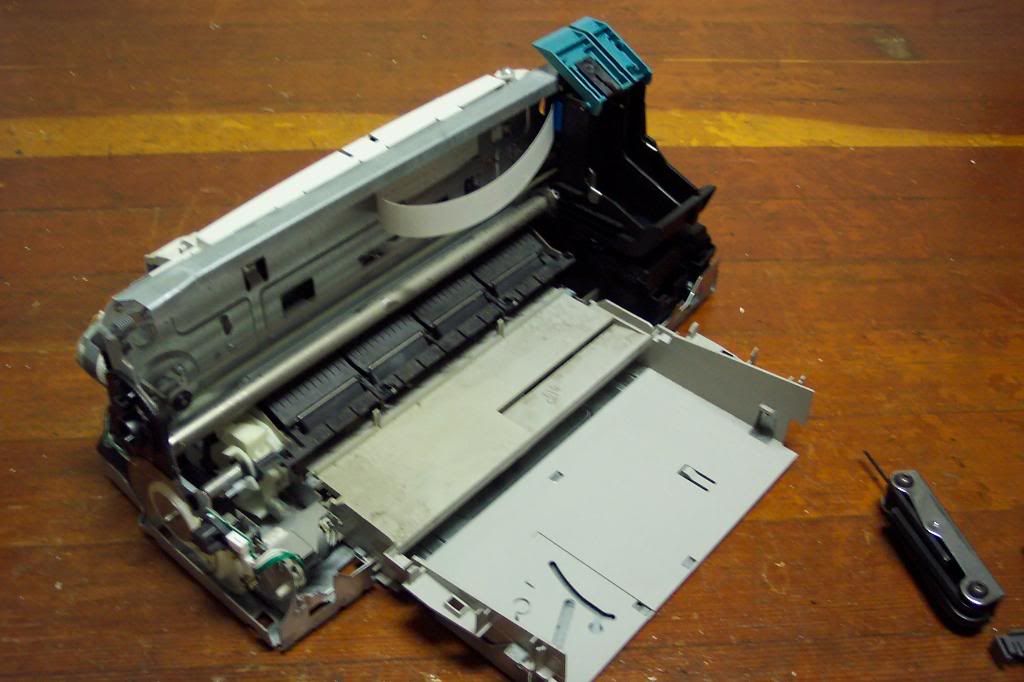 The exposed chassis of the printer. There weren't a lot parts that would come off, or were worth saving.
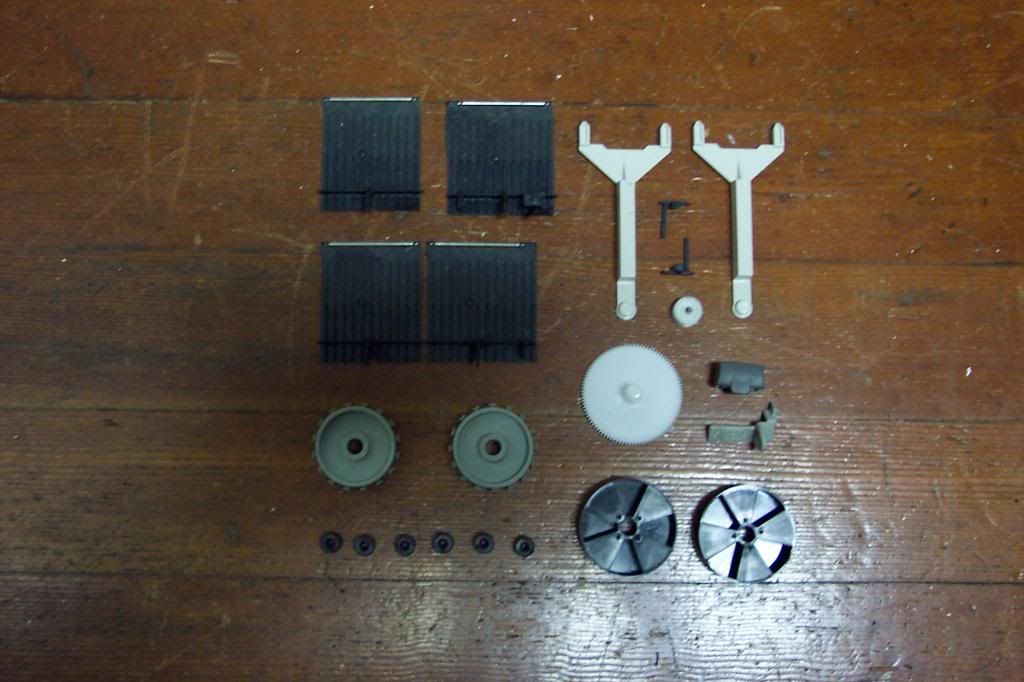 Weak. Even that junky Lexmark had more goodies in it than this.
 This Compaq (incidentally, I had forgotten they even made printers) is very subtle about not being symmetrical, until you examine individual parts. The tray at the top has a guide on just one side, the green button is a really wonky shape, and there are several other examples not evident in this picture.
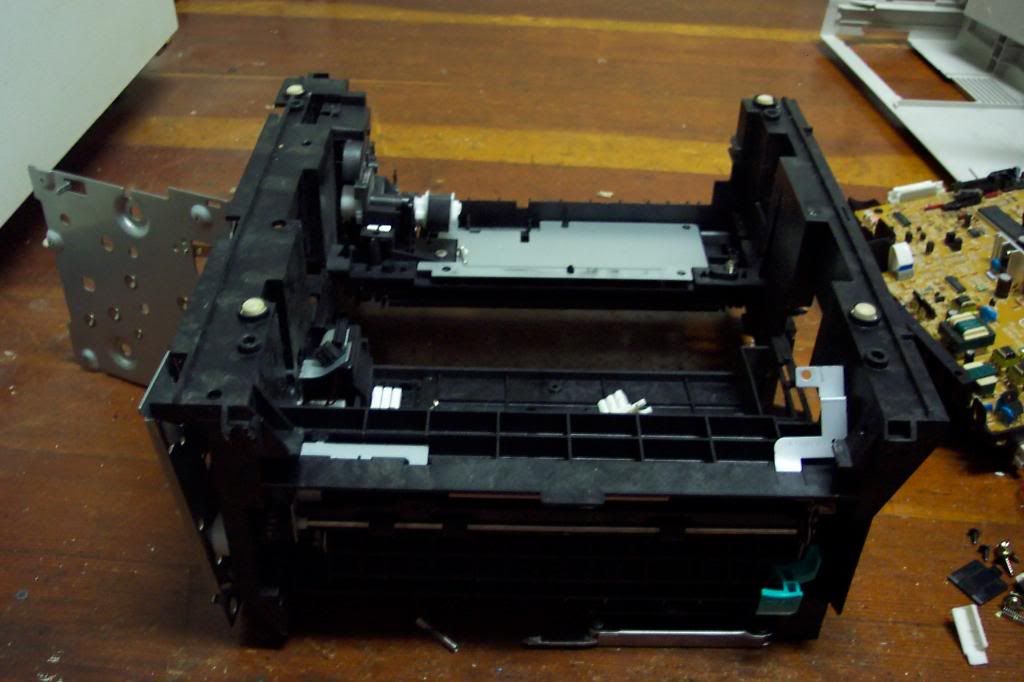
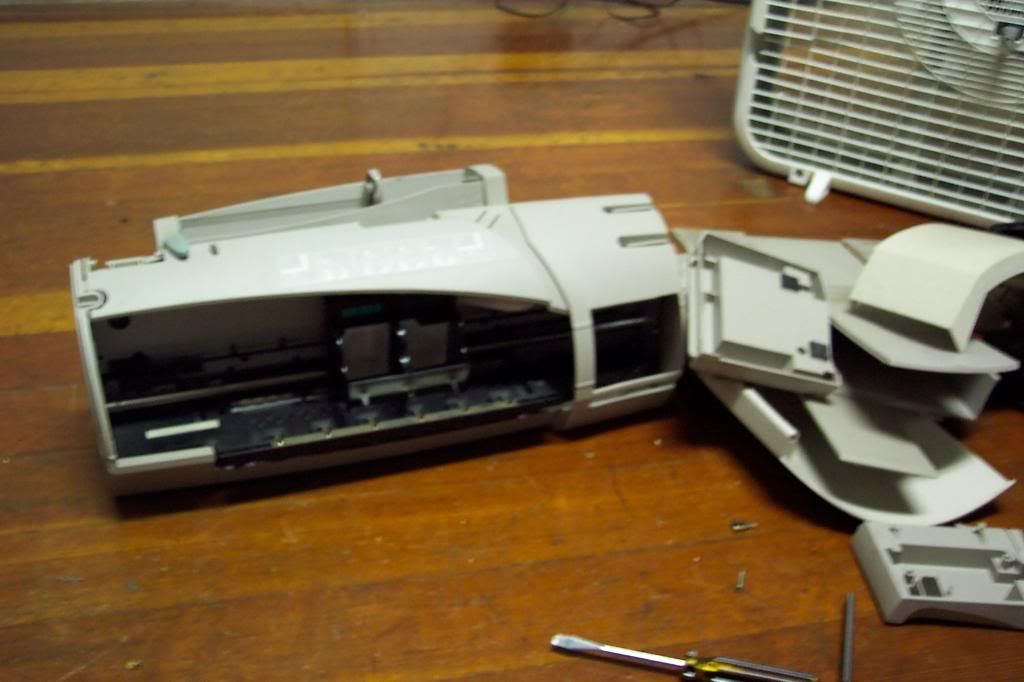 This is another issue I had with this printer: all the extraneous plastic that was on top of the 'core' case.
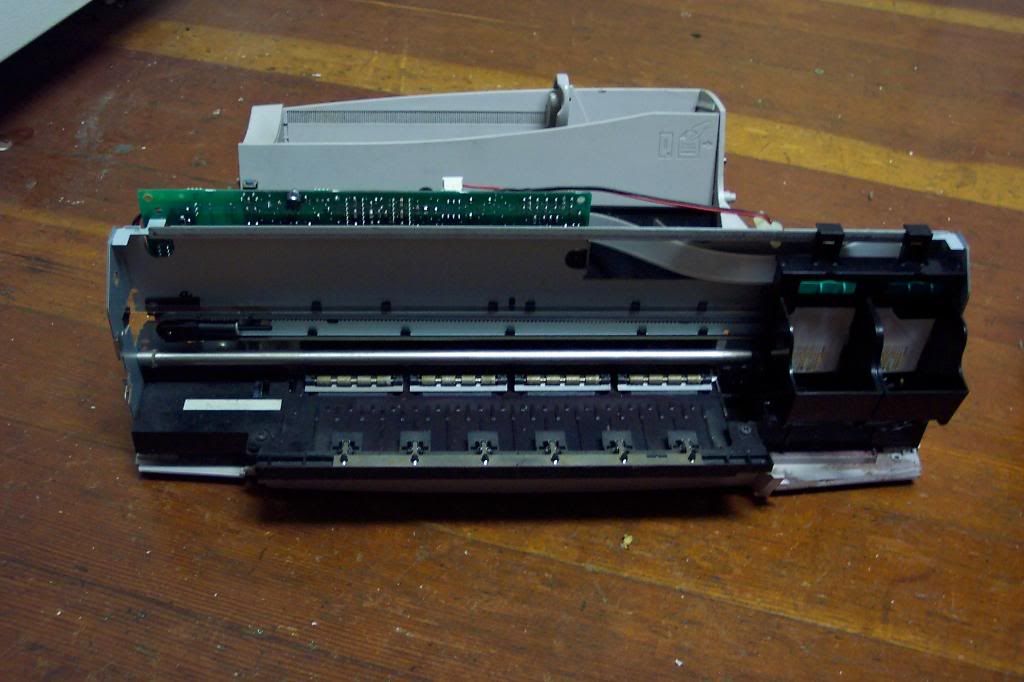 Look at that little thing, compared to how big it was with the plastic still on.
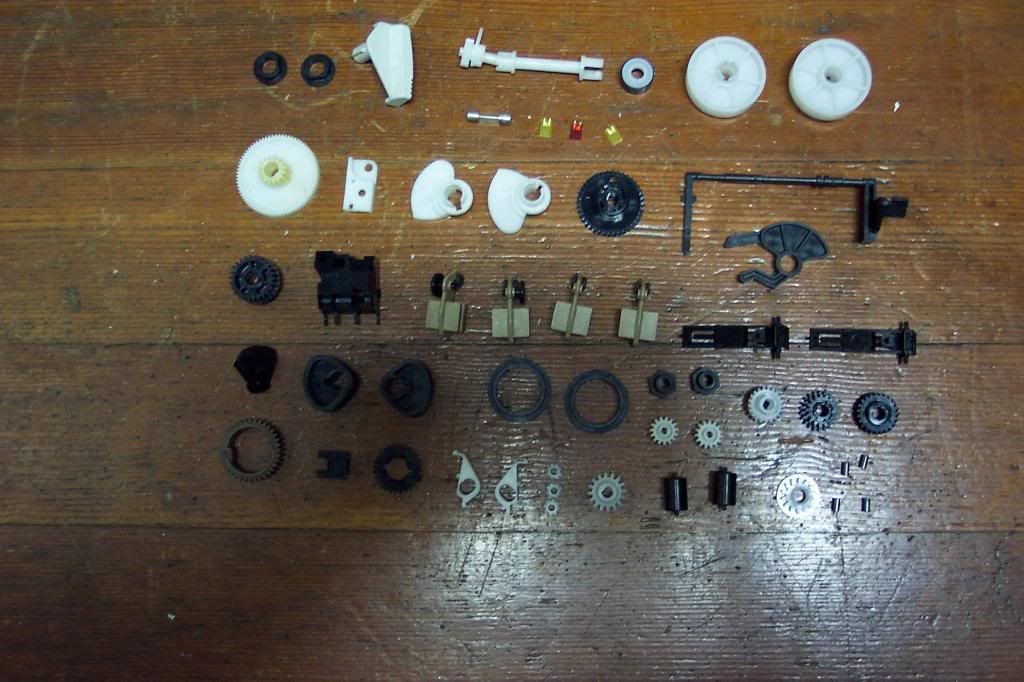
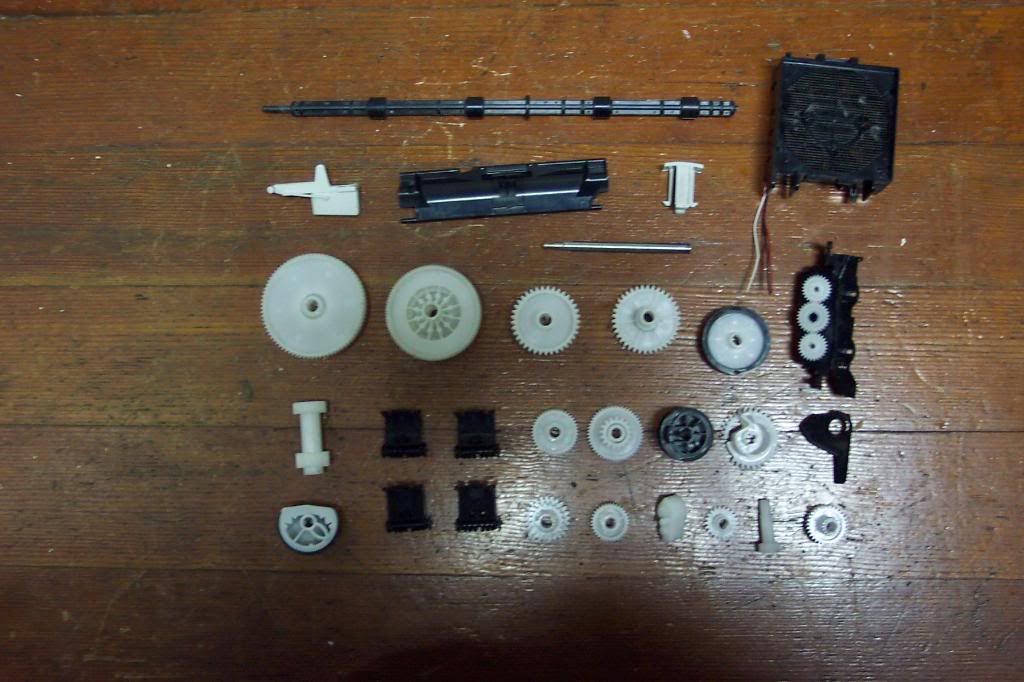
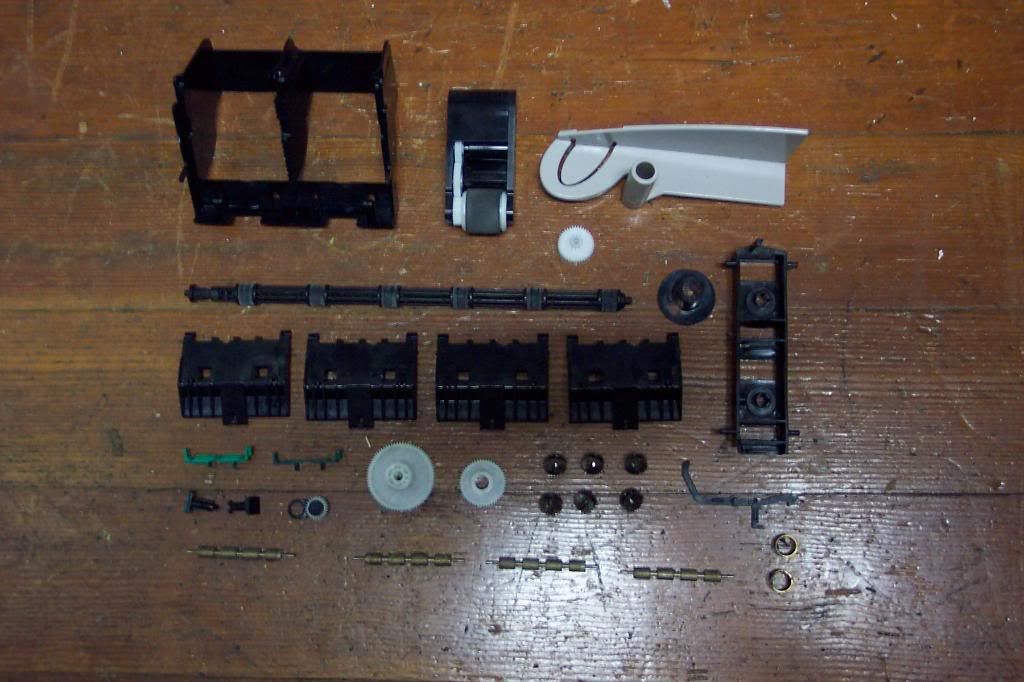 I got a decent amount of parts. Not many gears, though; most of them didn't want to come out.
 The first thing I noticed when I snagged this was how light it was. And by light, I mean cheap. Most desktop printers of this size have some heft to them, but this one almost felt like an empty case. I know that plastic construction does not automatically equal low quality, but this is a fairly new printer and already in the trash. So yeah...
 The top of the body shell came off pretty easily. There doesn't look like much in the way of parts, but there were actually a decent amount.
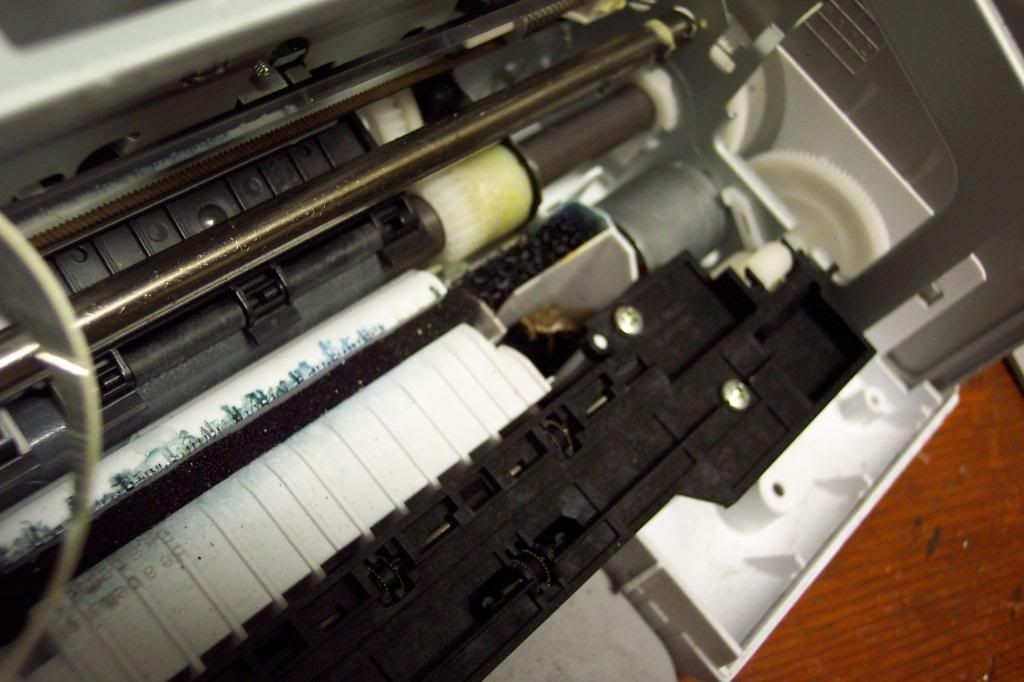 See that brown thing in the middle of the picture? That's a roach. A live one, in fact, and I got this far in taking the printer apart before I saw it. Taking this picture was immediately followed by taking the printer outside and shaking the roach out (squashing it would just have made a mess).
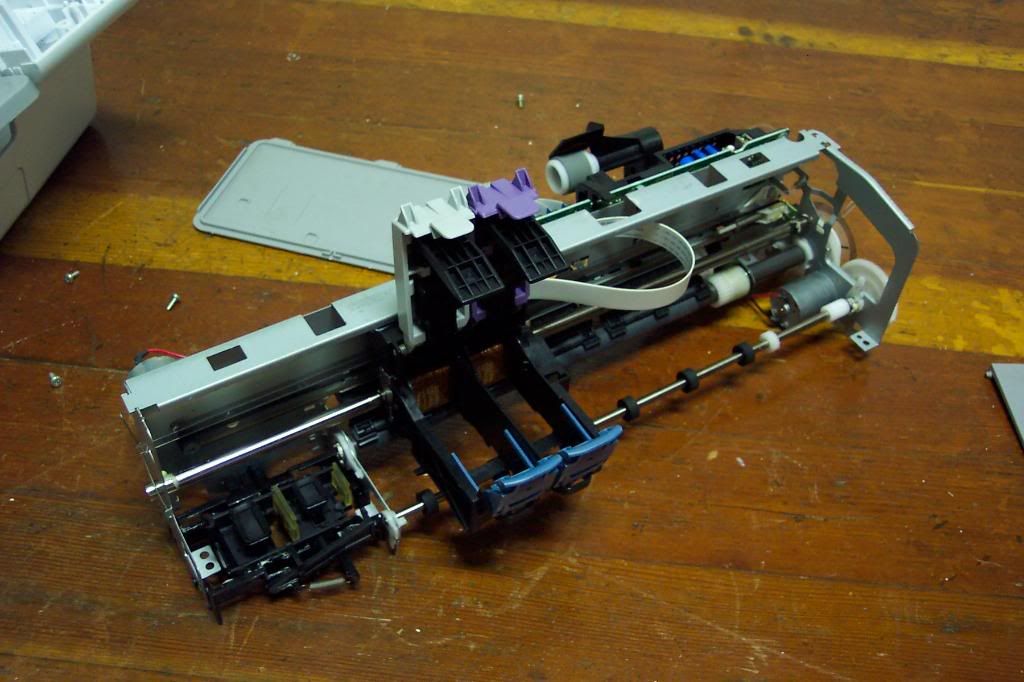 The printer, sans body case.
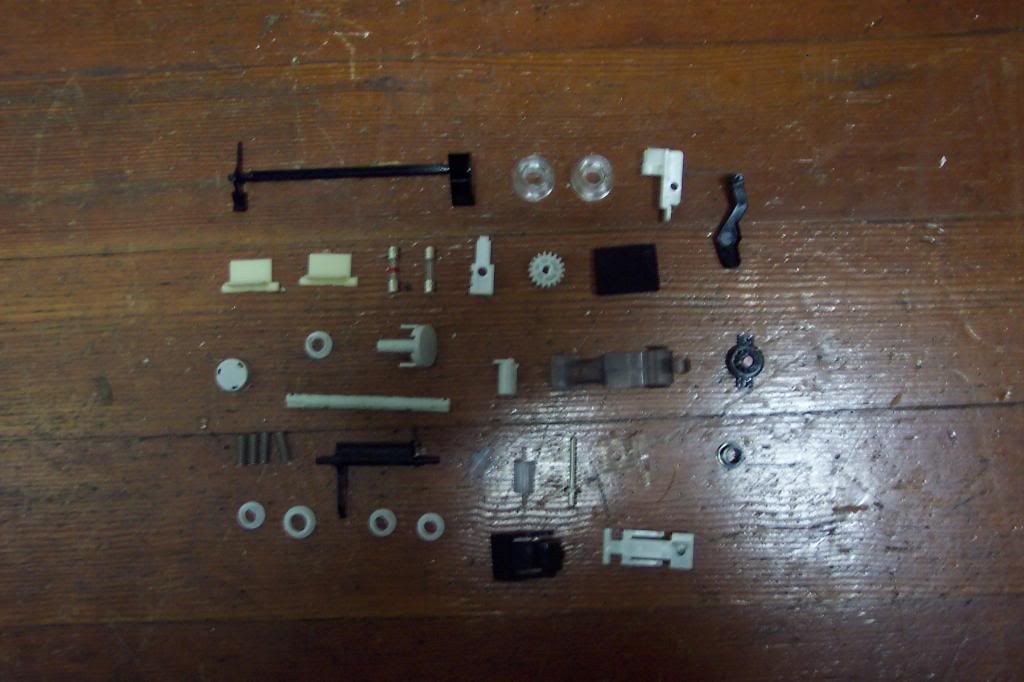
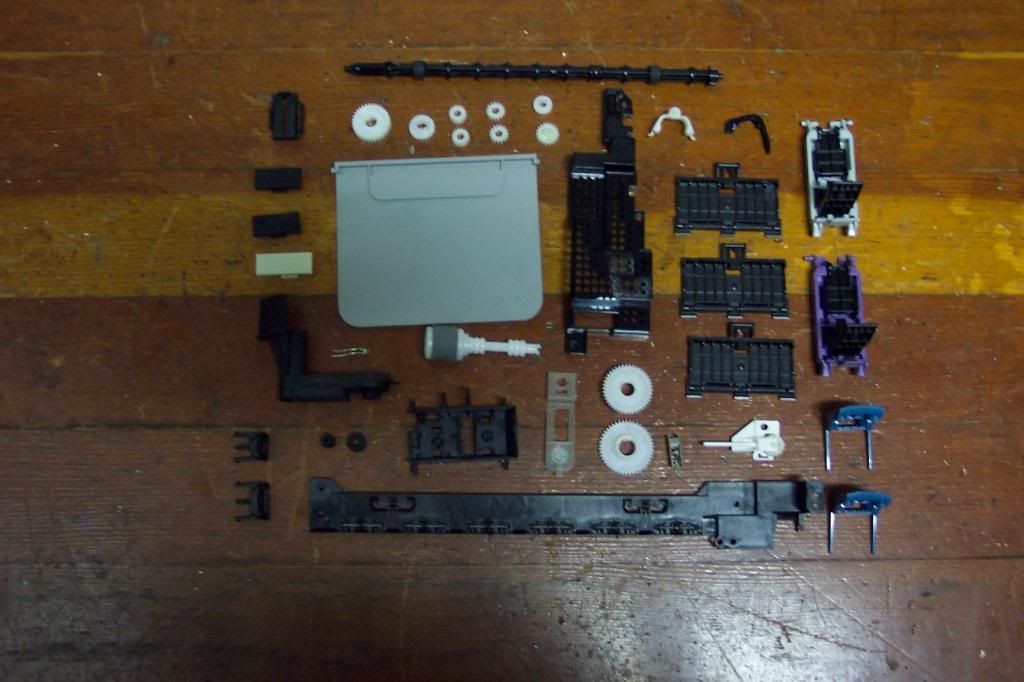 Decent parts haul, and fortunately not a roach turd to be found.
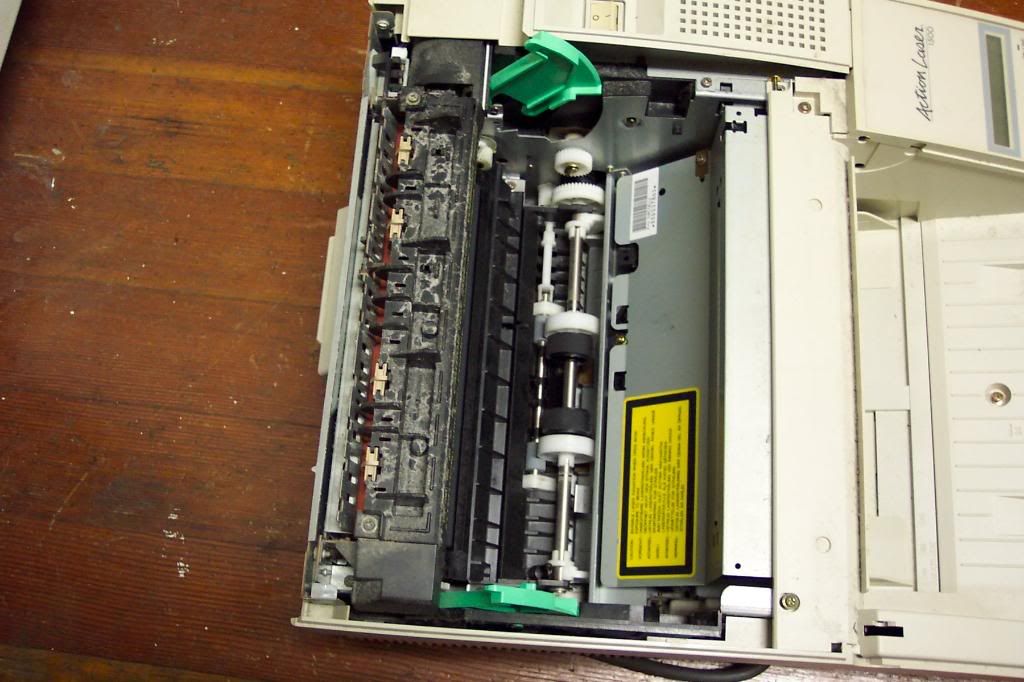
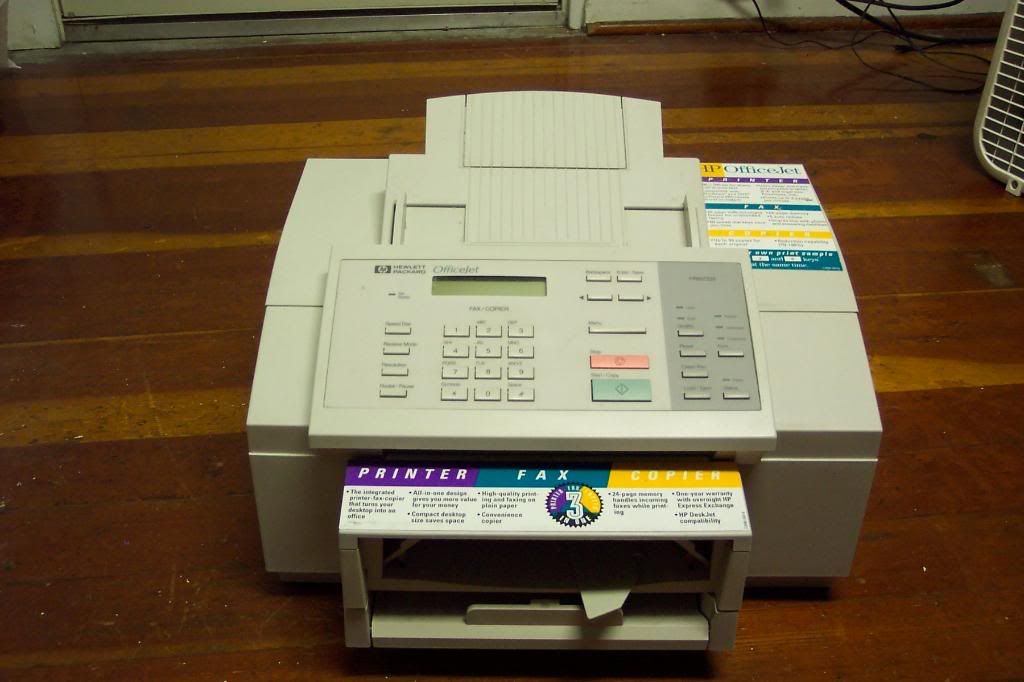 This wasn't the biggest of the three printers, but it was still a pain to bring back to the apartment.
 The fax control panel came off as a single piece (other than the wires holding it to the rest of the printer), though it took a while to get it that way, if I remember correctly, because of the screws used on this printer. The plastic housing parts were held on with Torx head screws, and the only Torx screwdriver I have was about one size too small. I'm lucky that I didn't strip any of them out.
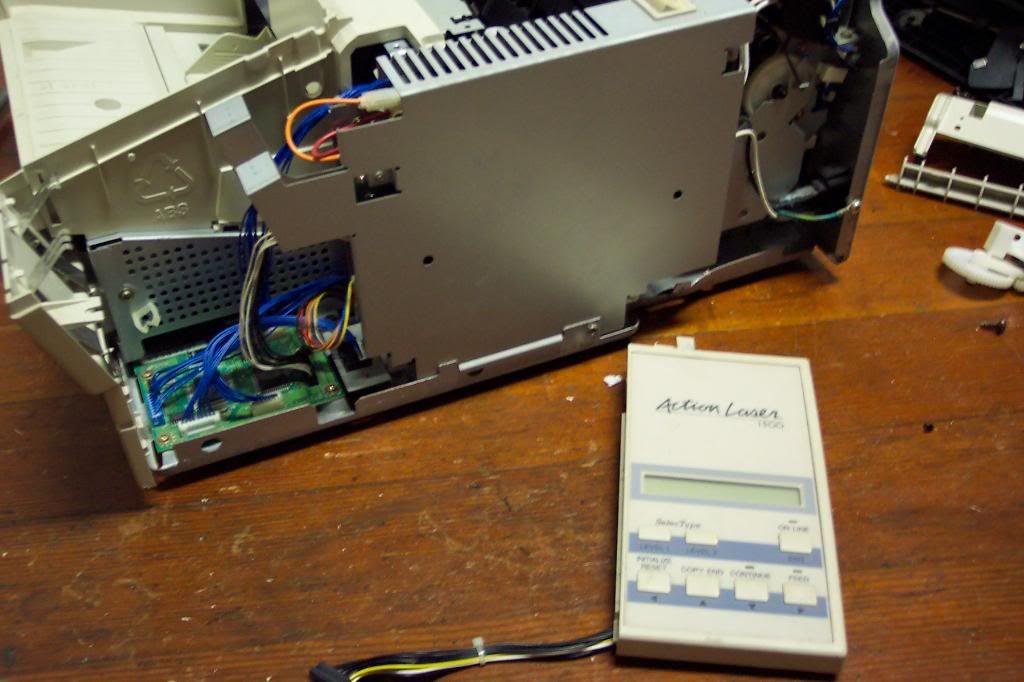
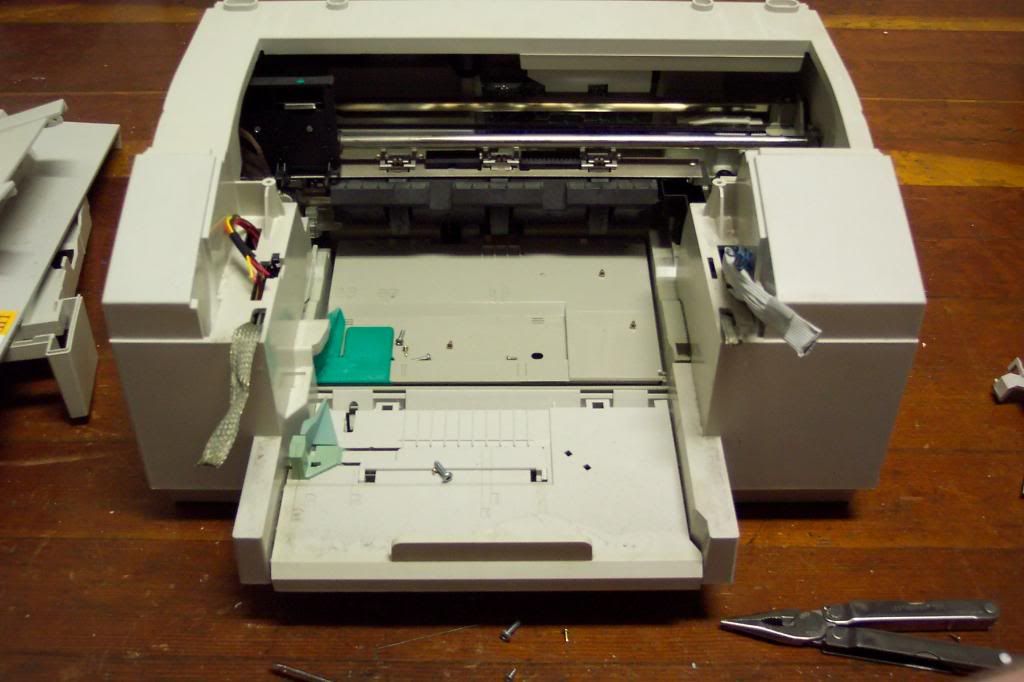 Further into the disassembly. From here on out, it's pretty much like taking any printer apart, so the fax part was sort of like a bonus.
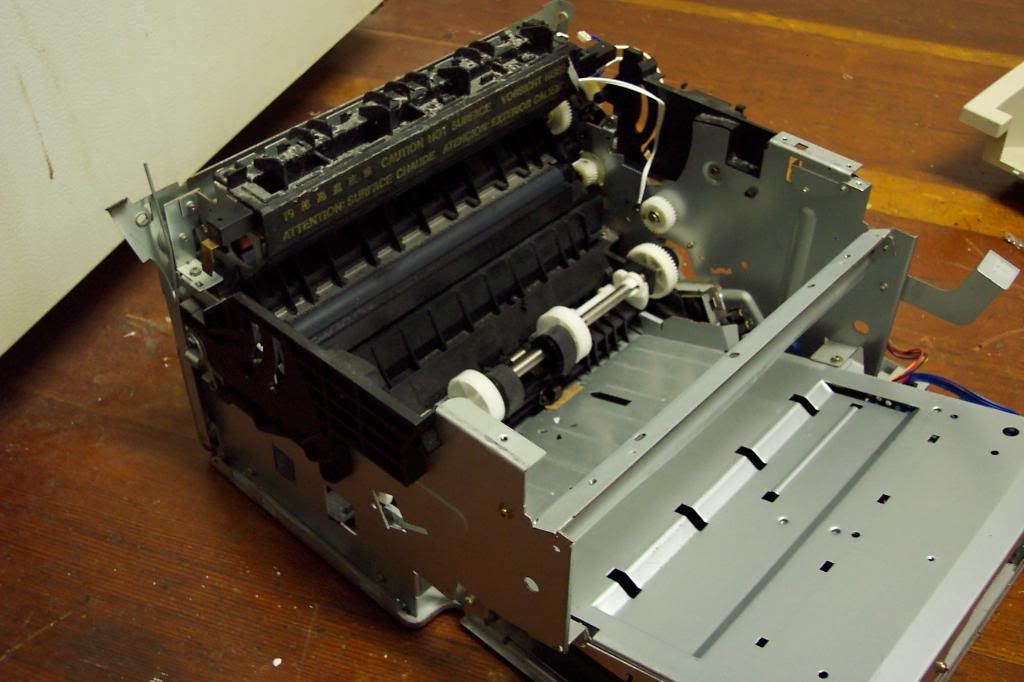
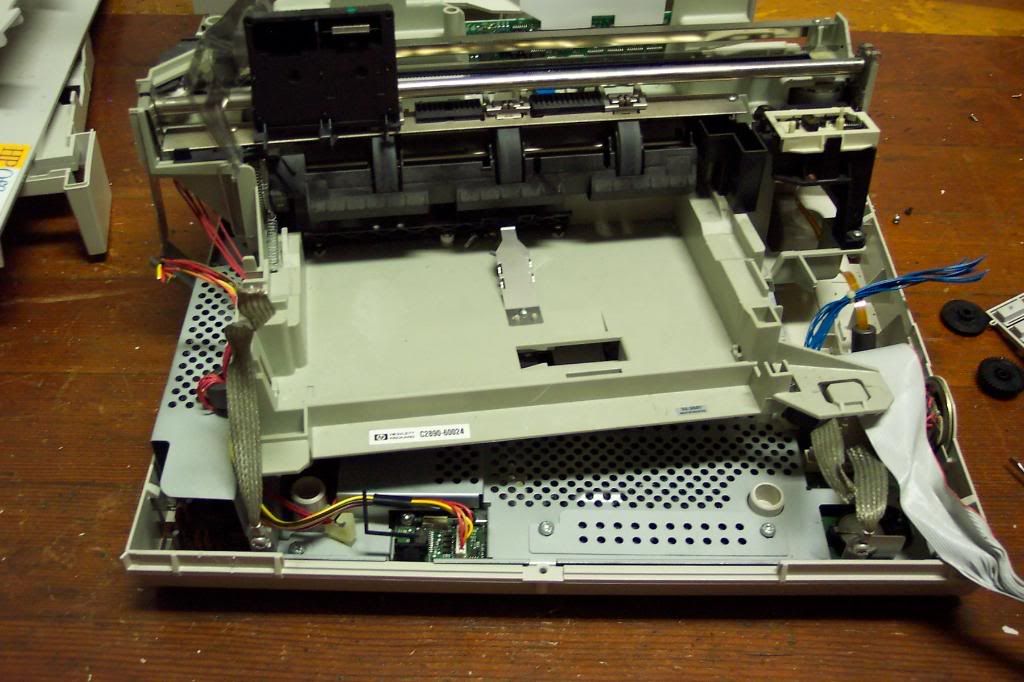 It was a fun breakdown, but it wasn't a complete one. This picture shows more or less where I had to give up since parts just wouldn't come off anymore. Not for lack of trying though; I really wanted those big rubber rollers.
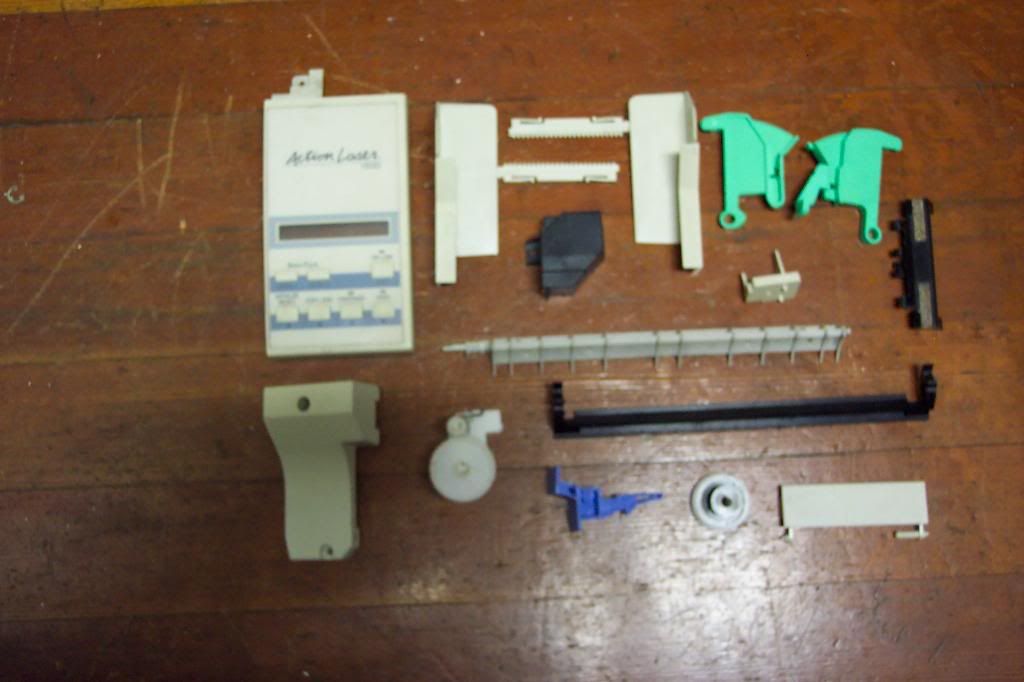
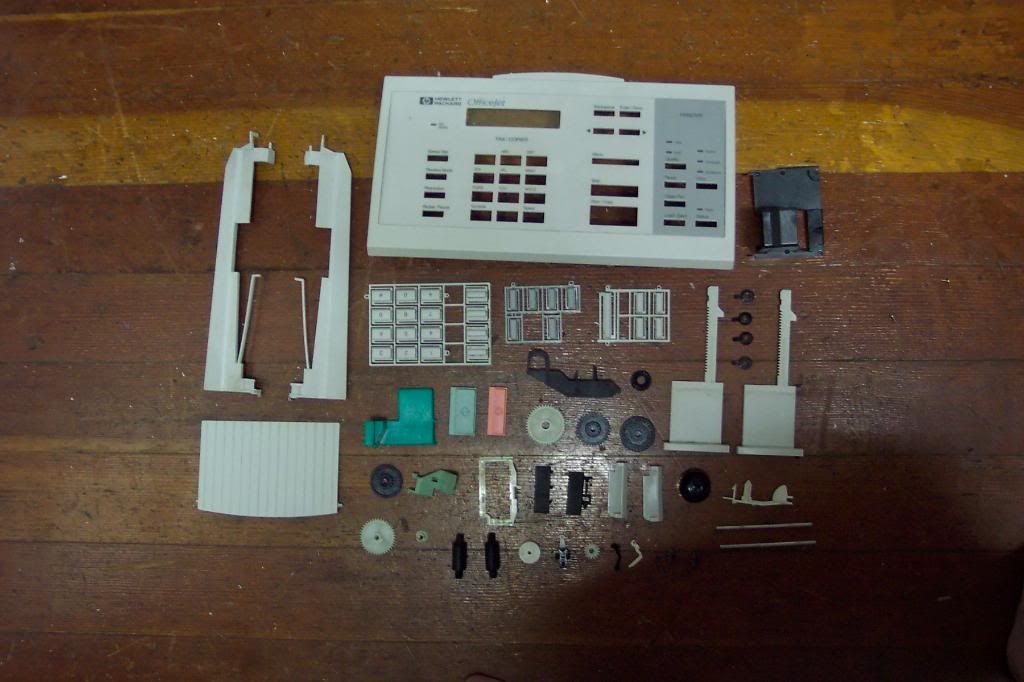 I'd say that's a pretty decent trophy pile.
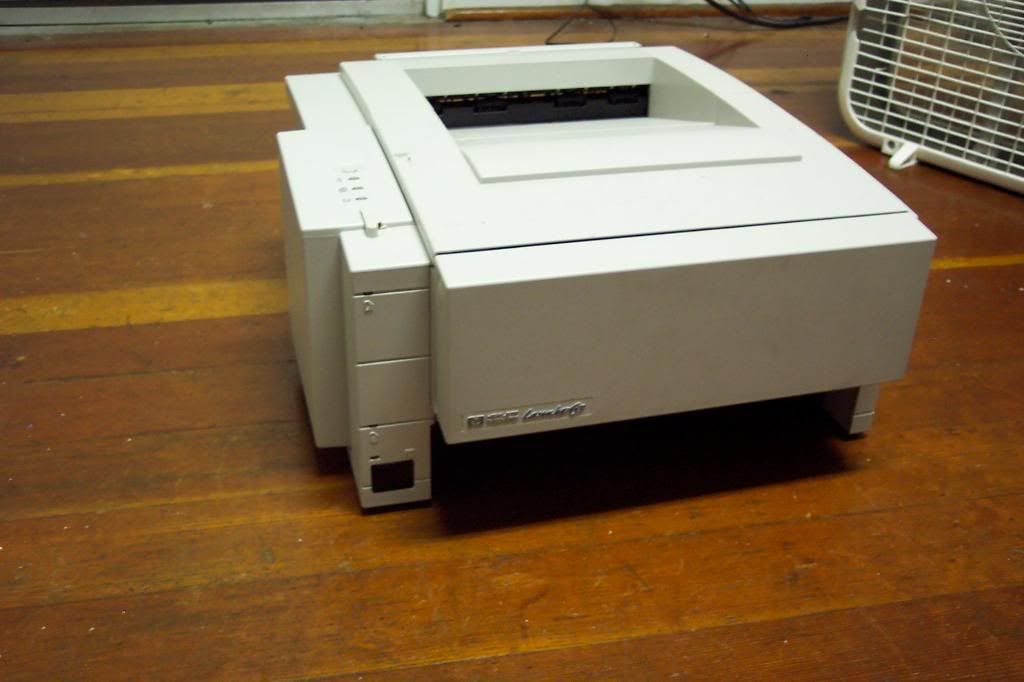
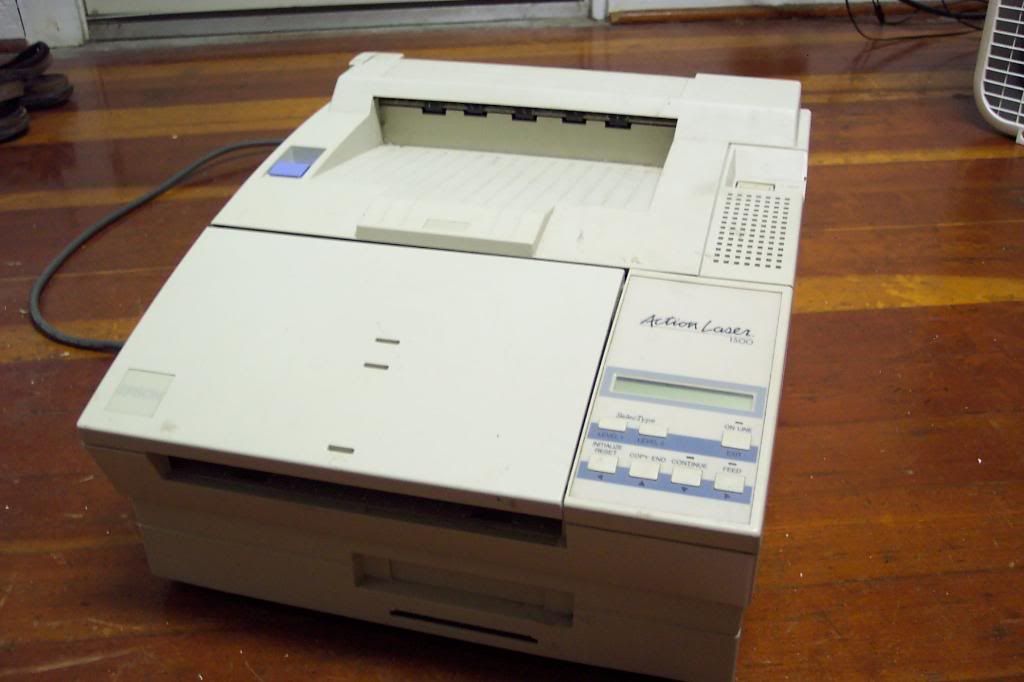 Here it is in all its beige and bulky glory.
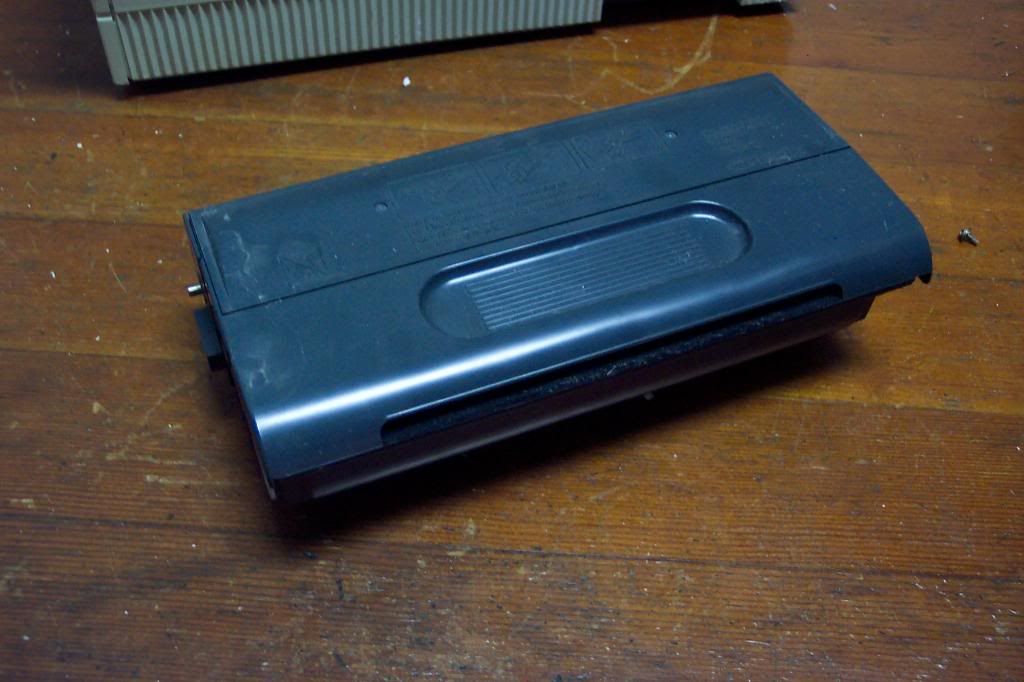
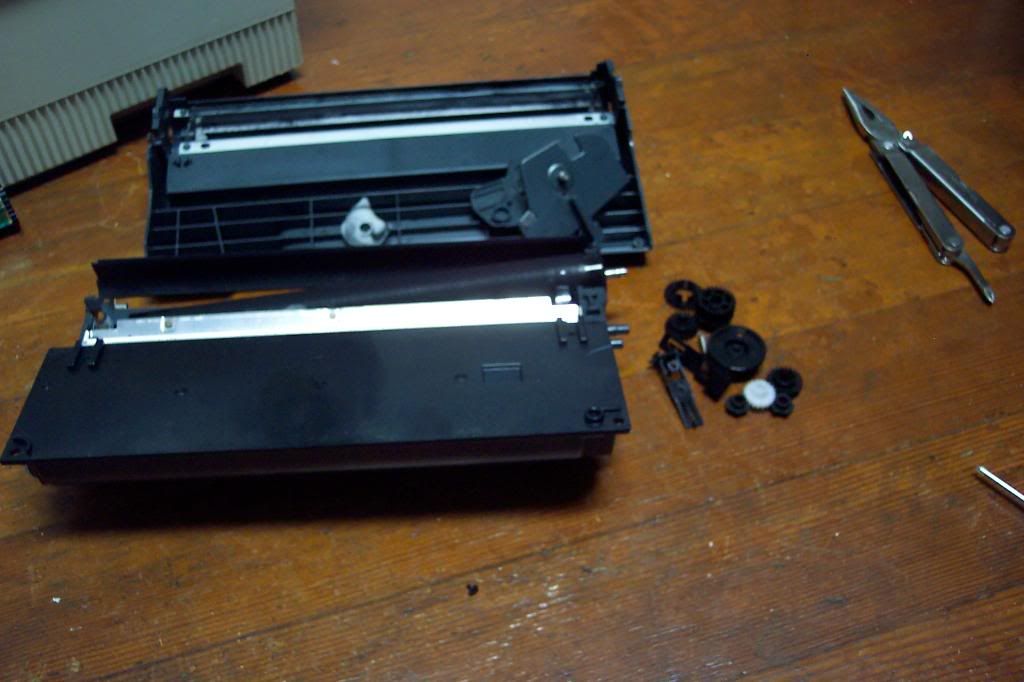 I got a few parts out of it, but I didn't want to tear in to it with any gusto, for fear of spilling toner all over the place. A little bit leaked, but I was able to make short work of it with the vacuum cleaner and a wet paper towel.
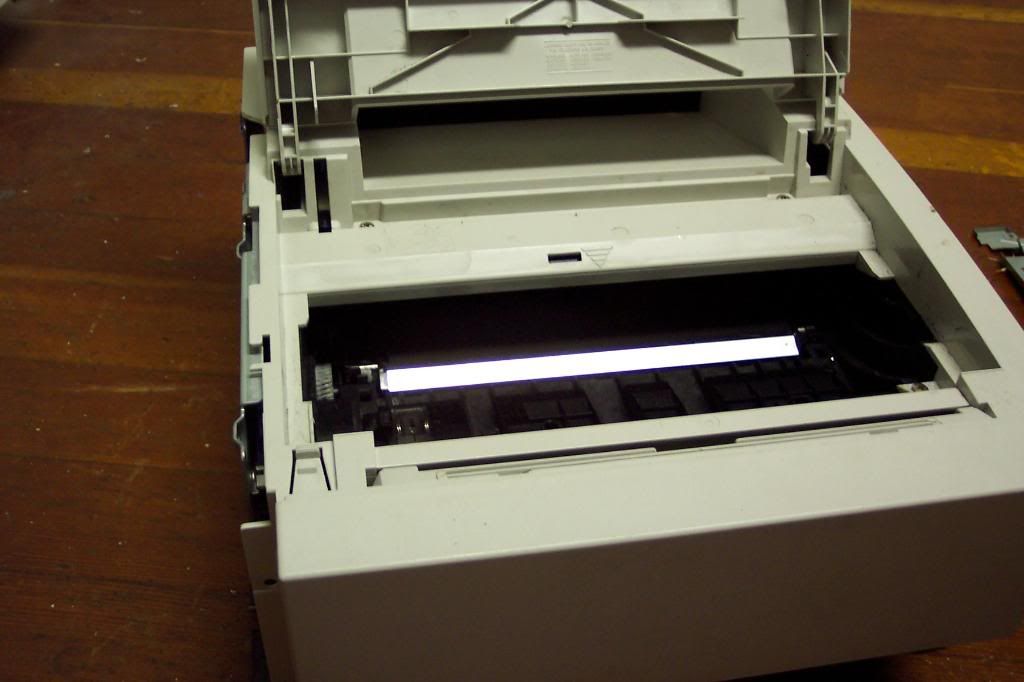
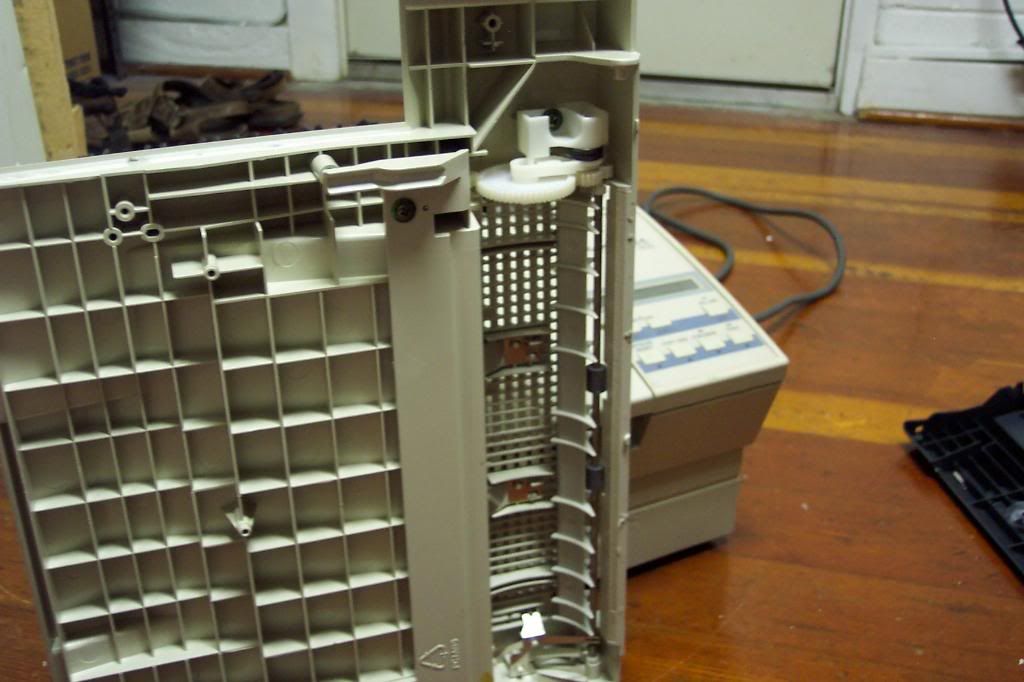 Back to the printer itself, I started by removing the top access panel. There's even some parts to take off on that.