It's a testament to the sheer diversity of electronics and appliances that have been produced that I rarely take the same thing apart twice. And I don't just mean since I've started blogging about it, I mean since I started fifteen or so years ago. It happens, of course, as the previous entry about the Macintosh disk drives show and some of the vacuum cleaner entries mention, but it's really not that common. And finding multiples of the same thing at the same time is even rarer.
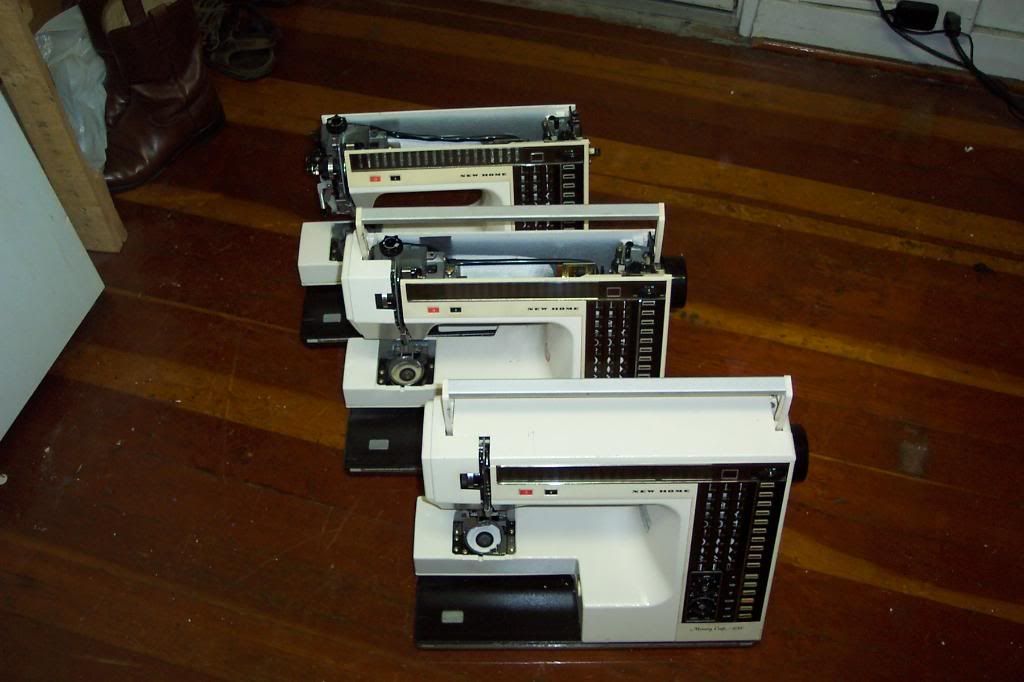
And yet here we are, with three of the same type of sewing machine all grabbed on the same night. Not one or two, but three. My completely uninformed guess is that a local tailor liquidated, and the local sew/vac place bought up their machines, then tossed the junkers.
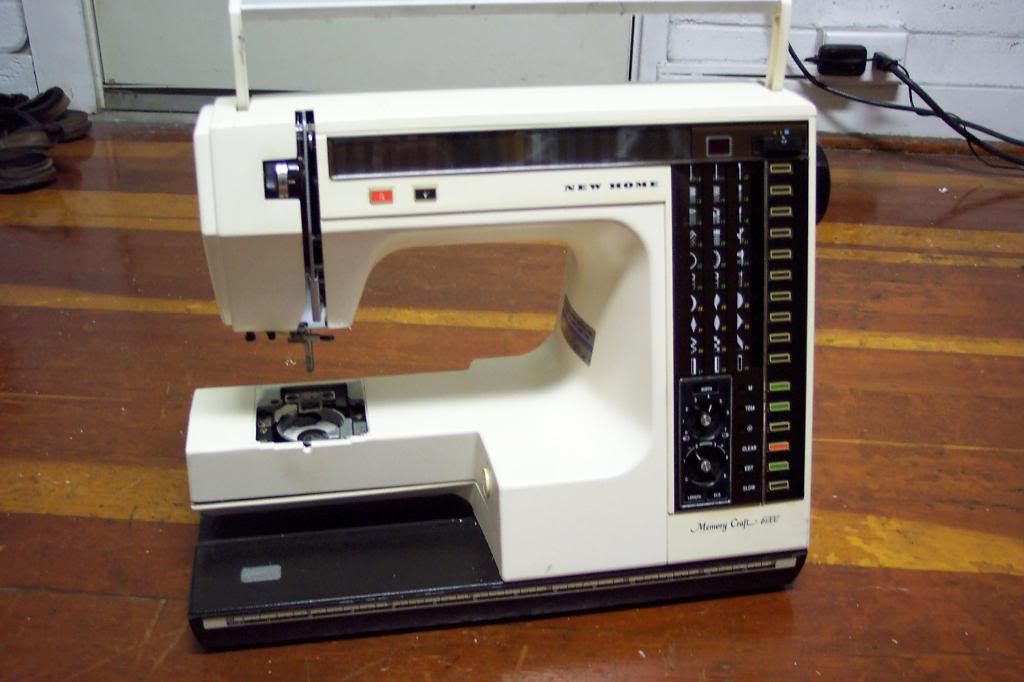
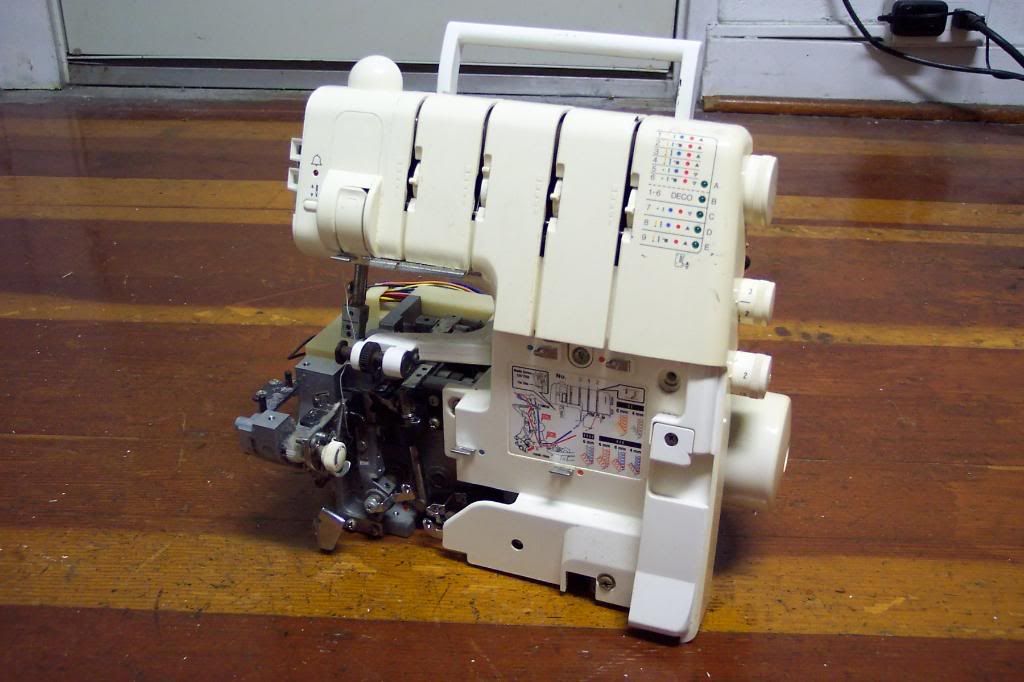
The three machines are in various states of completeness, so I decided to focus my photography on the most intact machine.
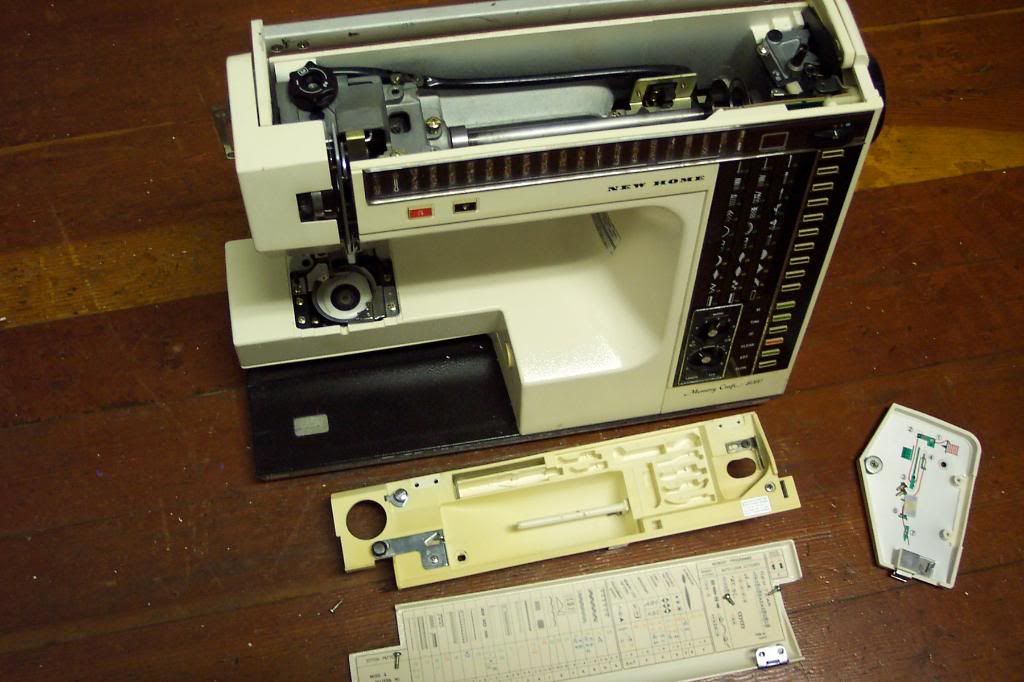
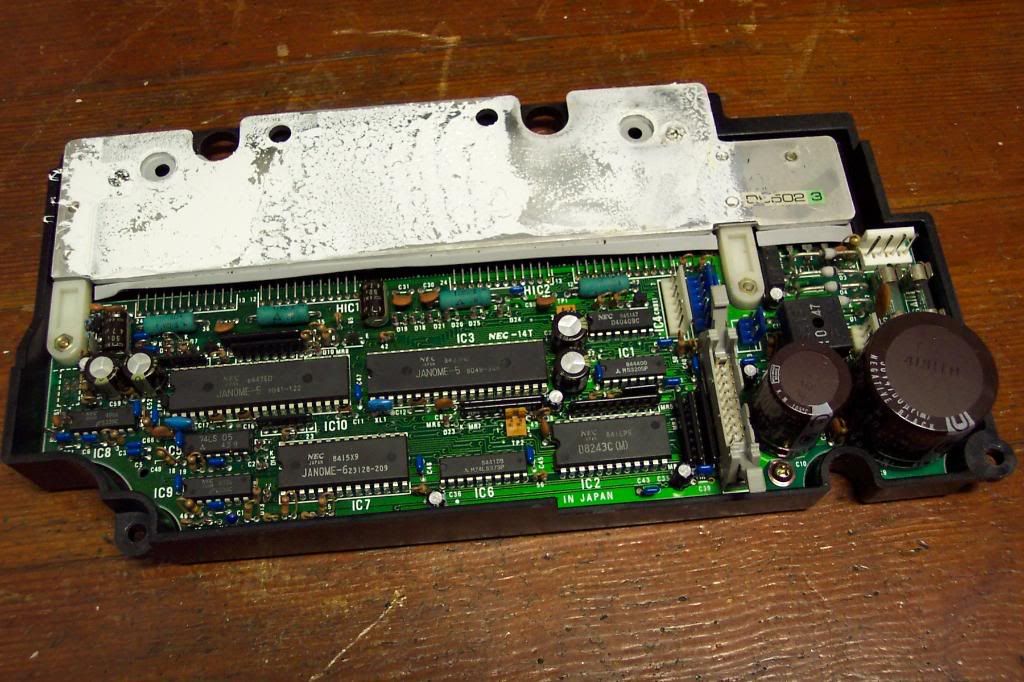
The mechanicals in the top portion were surprisingly simple and uncluttered, considering how many settings the machine has.
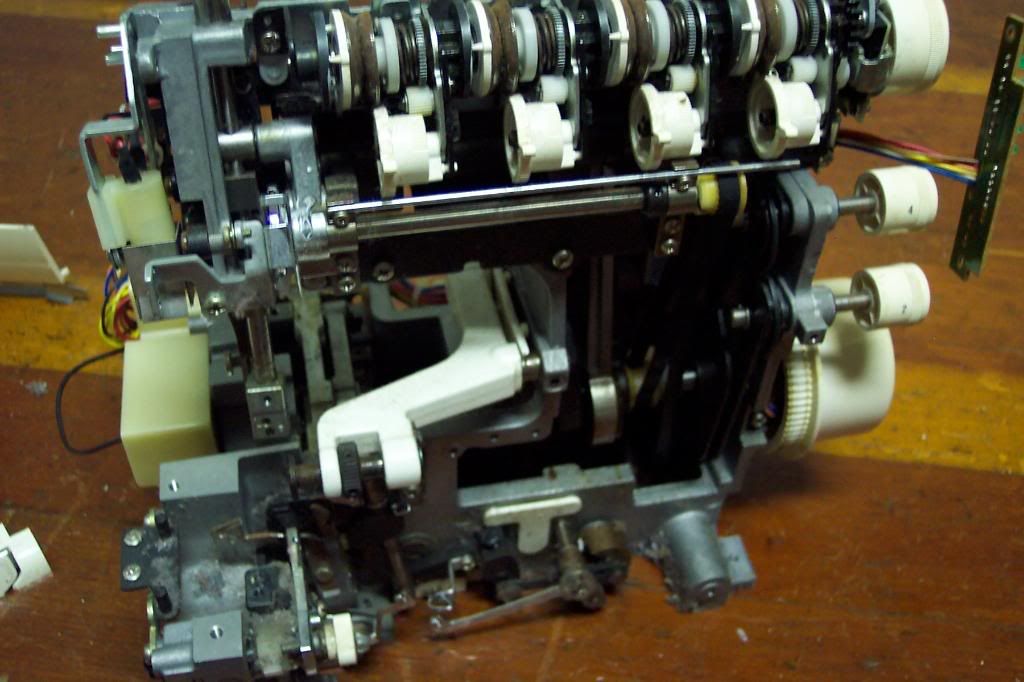
The back panel was one of those pieces that got removed by force, only to realize afterward that there was, in fact, another screw there that would have made the process easier.
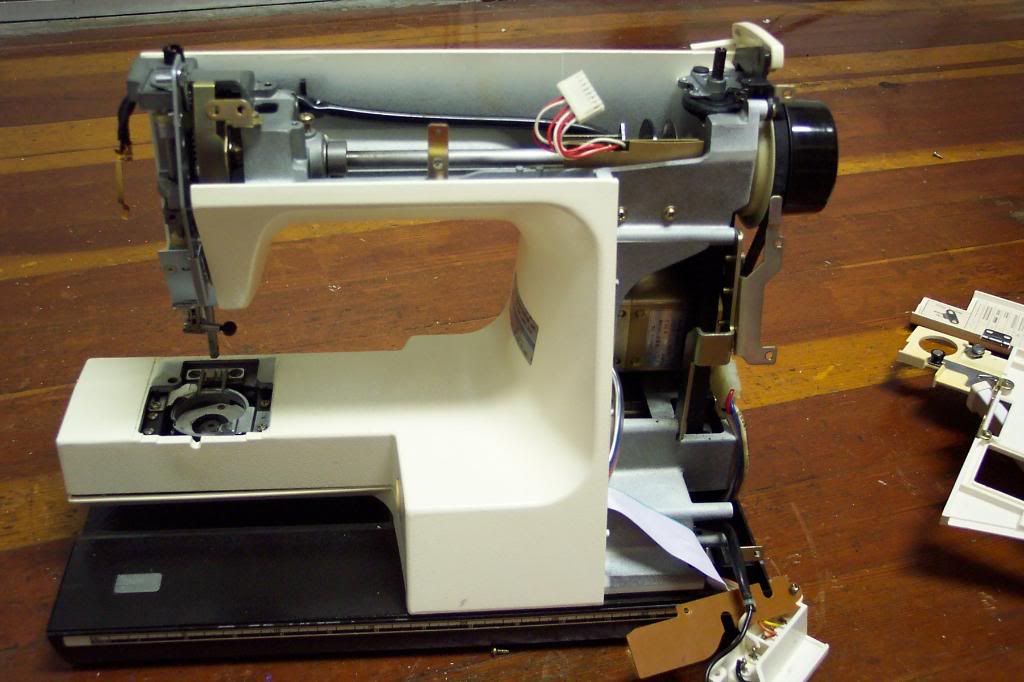
After the control panel was removed, the whole unit is pretty much stripped.
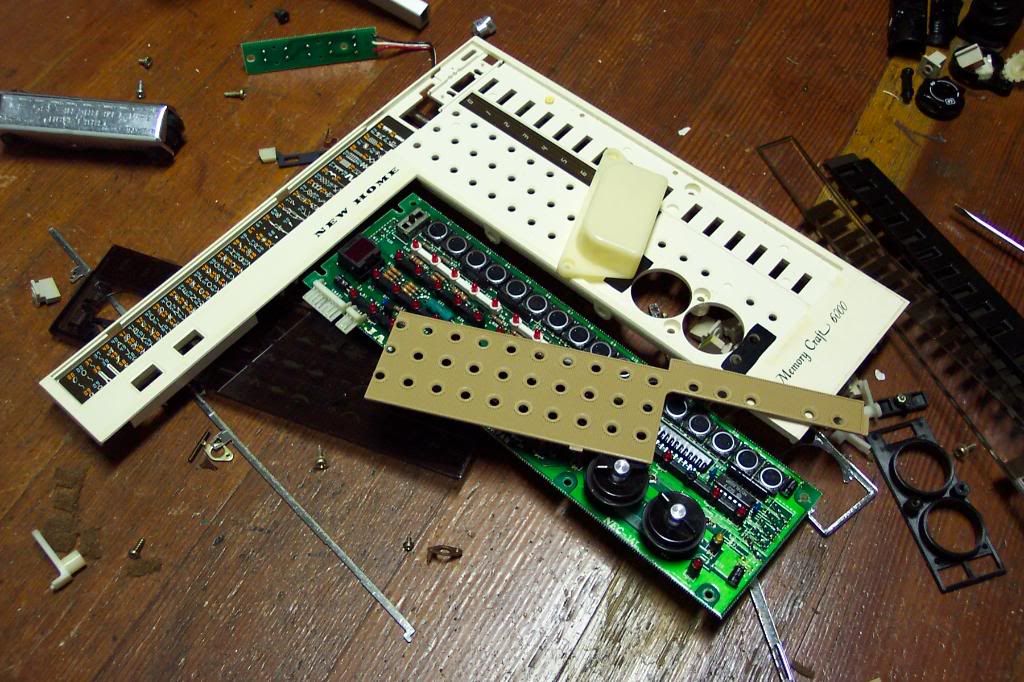
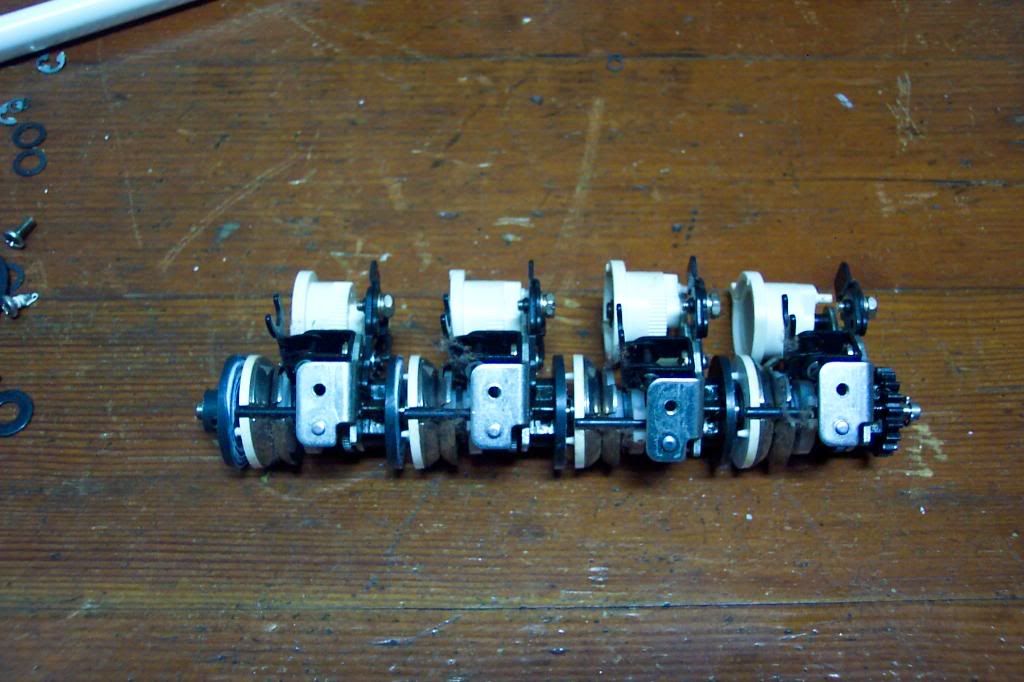
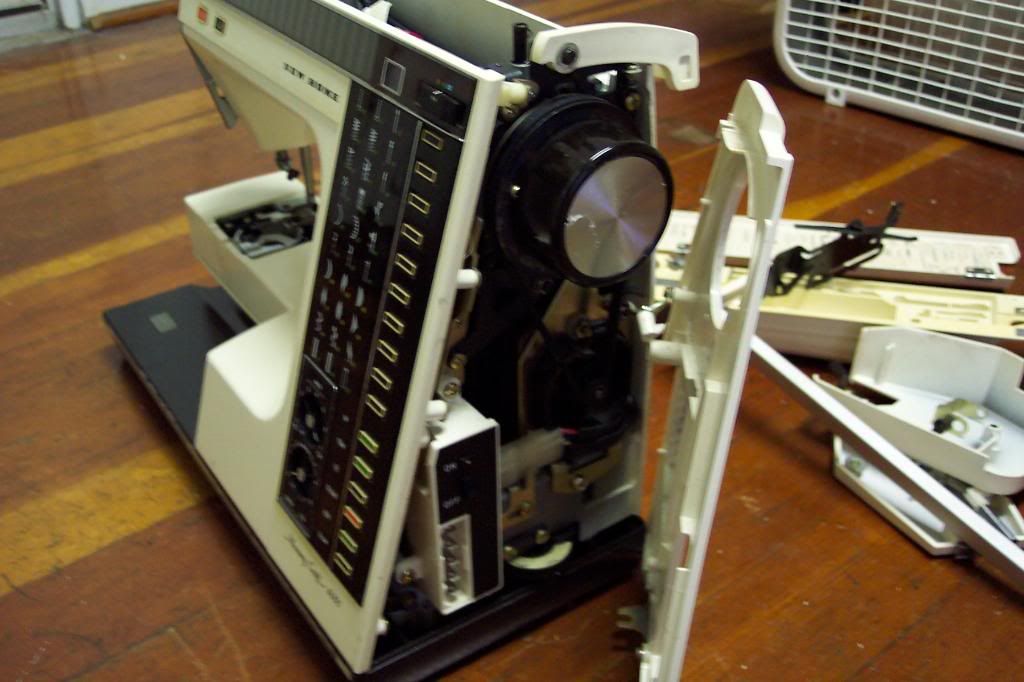
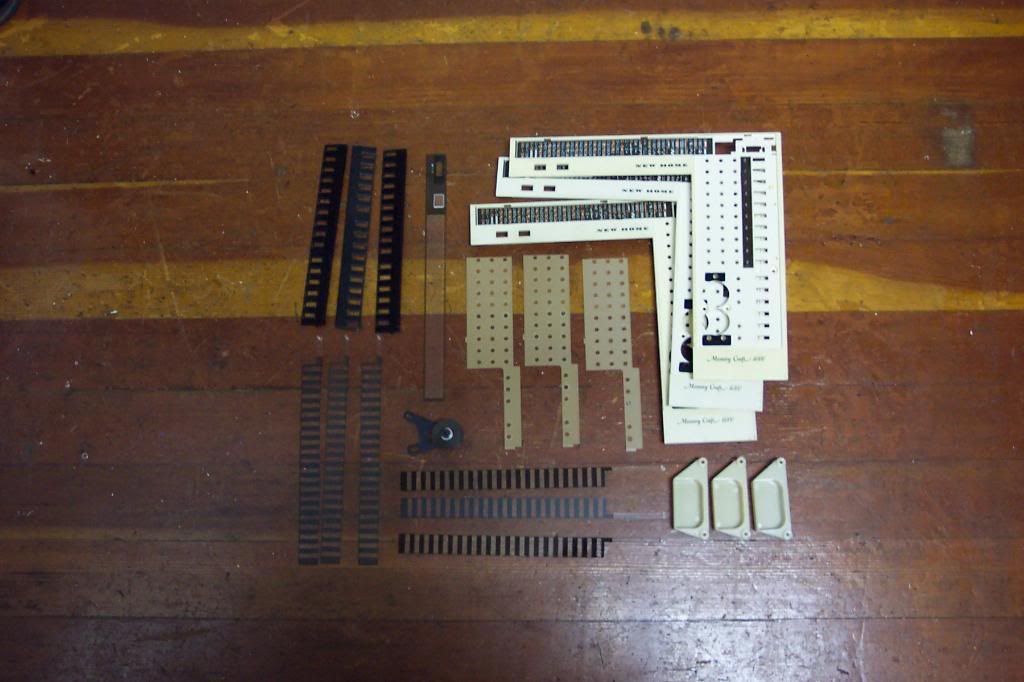
The control panel was pretty complex, as shown here by this pile of parts.
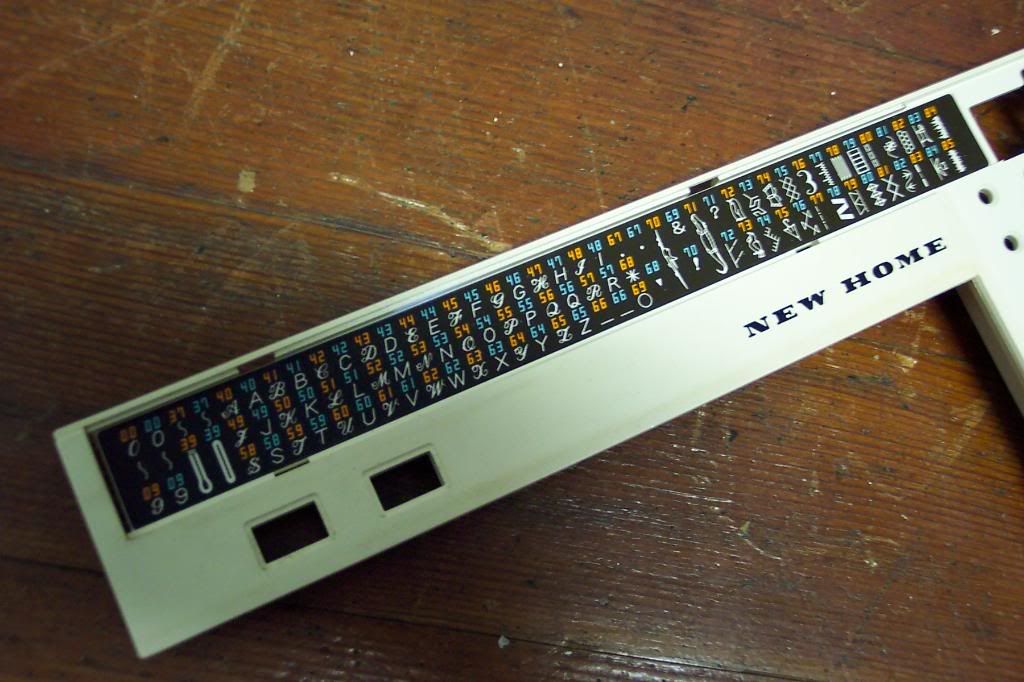
This sewing machine could make around 160 designs, though after letters and numbers, they start to get kind of arbitrary.
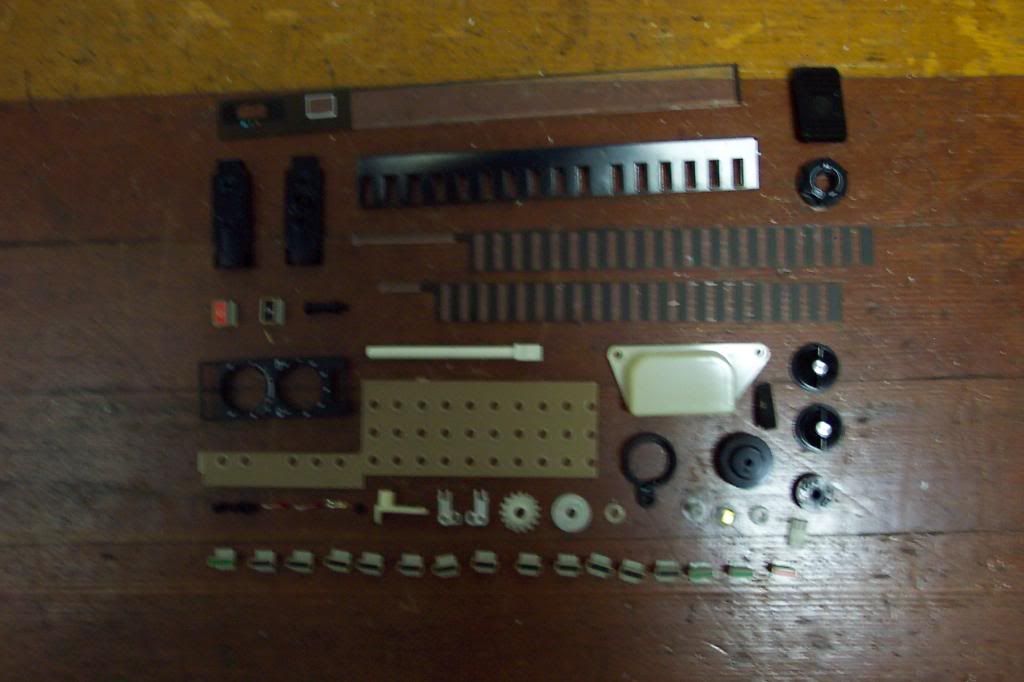
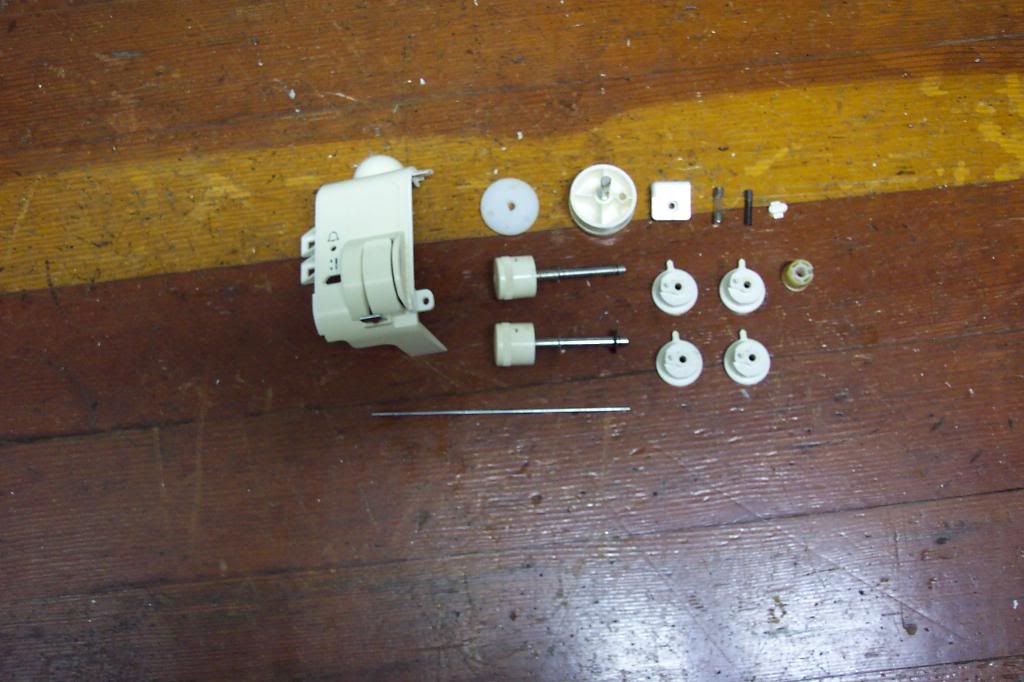
So this is the total number of parts I could pull out of just one machine.
...Or so I thought. After I had already tossed the first machine, I discovered on the second one that the bottom panel came off, and would yield a couple of additional parts.
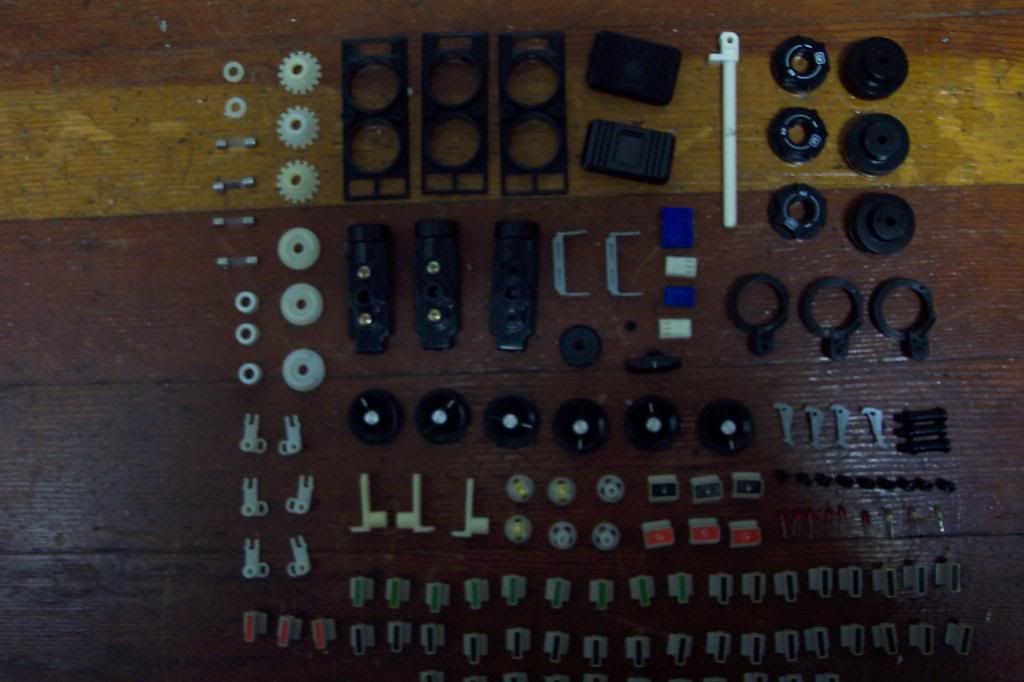
And here's the total selection of parts from all three machines. Pretty impressive, I think.

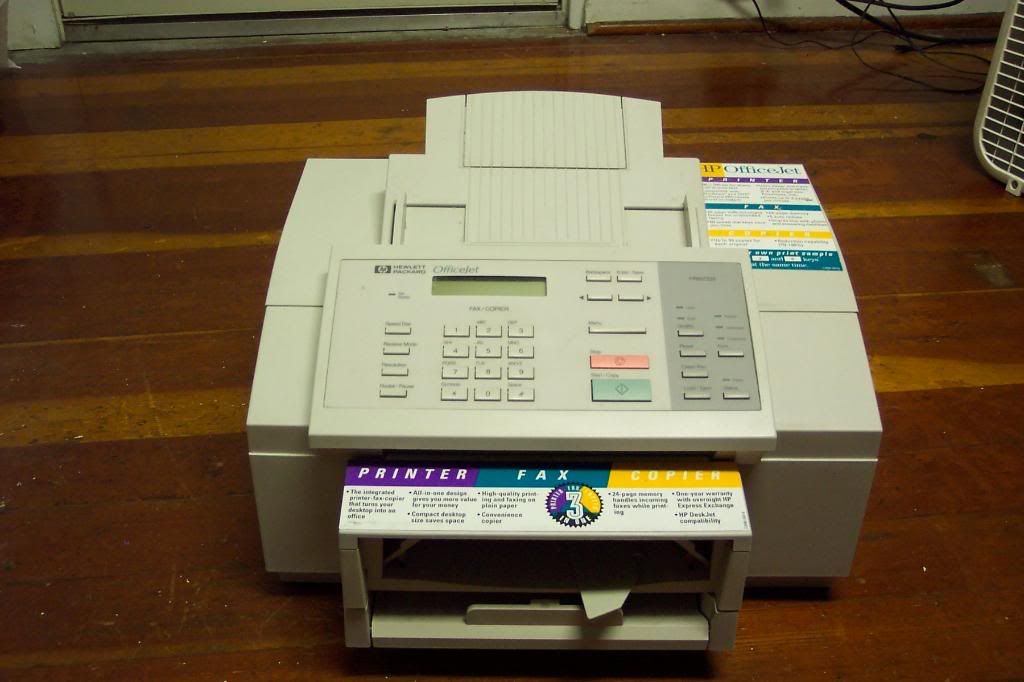
 The first thing I noticed when I snagged this was how light it was. And by light, I mean cheap. Most desktop printers of this size have some heft to them, but this one almost felt like an empty case. I know that plastic construction does not automatically equal low quality, but this is a fairly new printer and already in the trash. So yeah...
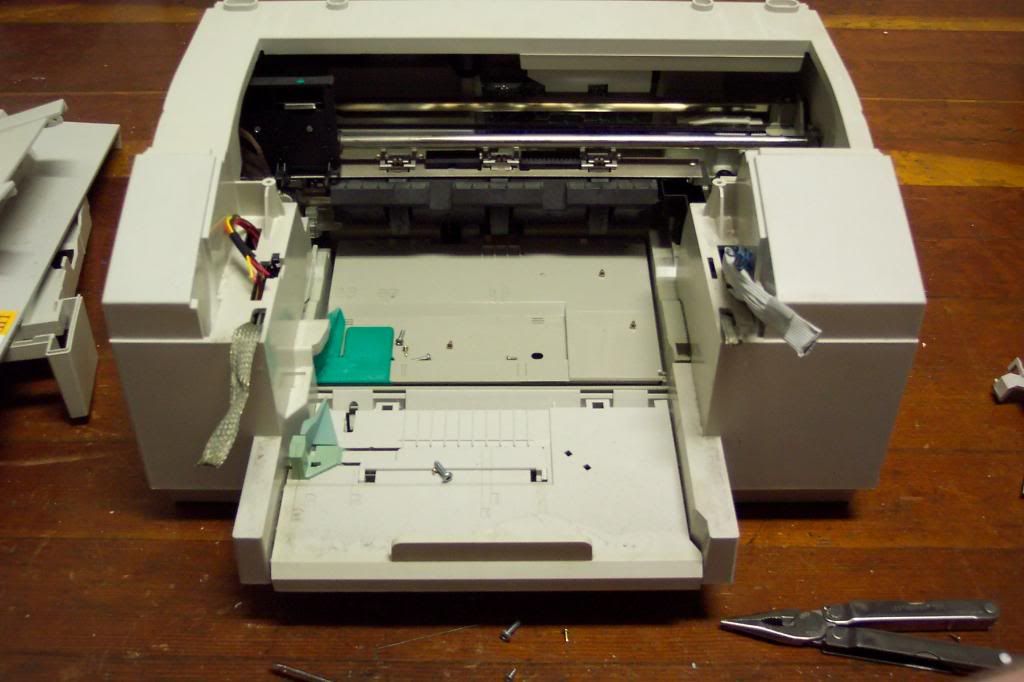
 The top of the body shell came off pretty easily. There doesn't look like much in the way of parts, but there were actually a decent amount.
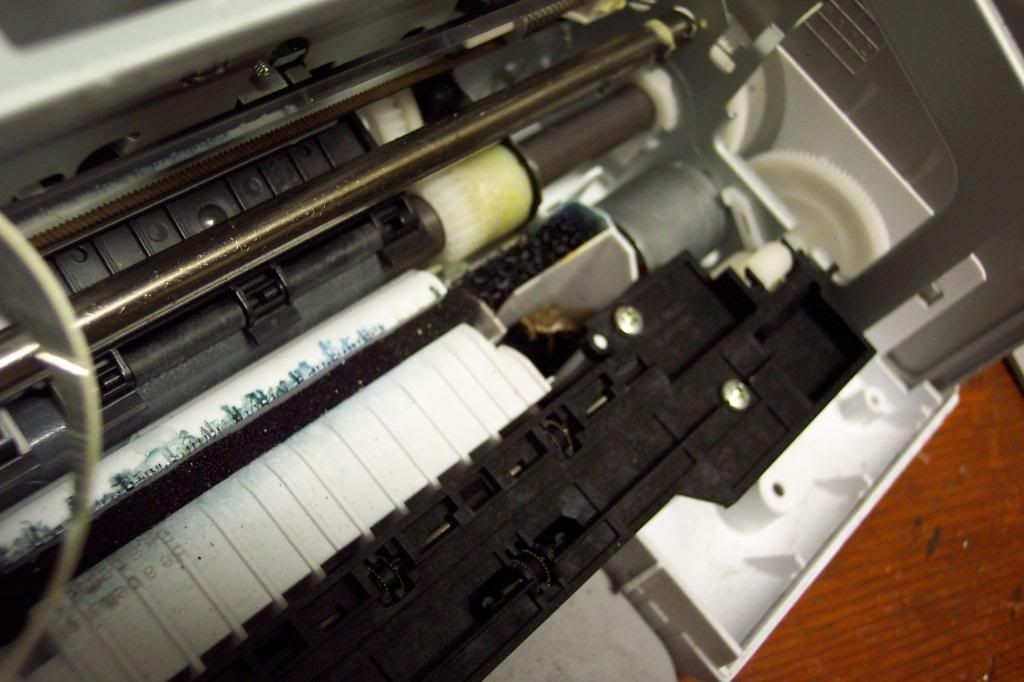 See that brown thing in the middle of the picture? That's a roach. A live one, in fact, and I got this far in taking the printer apart before I saw it. Taking this picture was immediately followed by taking the printer outside and shaking the roach out (squashing it would just have made a mess).
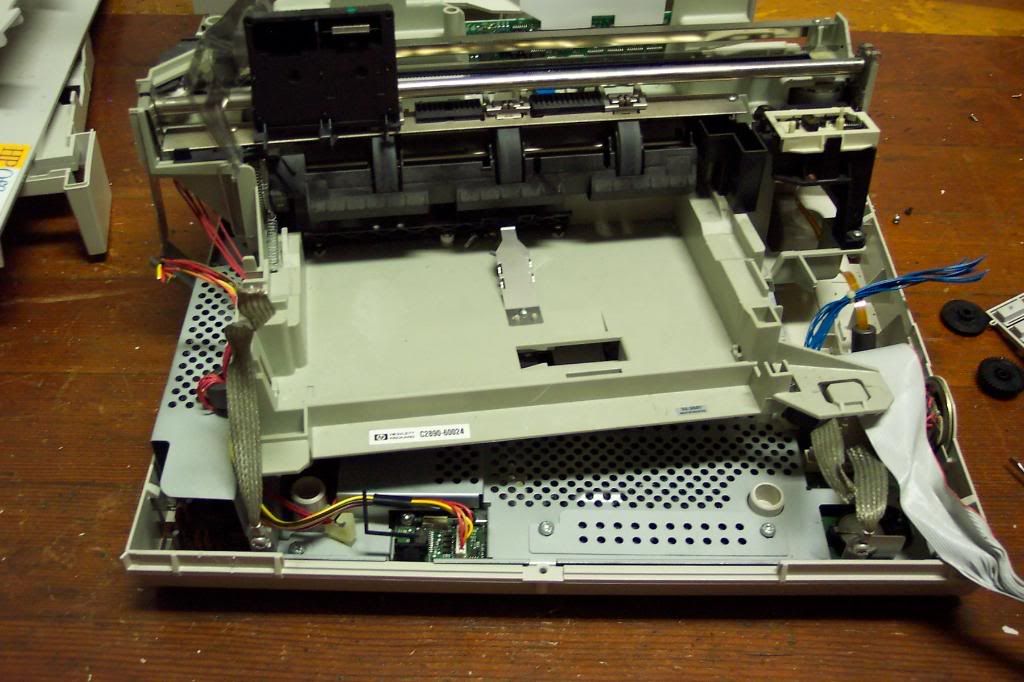
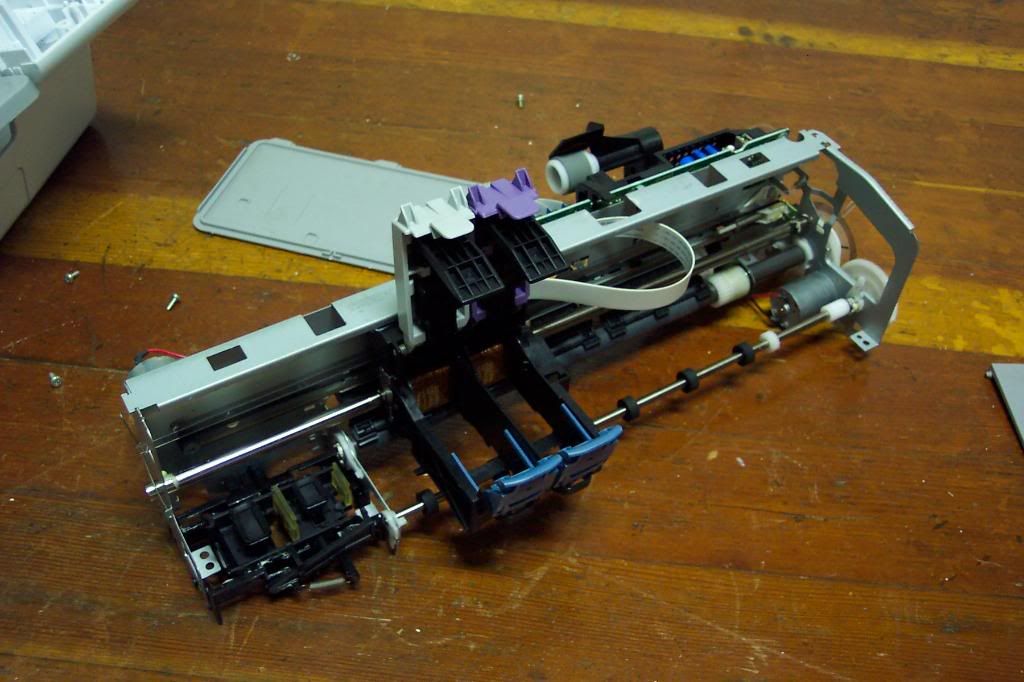 The printer, sans body case.
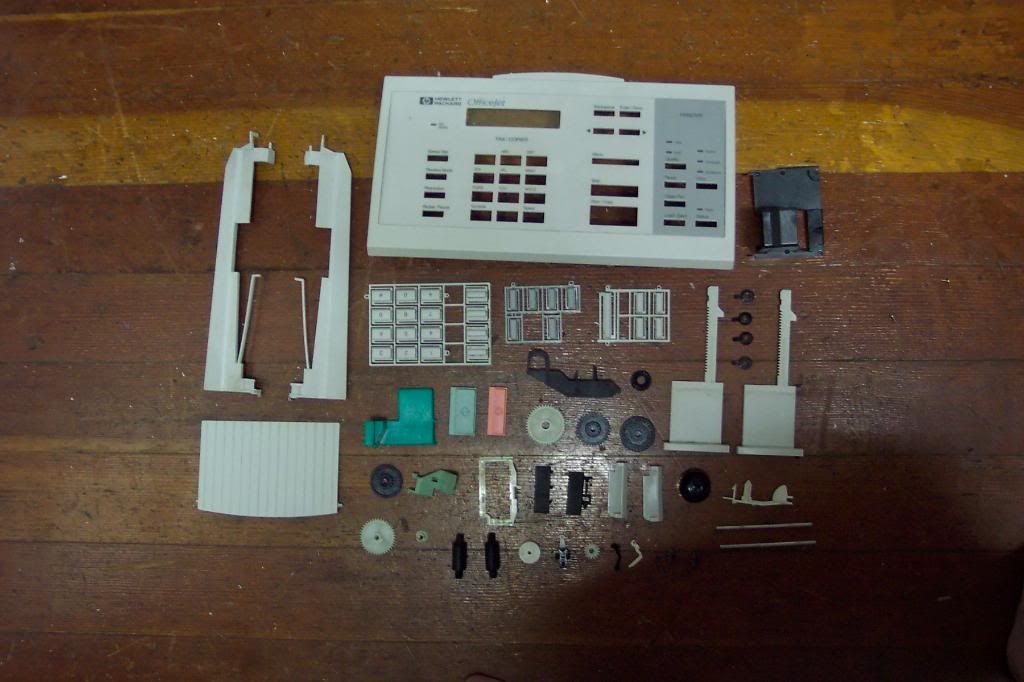
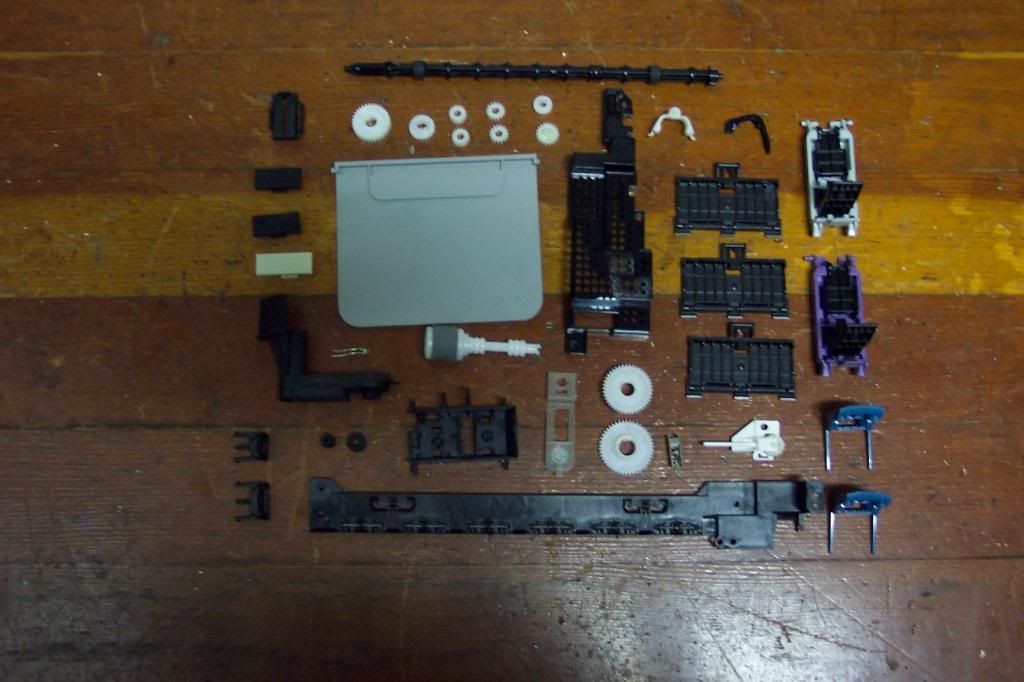 Decent parts haul, and fortunately not a roach turd to be found.