Saturday, December 15, 2007

Singer Model 719 sewing machine

Yet another sewing machine. It's getting a little monotonous, but I have no control over what the trash piles will yield. Taking the same kinds of things apart over and over is still preferable to not having anything to take apart. Besides, this was one of those rare sewing machines that came most of the way apart.


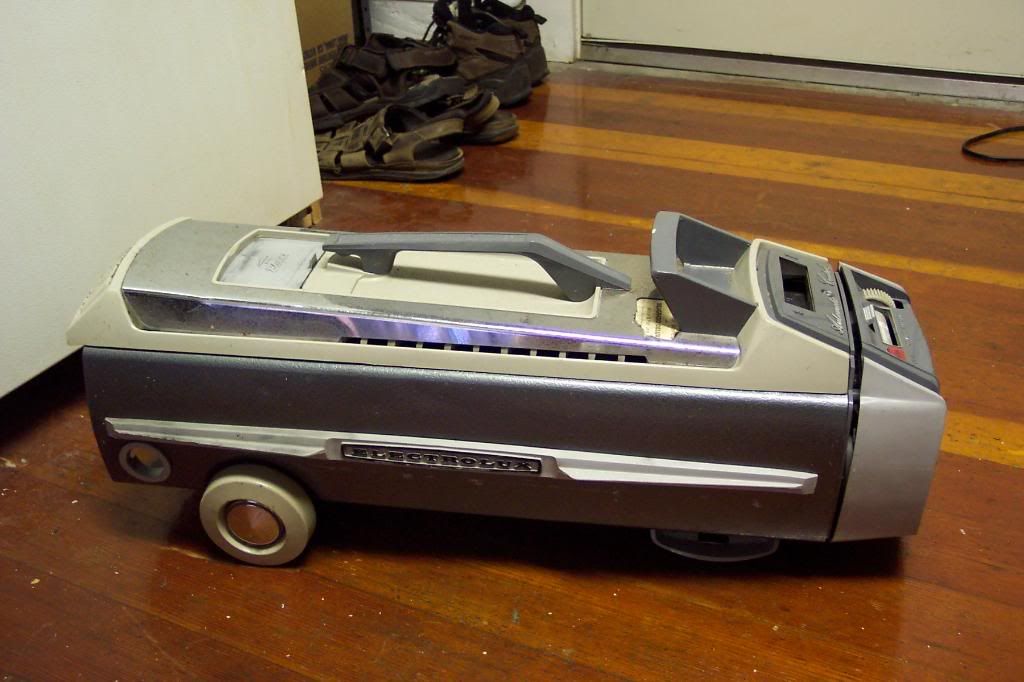
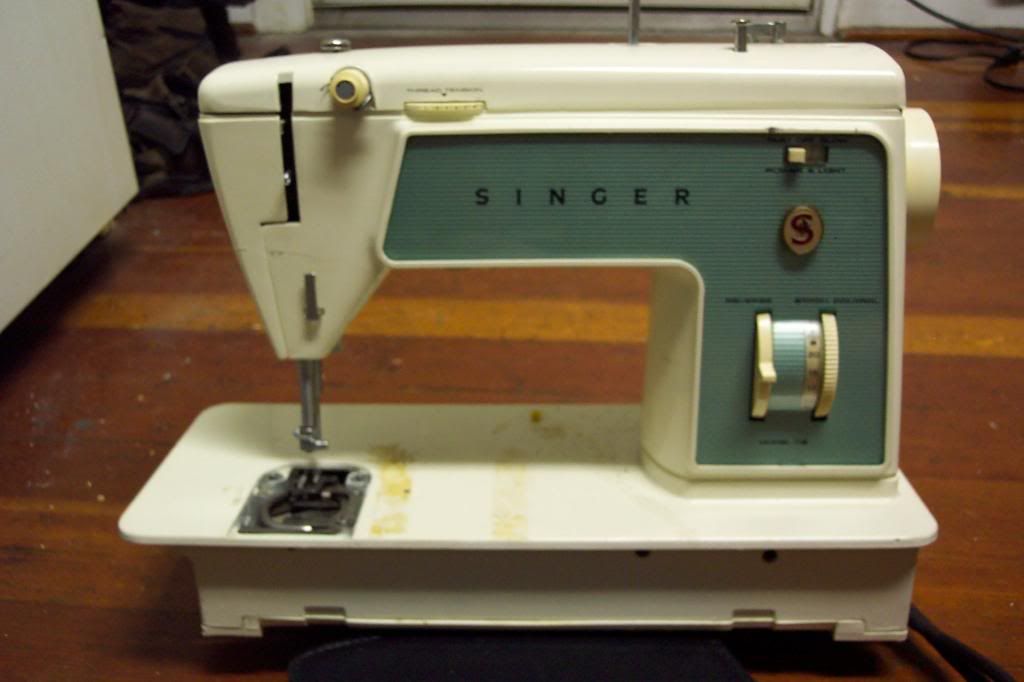
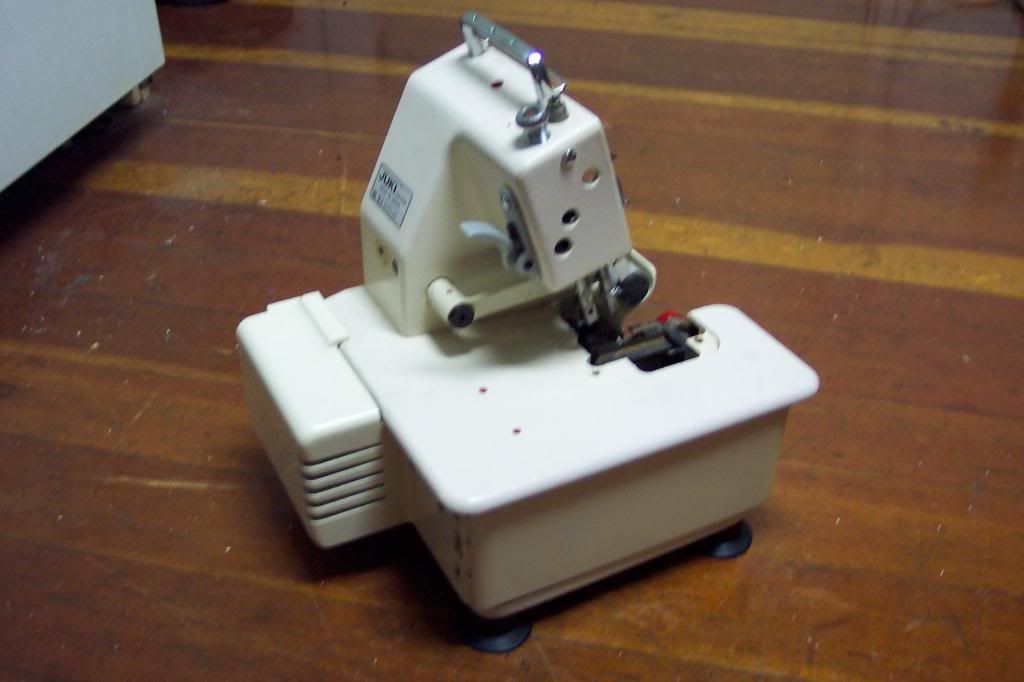
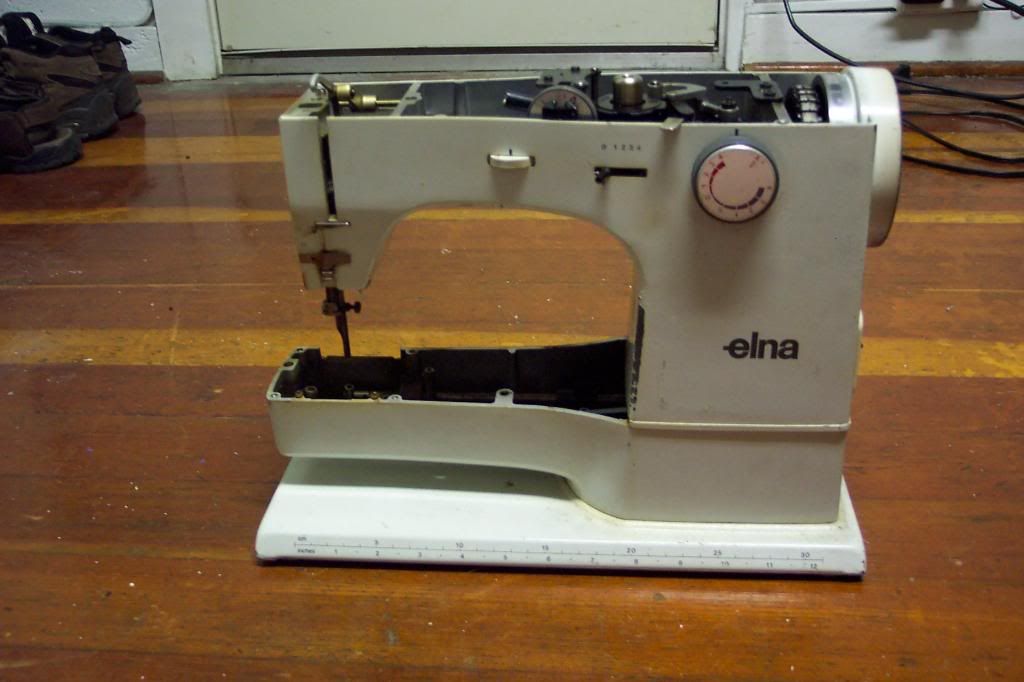
I can't tell if this is an older machine, or a relatively recent one with retro or non-updated styling. I'm leaning toward mid 1970s, but I'm too lazy to look it up right now. Either way, it's a nice, simple design that looks like what it does.

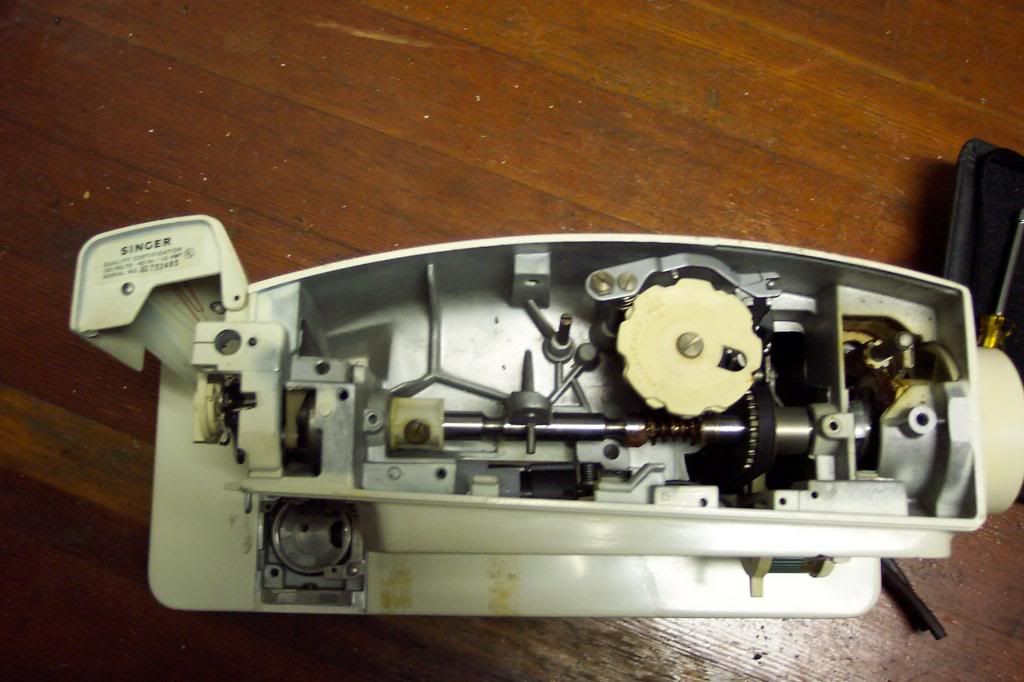
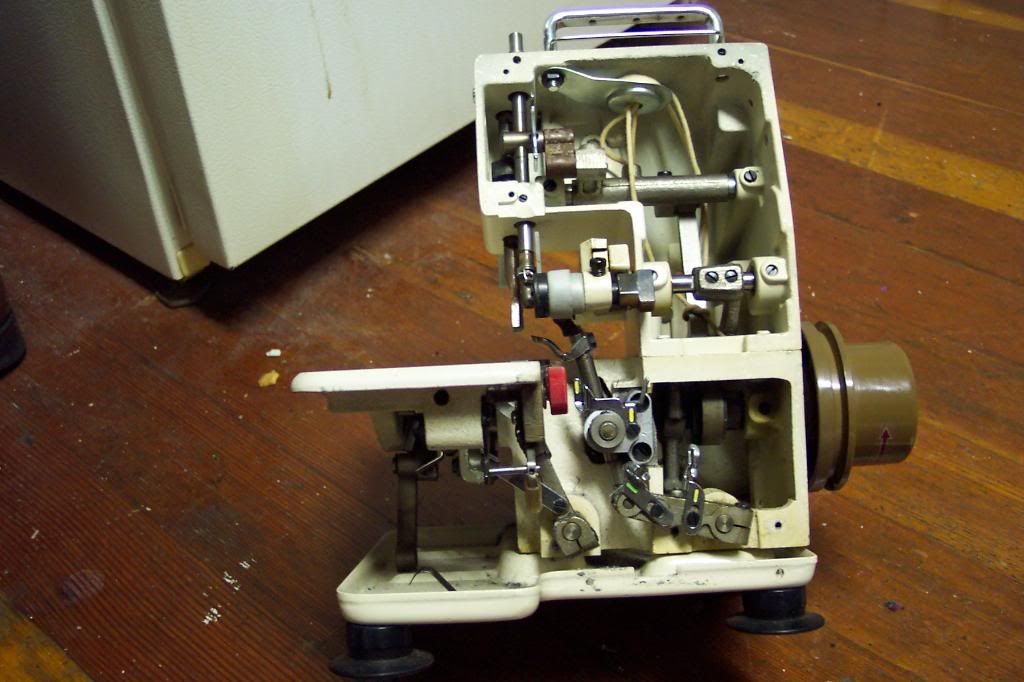
This is the most uncluttered mechanism I've ever seen in a sewing machine. I don't think the picture does it justice. It's the same as popping the hood on a car from the 1960s versus a modern car. there's a sort of no-frills elegant simplicity to it.

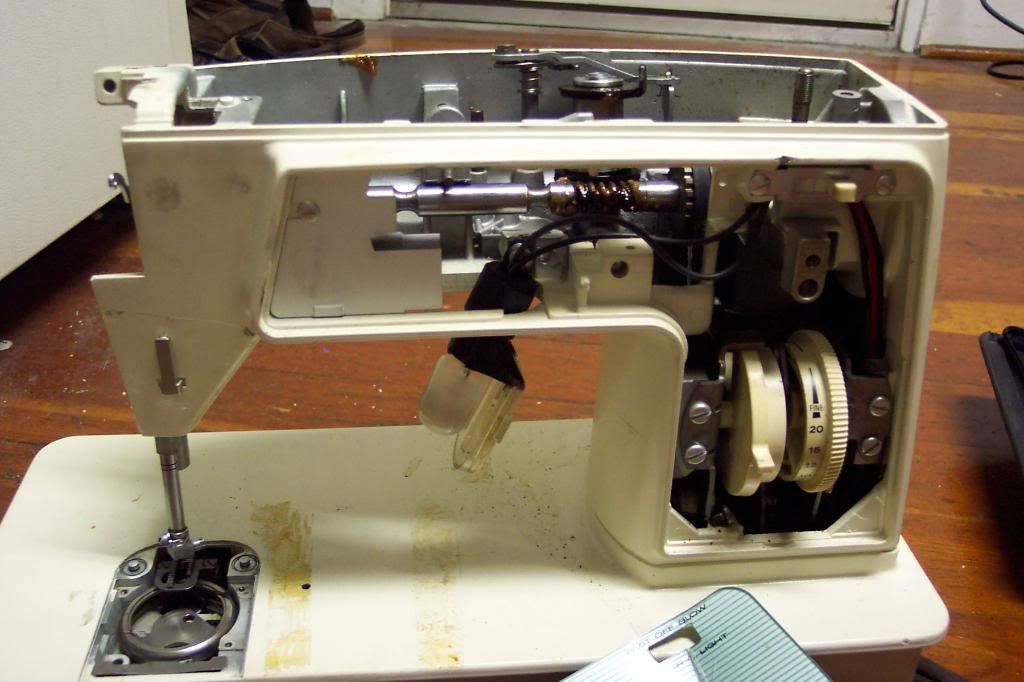
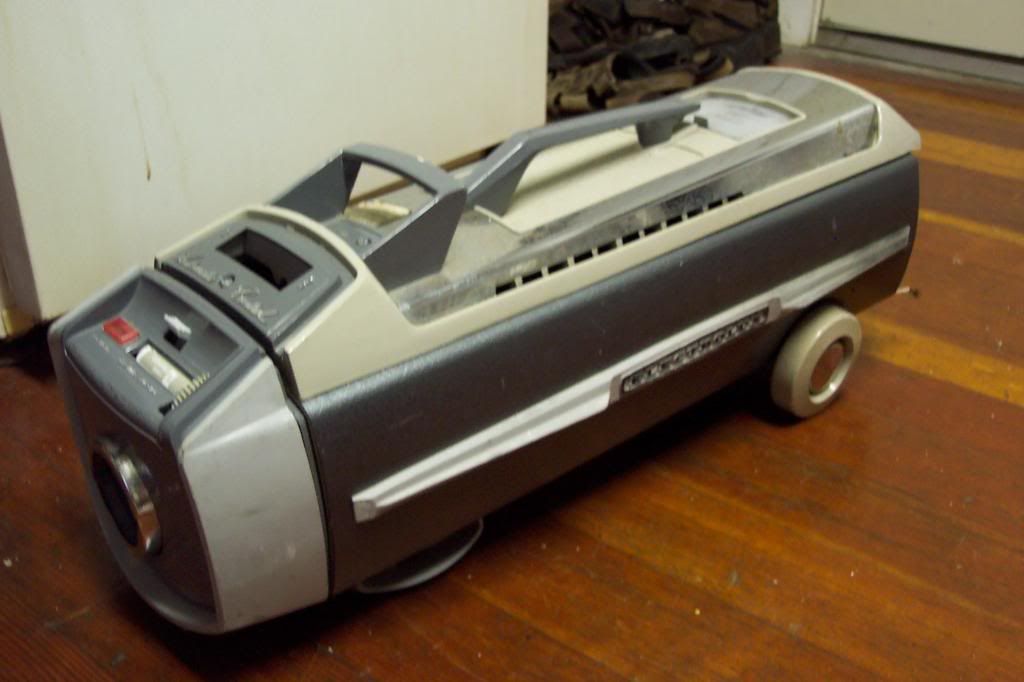
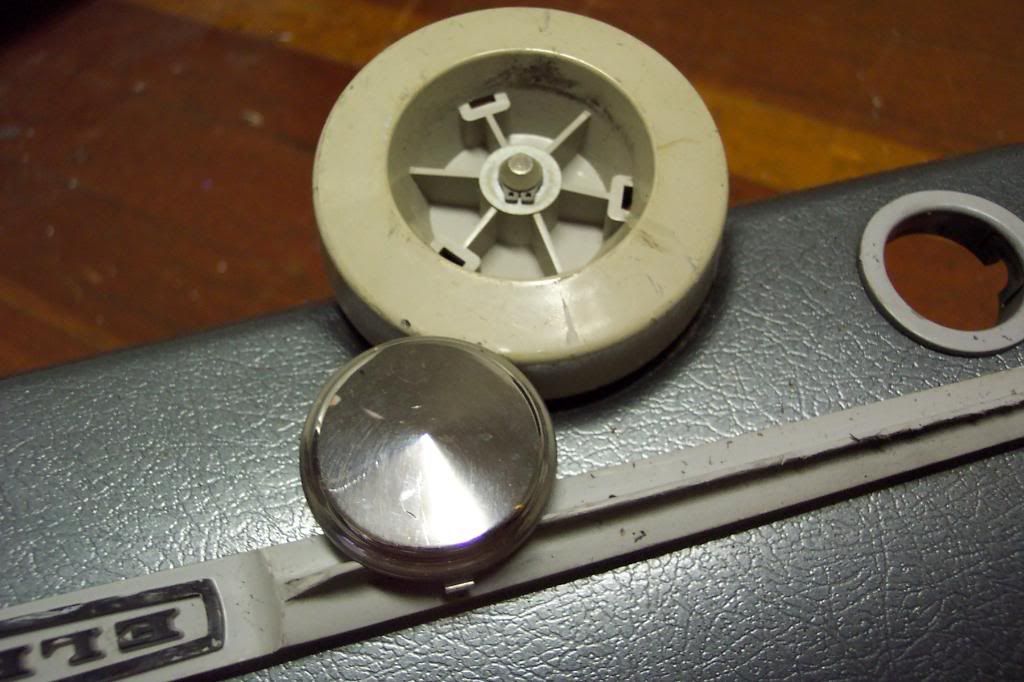
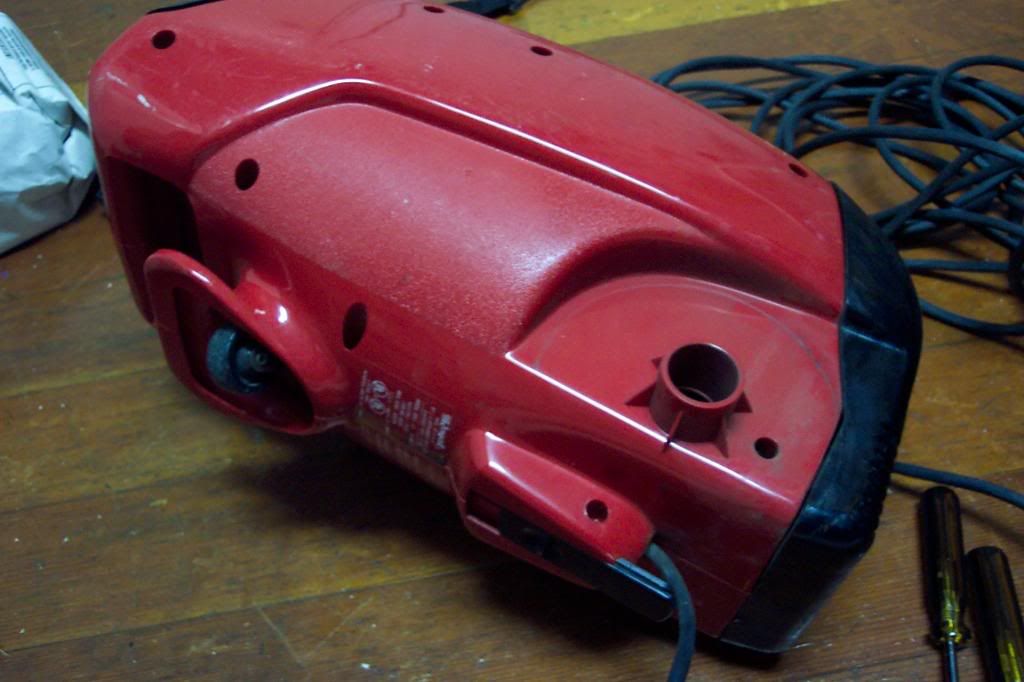
Removing the side panel (which I tried to do by prying until I realized there was another screw behind the Singer logo badge thing) revealed more parts, and another angle from which I could attack the screws and Allen bolts. There were a lot of parts that would actually yield to my efforts. Surprisingly enough, the two control dials wouldn't fully come out; I initially thought those would be some of the few things that would.

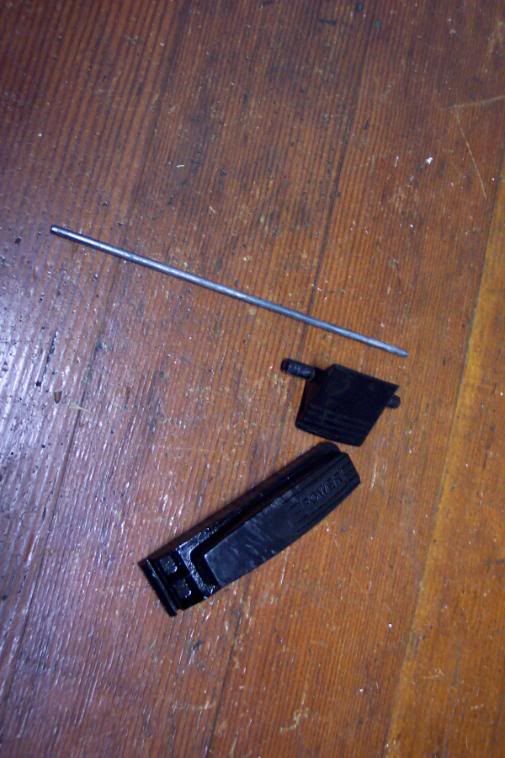
There were even a few things to remove underneath the bottom panel. And, yes, that is a pile of my shoes in the background.

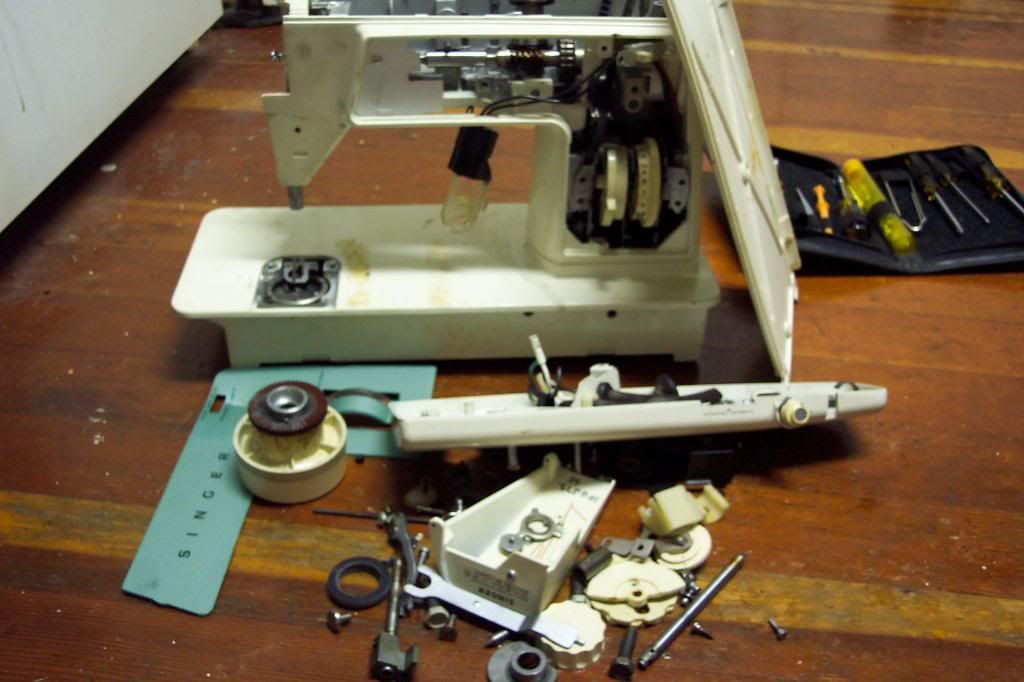
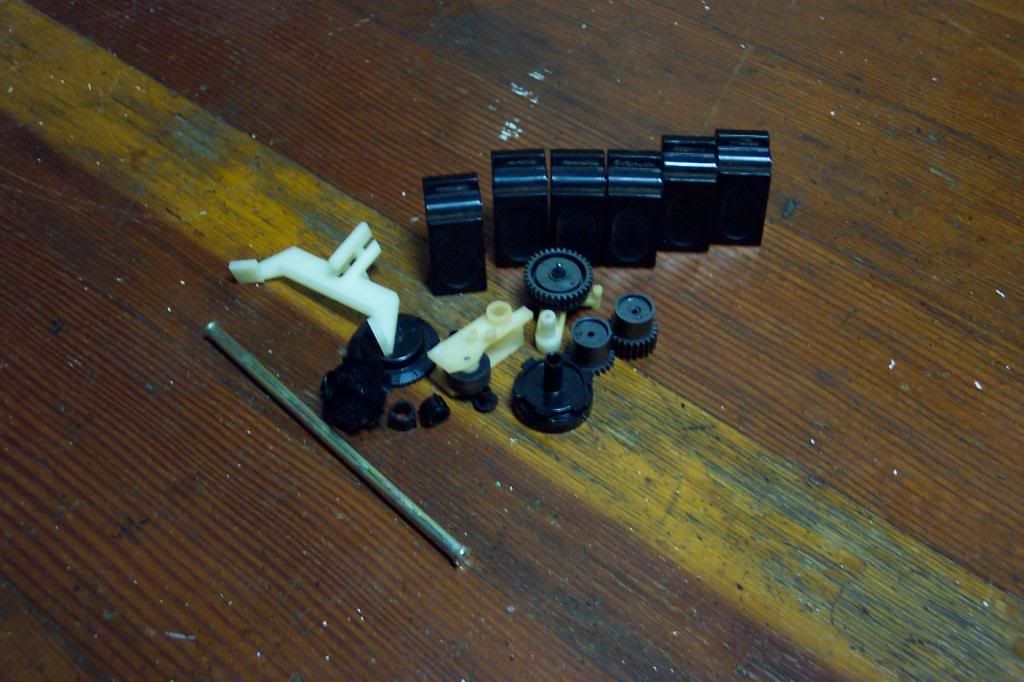
For a sewing machine, that's a mighty pile of parts. The main parts of the mechanisms didn't come off, but I was amazed at how many little ones did. I seem to recall taking another Singer apart that looked similar, but I don't remember it giving up so many of its guts. Maybe it was a different model, or I just got lucky with this one. Also, it looks like I need to be a bit more careful with the camera; this picture is a little fuzzy and washed out, even for my fairly lax standards.

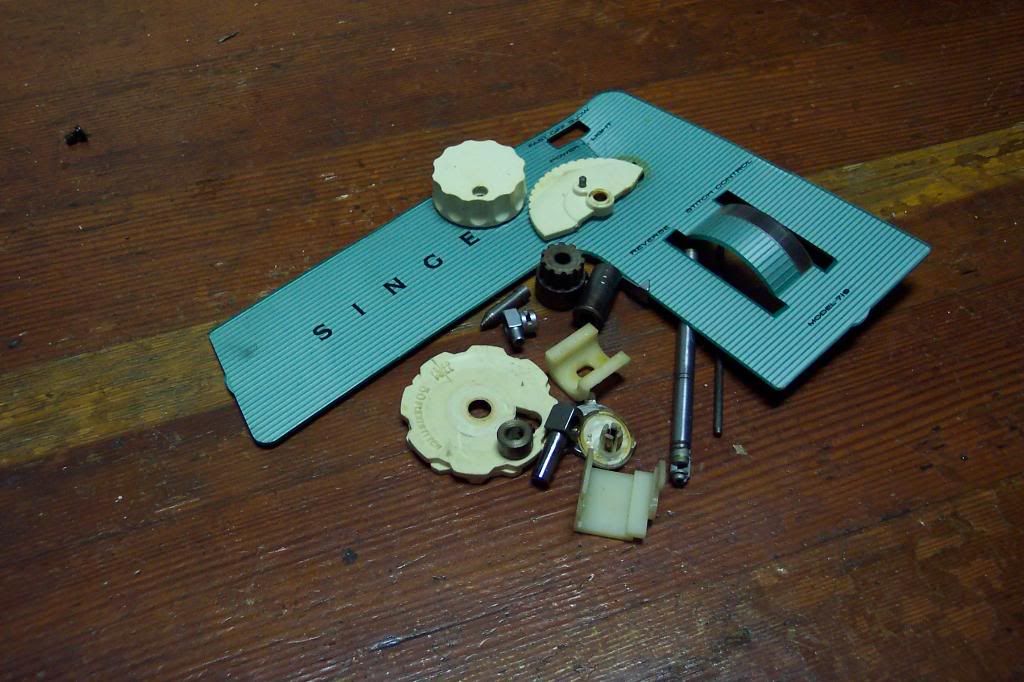
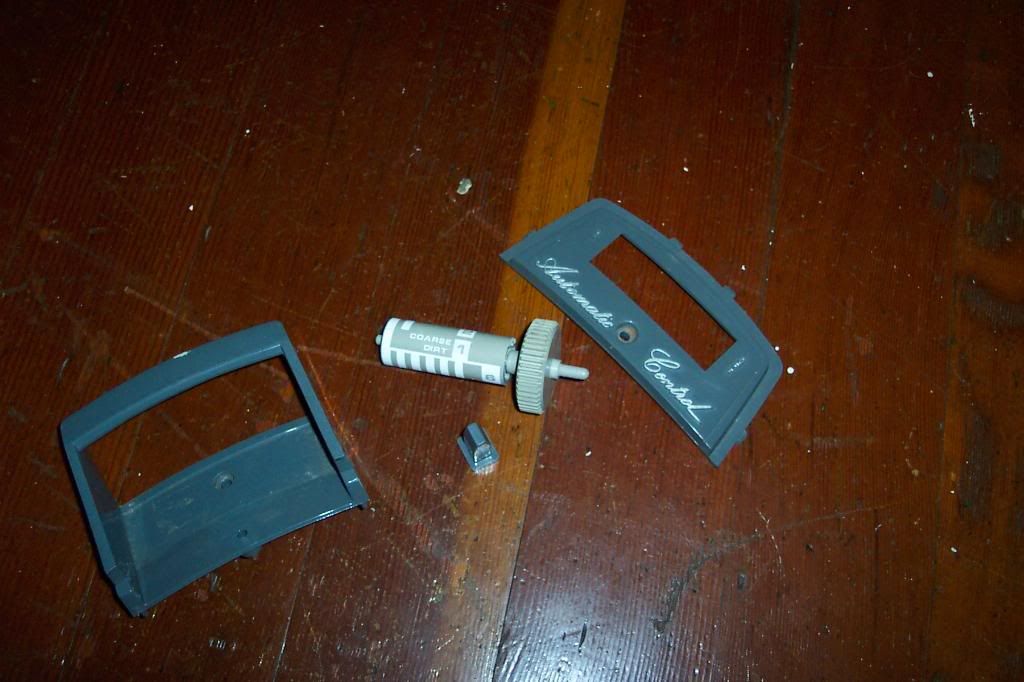
The final trophy pile is considerably smaller than the total amount of parts I took off, but not bad for a sewing machine. Why bother with the front panel? I like the texture of the design on the plastic.


ADDITIONAL NOTE: On the off chance anyone besides me reads this, I'm going to be out of town for a few weeks, so no new entries until around mid-January. However, I do plan to try to fix the crappy formatting on the previous entries.

Wednesday, December 12, 2007

Juki 408 and 418 overlocking machines

I'm covering two separate machines here, which is something of a departure from normal, but they were so similar and there was so little actual disassembly that I might as well just have one entry for both.

These are overlocking machines. I've scrapped a couple of these before and just sort of assumed that they were compact, stripped-down versions of regular sewing machines. I now know, thanks to some quick internet research, that they are in fact designed to stitch on the edges of fabric, both to keep the fabric from ravelling and for decorative purposes. So I learned something new, which means this hobby isn't a complete waste of time.

On with the show, what there is of it. First, the 408 model:


The lack of a panel on the one side means this machine has been picked over to some degree. I can't imagine there was much to cannibalize off it in the first place though.
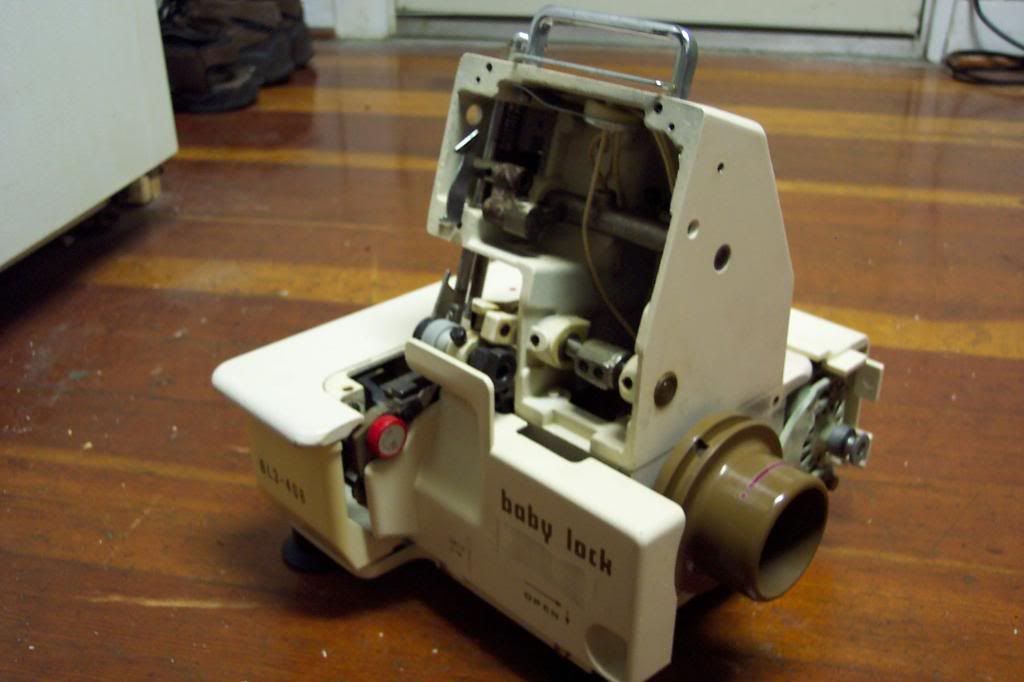
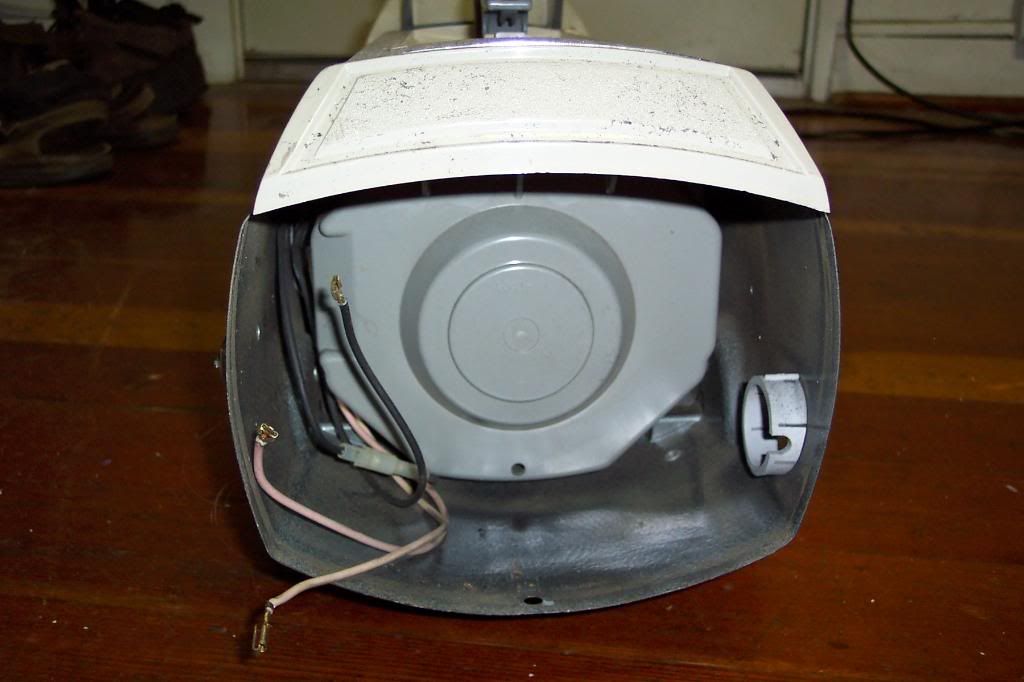
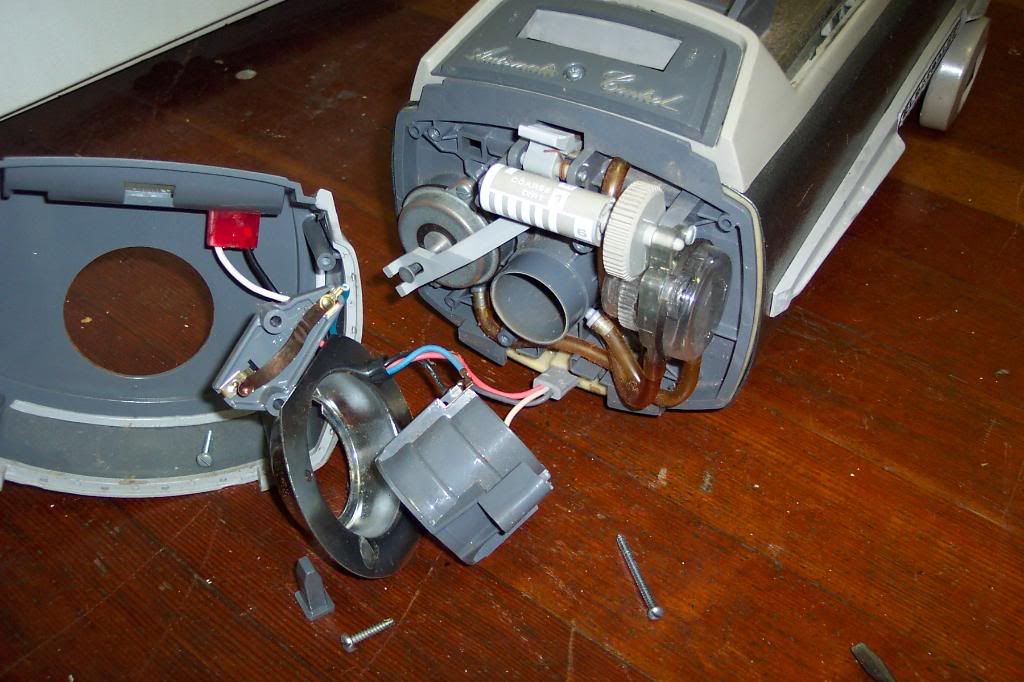
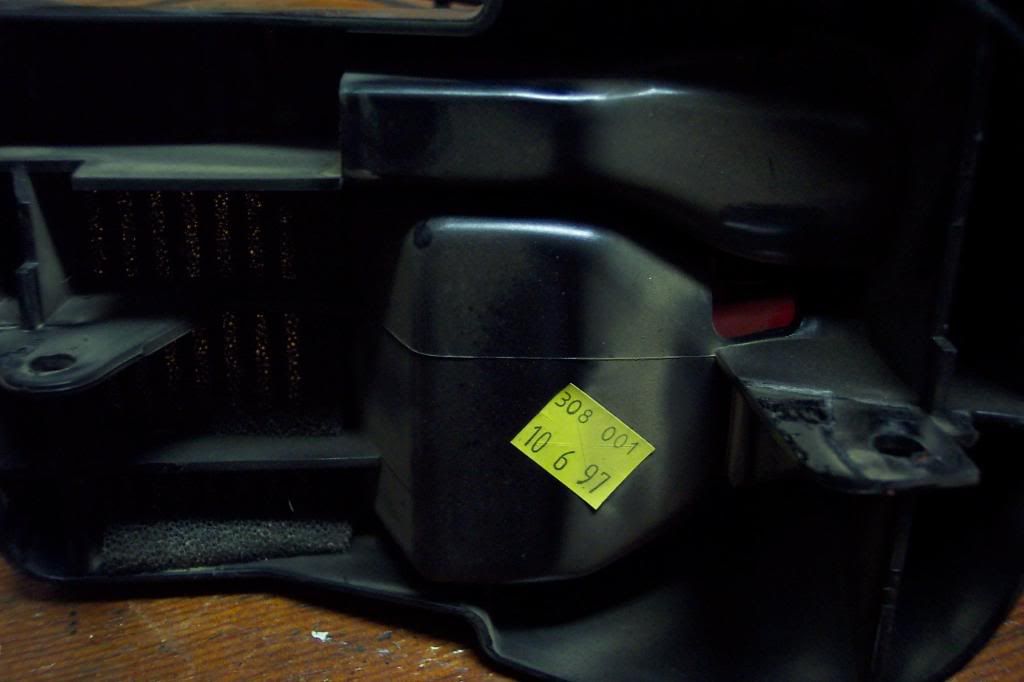
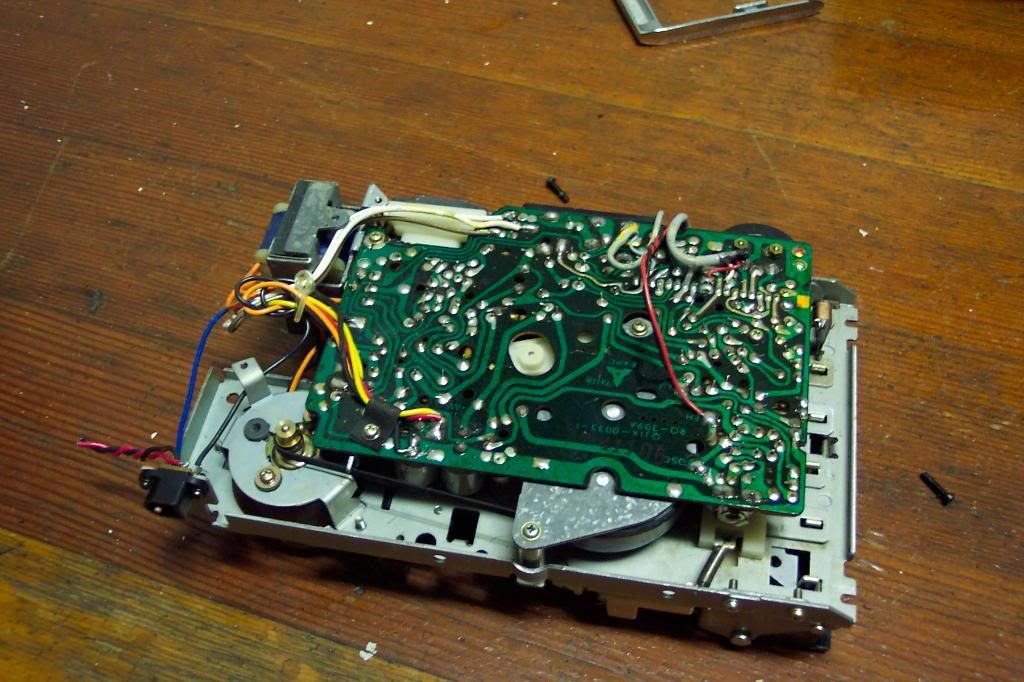
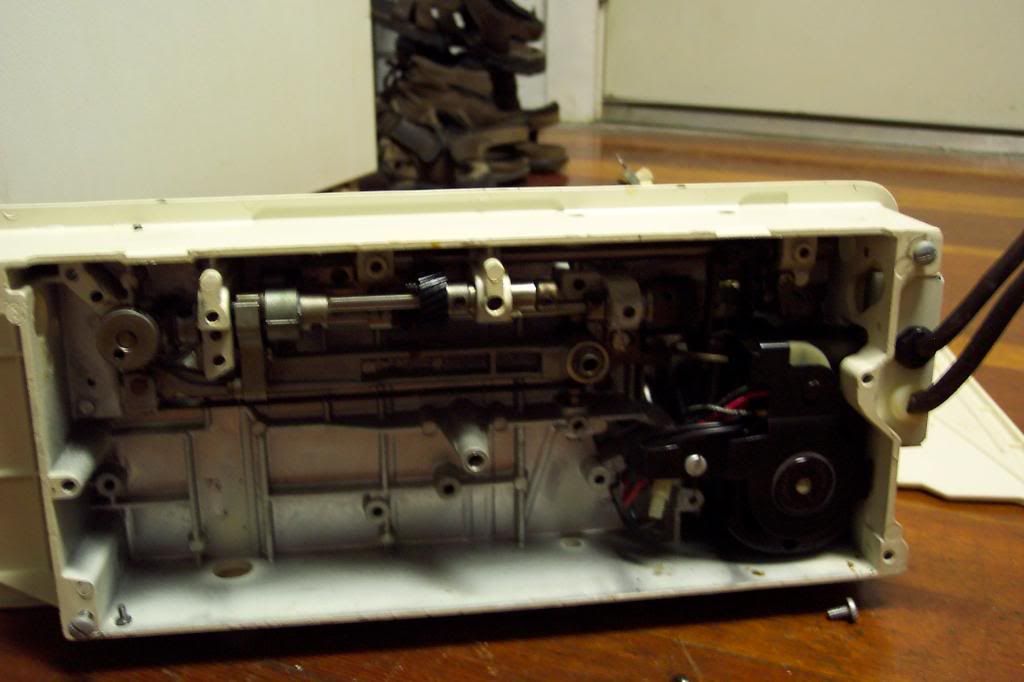
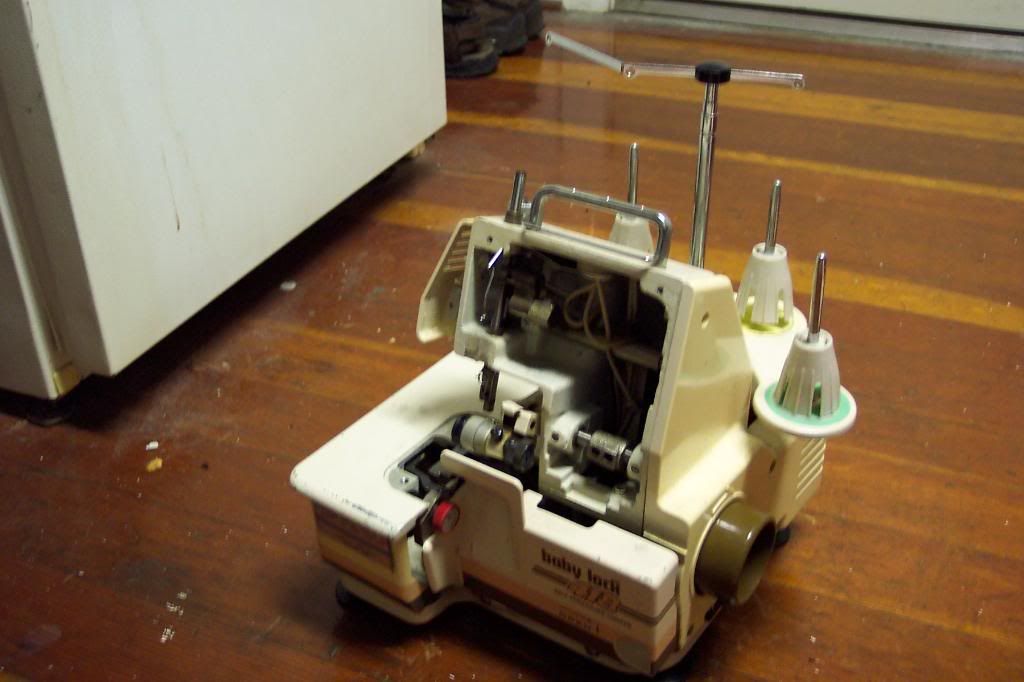
Here's a shot of the innards. Like so many sewing machines, there are plenty of fasteners that won't come undone, taunting me with the little parts they hold in place.
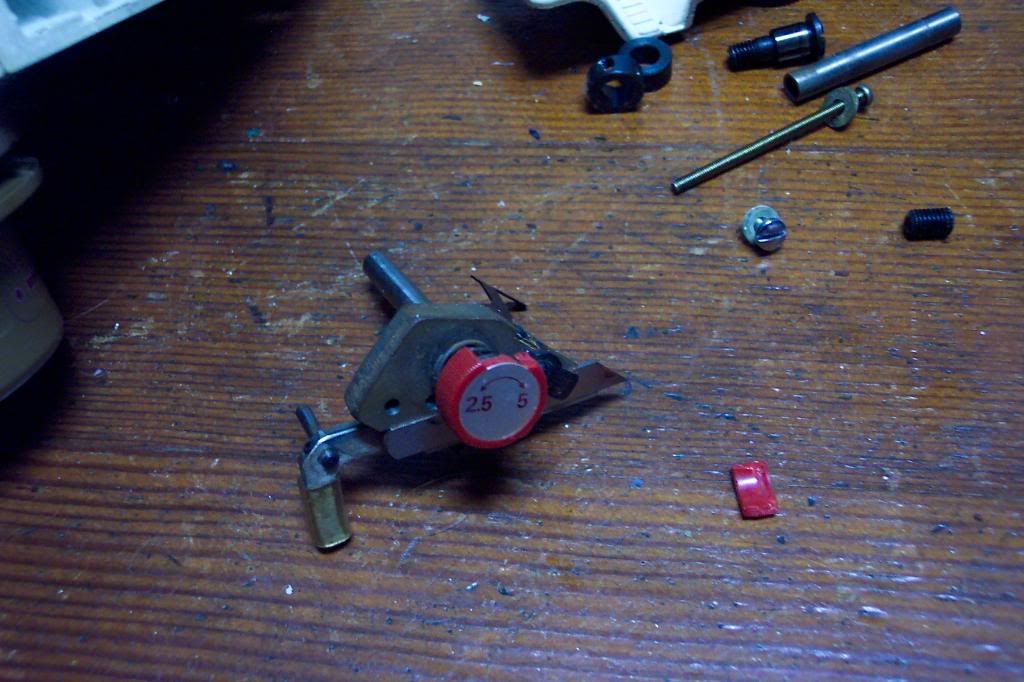
I really wanted that red dial. There's nothing special about it on its own, but the 418 has one just like it, and having two of something appeals to me a lot more than having just one. It's just more symmetrical that way. Anyway, the dial didn't yield to gentle pressure, so I applied more force and ended up breaking it. The plastic was kind of brittle. Oh well.

That's the one piece I saved off of the 408: the plastic side covering thing. You know, in case I ever need a plastic hinge.

Now here's the 418, which, I guess is ten better:

As you can see, it has a few things that the other one didn't, such as those cones for holding the thread. Nice shaped cones, but the type of plastic they're made of is too flexible to be useful to me.

I didn't bother to take pictures of the mechanisms inside of this one because it looked pretty much like the inside of the other one. Also, I didn't bother to try for the red dial on this one either.

Slightly bigger trophy pile for the 418, though not by much. That metal thing telescopes, so that might have a use. Might.

Saturday, December 8, 2007

Elna sewing machine

This isn't going to be a very long entry. I think the first picture will show why pretty clearly.


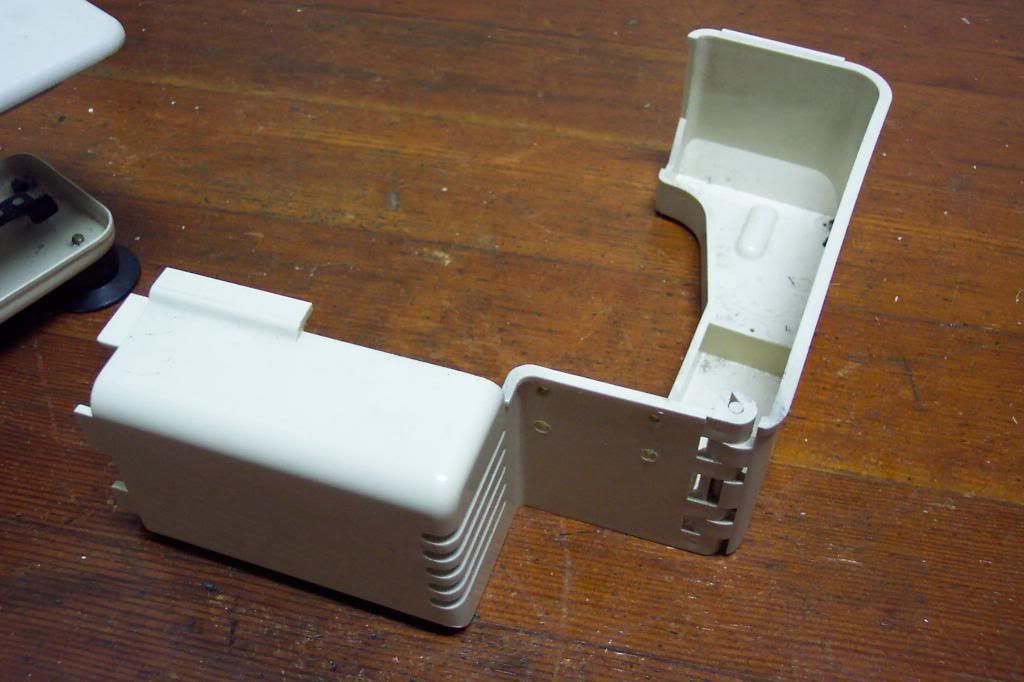
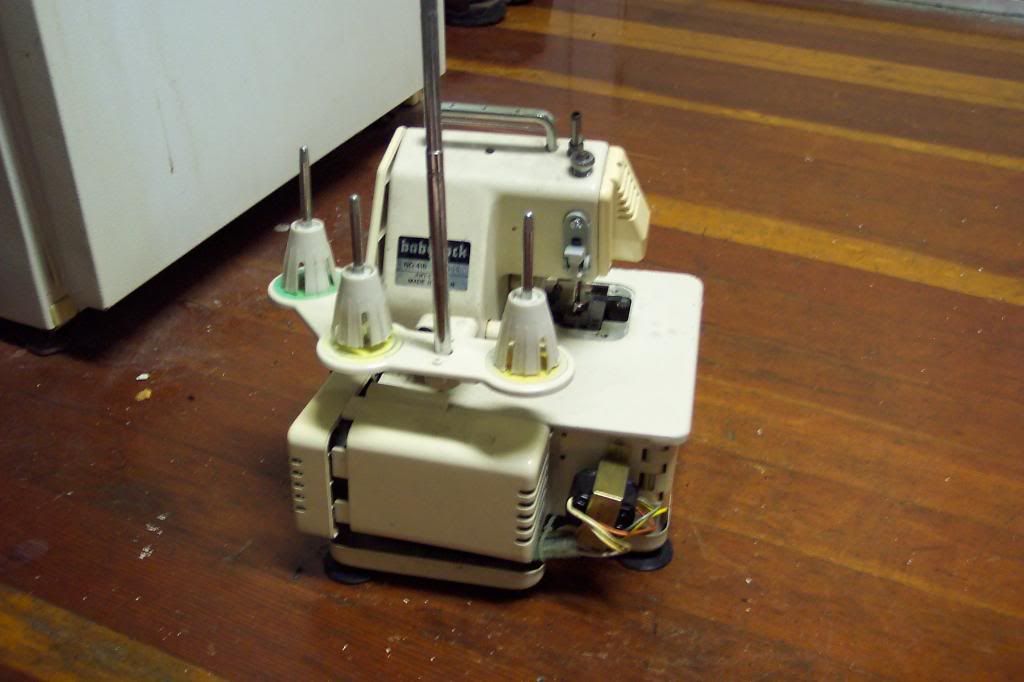
First of all, it's a sewing machine, and as I said before, sewing machines often don't lend themselves well to disassembly. Not with my limited tool set anyway. Secondly, it's only most of a sewing machine. It was already picked pretty clean when I got it. When I grabbed this one, I felt sort of like the slow vulture at the carcass.


A little googling told me that Elnas are fairly high quality sewing machines (they better be for the prices they charge). Looking at the machine, I can believe that; except for the control knobs, there was barely any plastic used in its construction. The high price might also explain why the sew/vac place cannibalized this machine before throwing it out. These kind of sewing machines are ones people have repaired, instead of just throwing them out.


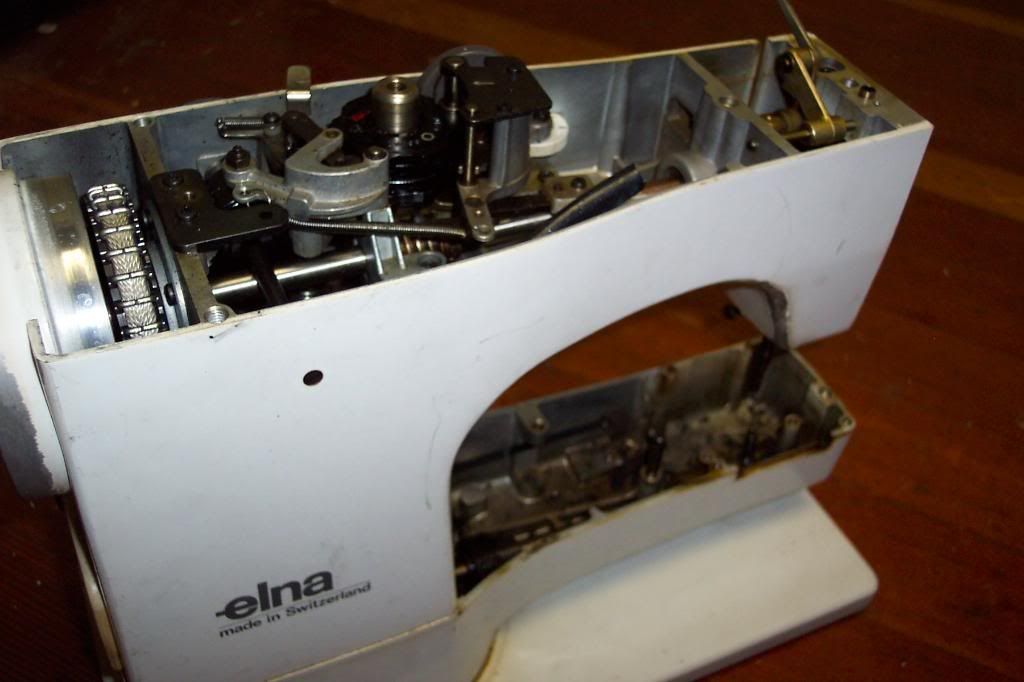
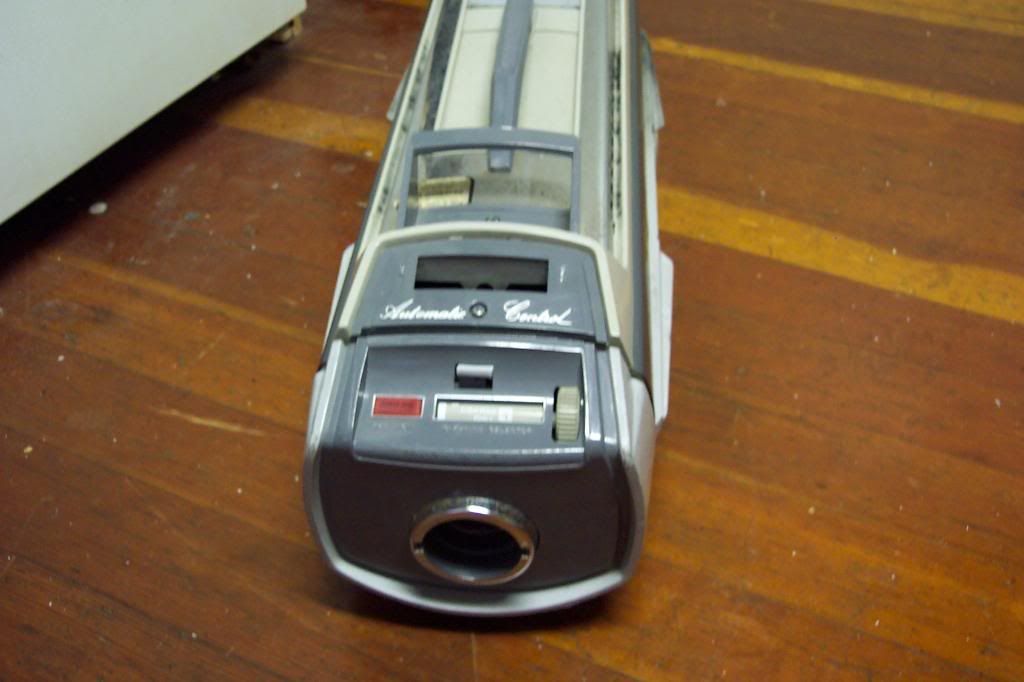
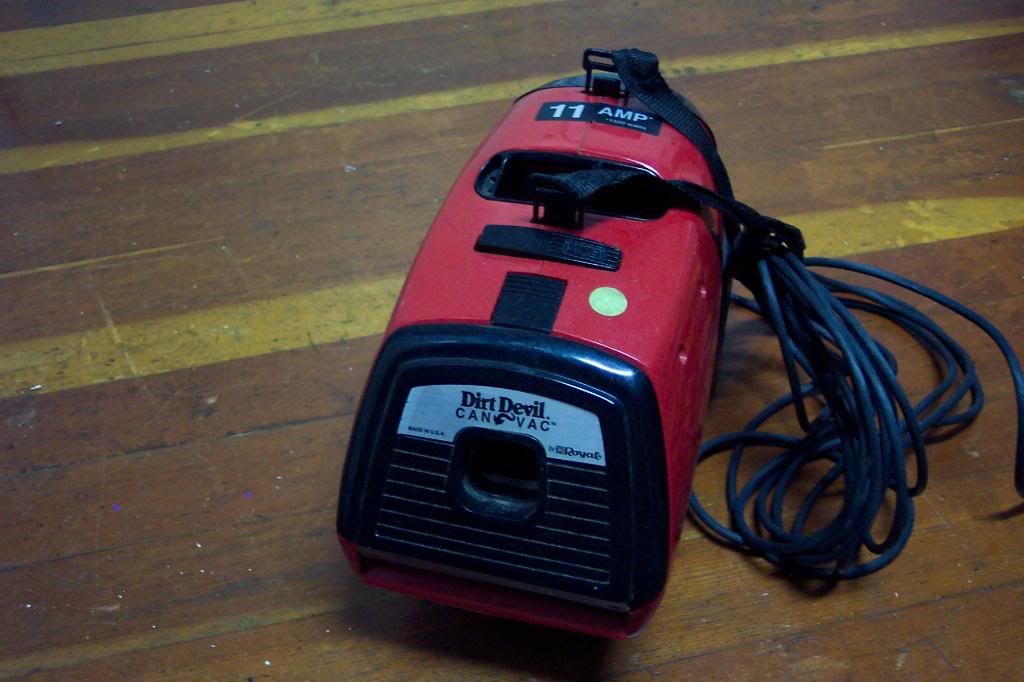
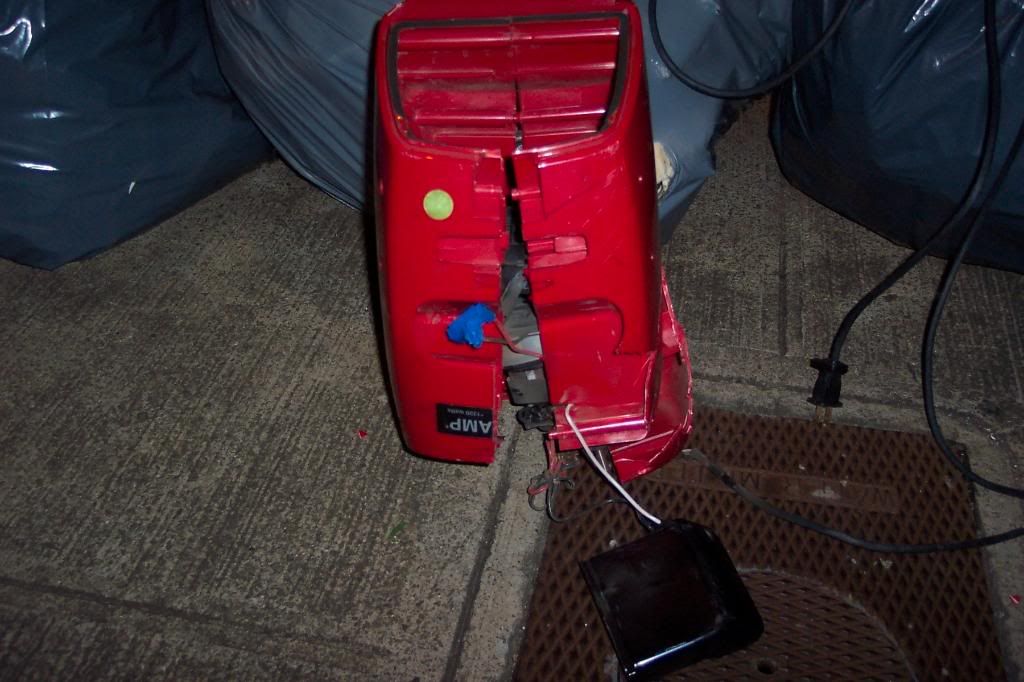
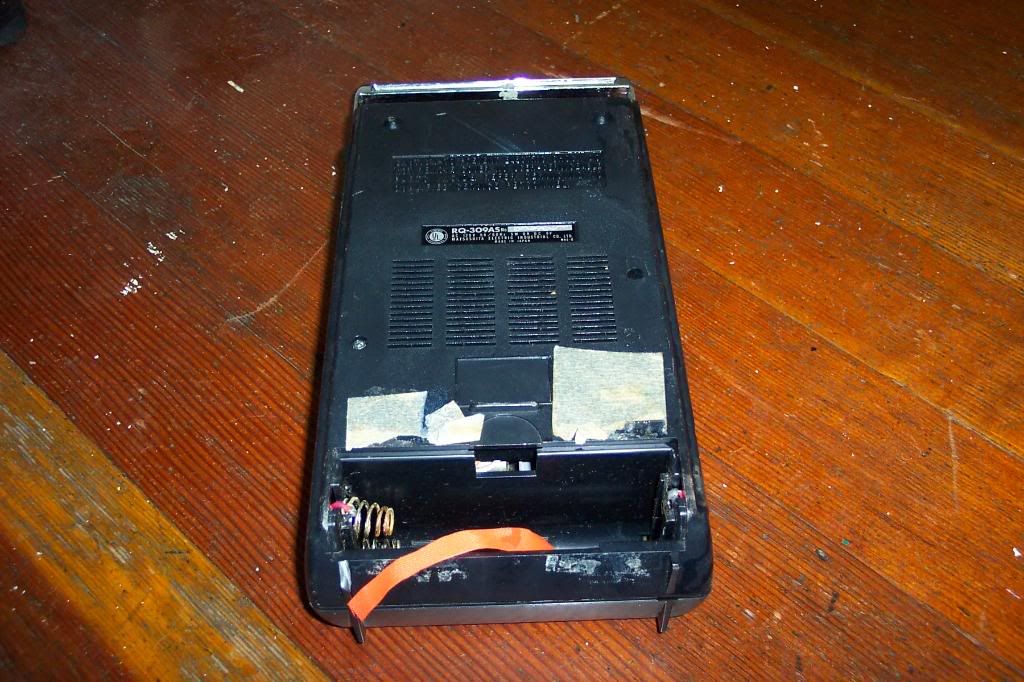
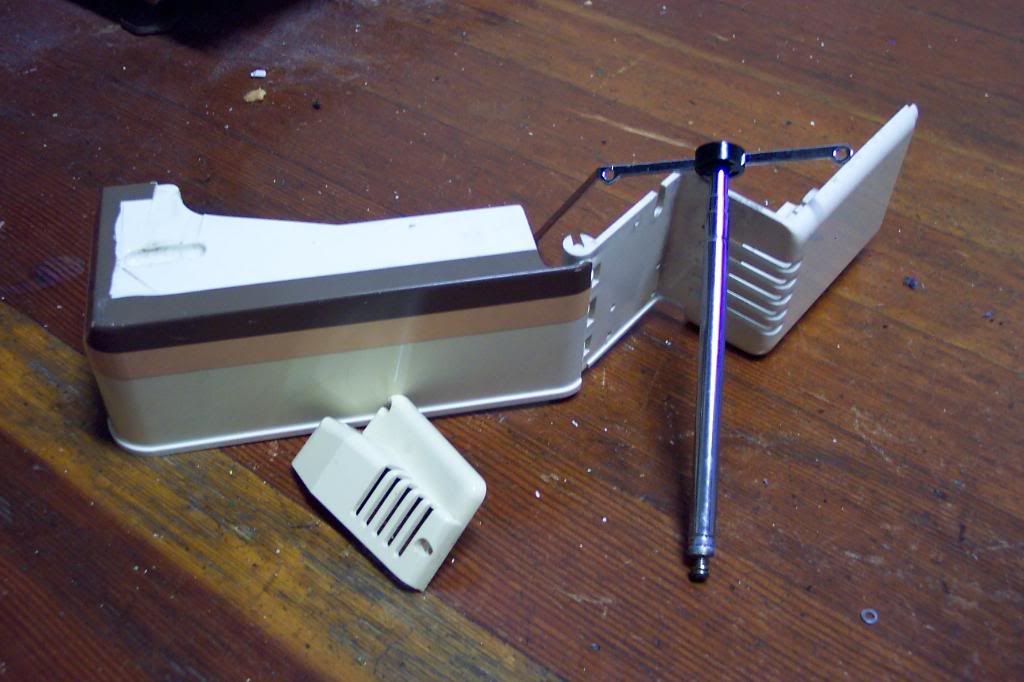
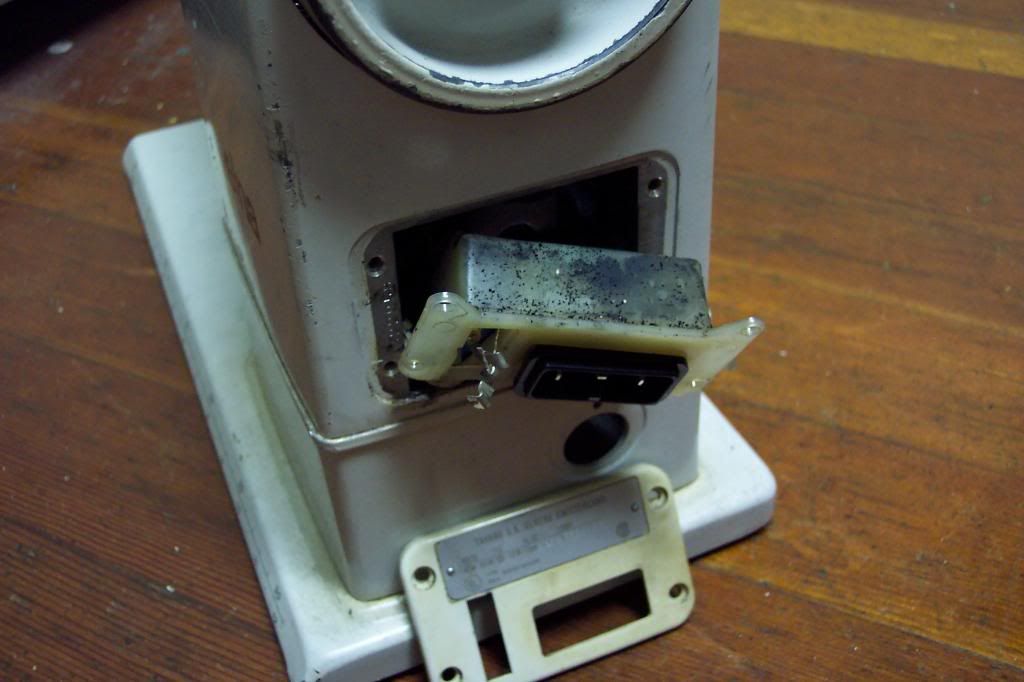
Most of the screws I could actually remove were on the back of the machine, holding that plate over the switch box.

Not much to show for the effort, but it's better than nothing I guess.


Wednesday, December 5, 2007

Hewlitt-Packard Laserjet printer

Last night I went out on my pre-trashday scouting ride with a bit of urgency. My junk supply had dwindled to almost zero, so I was looking for pretty much anything to scrap and write about. The sew/vac place wasn't throwing out anything but boxes, so I had to expand my search, which was still somewhat geographically limited since I'm using a bike. It was looking like I wasn't going to find anything, when I headed down a side street on a whim. And wouldn't you know, it paid off pretty well: a laserjet printer. Whoever tossed it even wrapped up the cord, so I didn't have to deal with it as I was transporting the printer home.
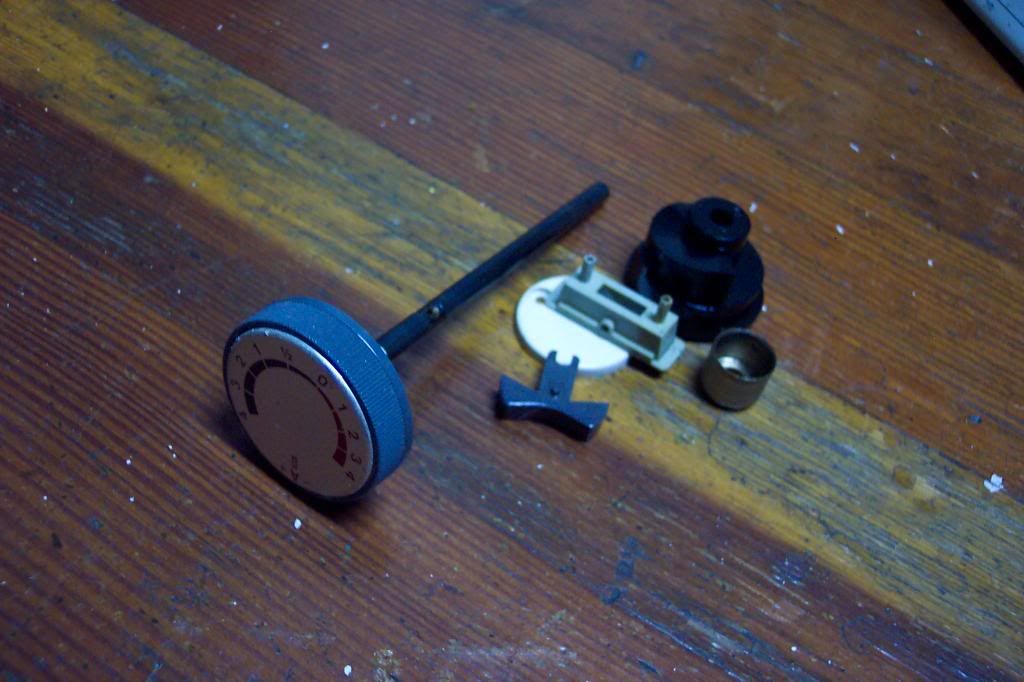
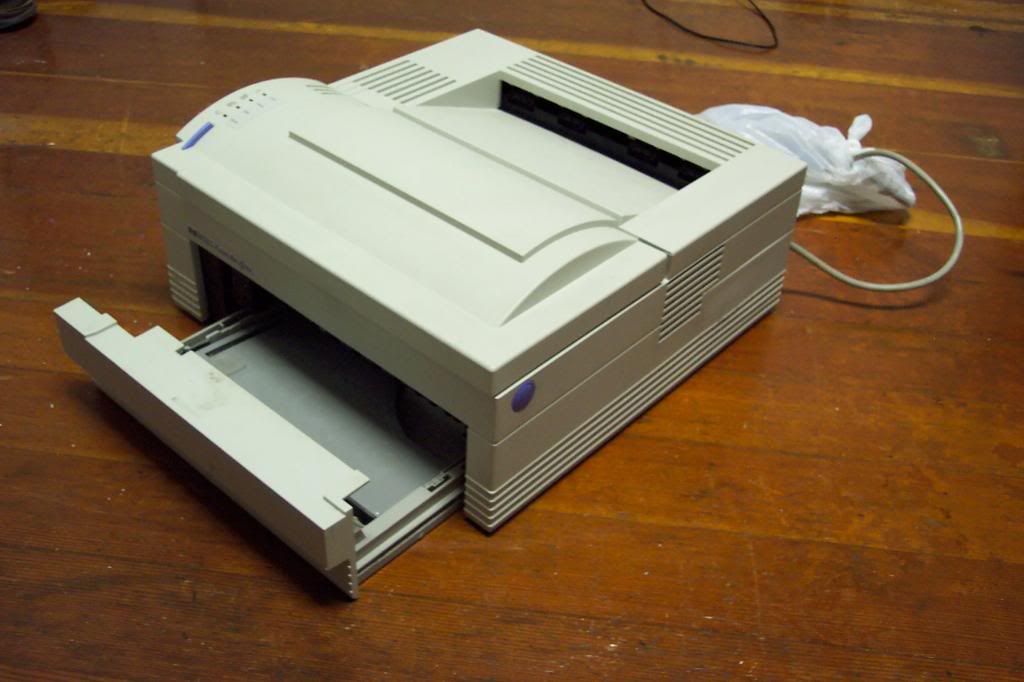
I really like scrapping printers. By their nature, they have to have a certain number of mechanical parts; you can't move a sheet of paper from one tray to another with a printed circuit board. And the parts are usually in 'layers,' for want of a better word. Removing a panel or circuit board often opens up a new set of parts.
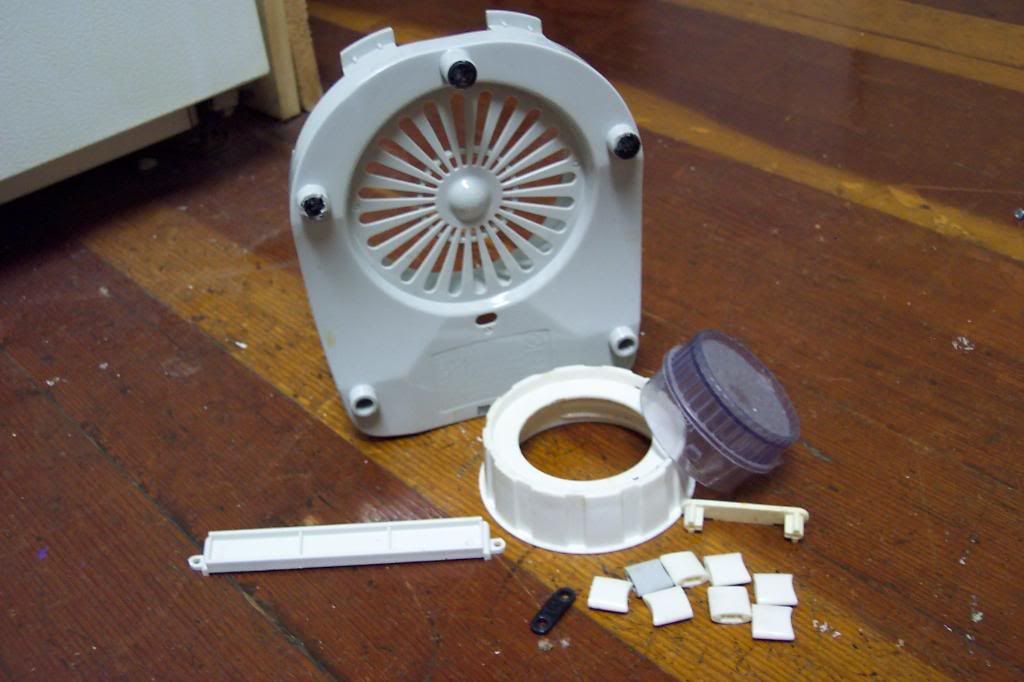
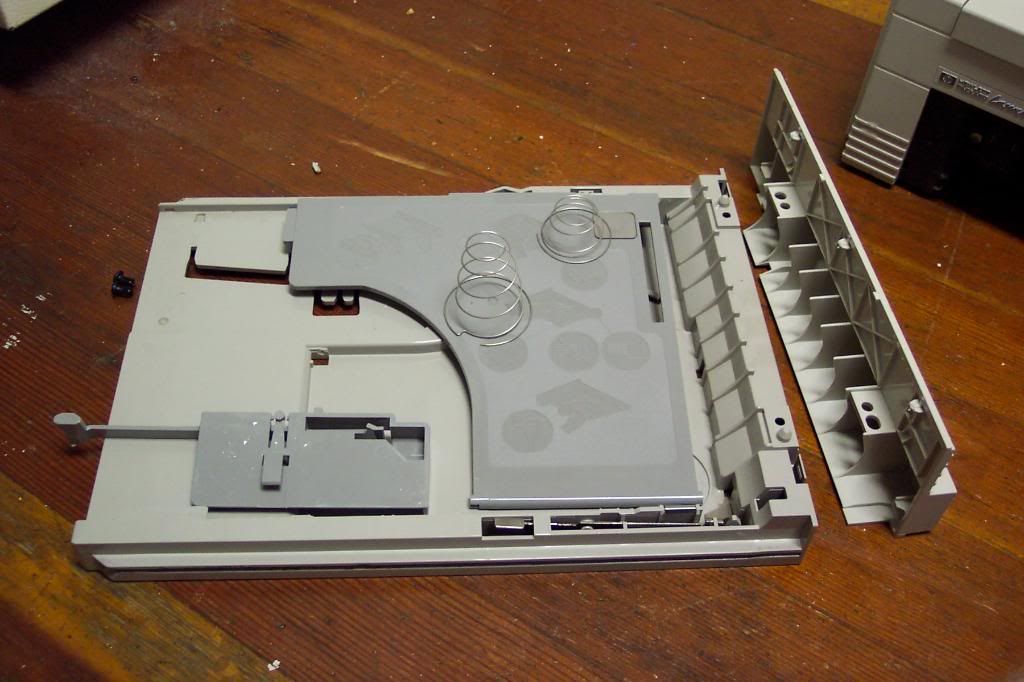
I disassembled the paper tray just because I could, not because there were any parts of practical use or visual interest. It's just another activity on the Dead Printer Playset.
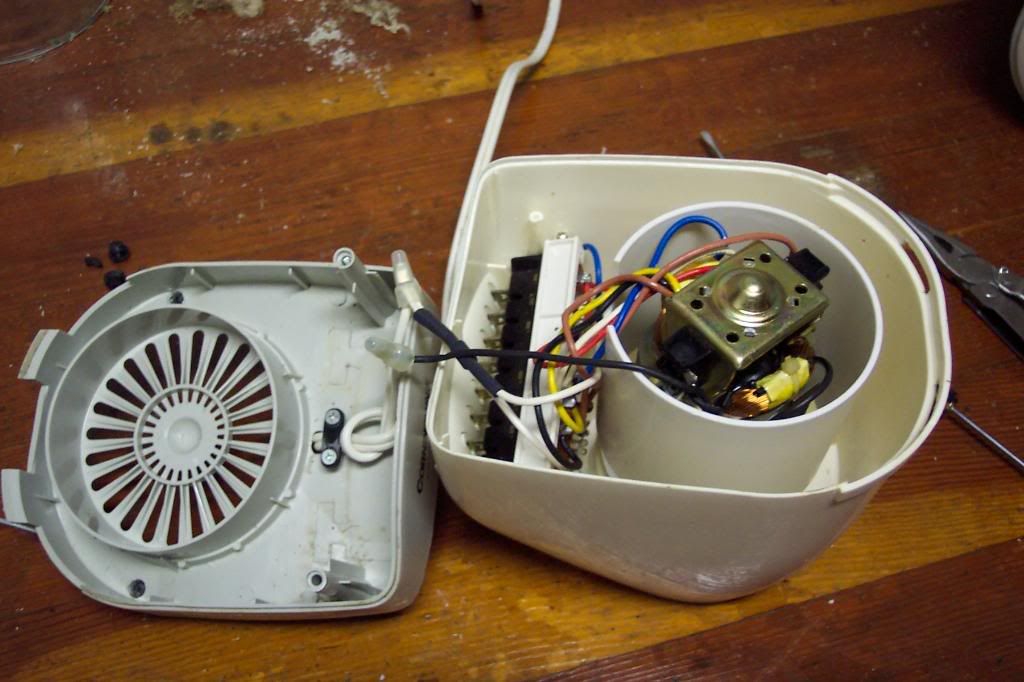
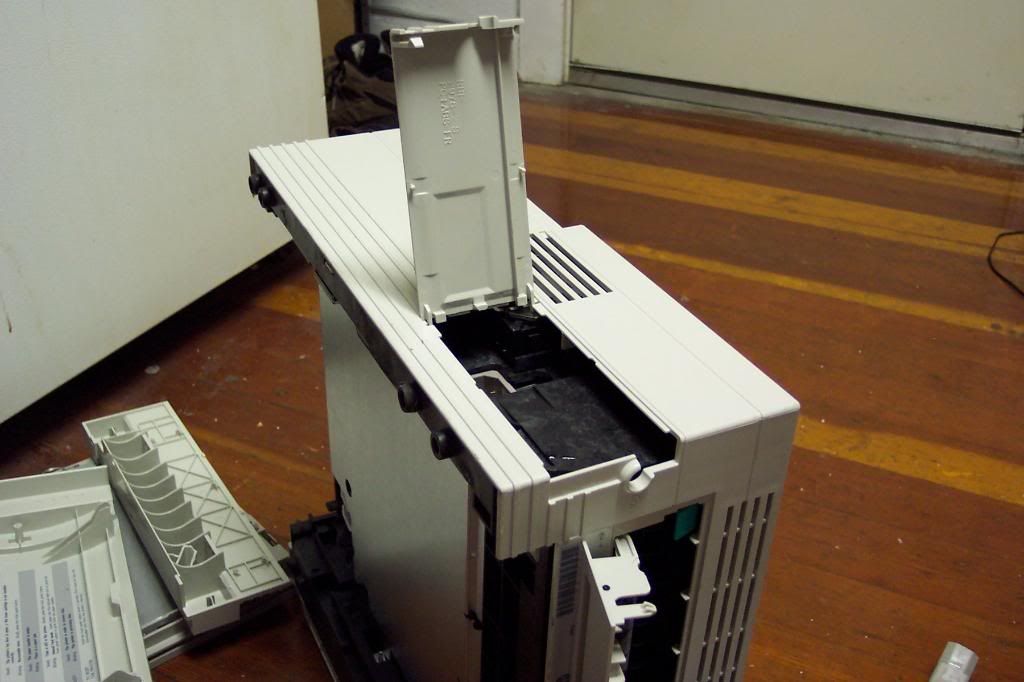
This access panel alows you to remove the cord, presumably for storage purposes, without having to take it directly off of the circuit board. Rather convenient, actually, though I'm going to be getting to the board anyway.
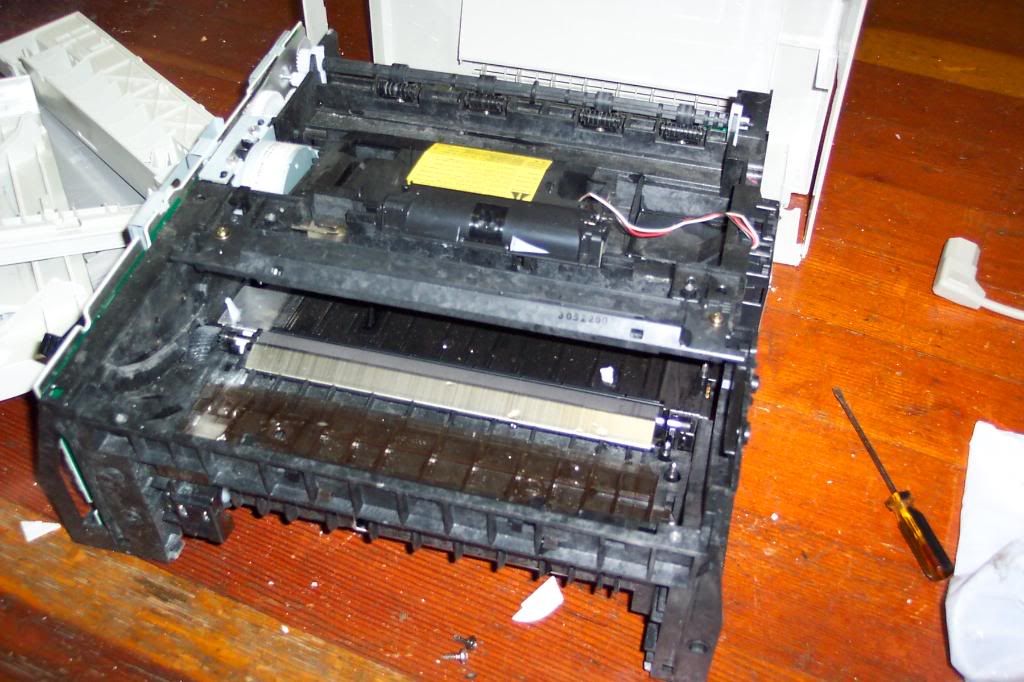
Here's the naked printer, without it's housing. The camera flash washes out the detail, but you get the idea. Notice the couple of shards of plastic toward the bottom of the photo. Printer housings are generally a pain to get off, and chucks inevitably get broken off in the process, but the plastic was unusually brittle. It's ABS plastic, which usually has more give than this. Even if this printer was sitting on front of a window, I can't imagine the UV degrading the plastic to that degree.
The 'laser' part of the laserjet printer. I think this is the first laserjet I've taken apart, all the other printers I've done were either inkjet or dot matrix. It's interesting to see what the laser setup actually looks like.
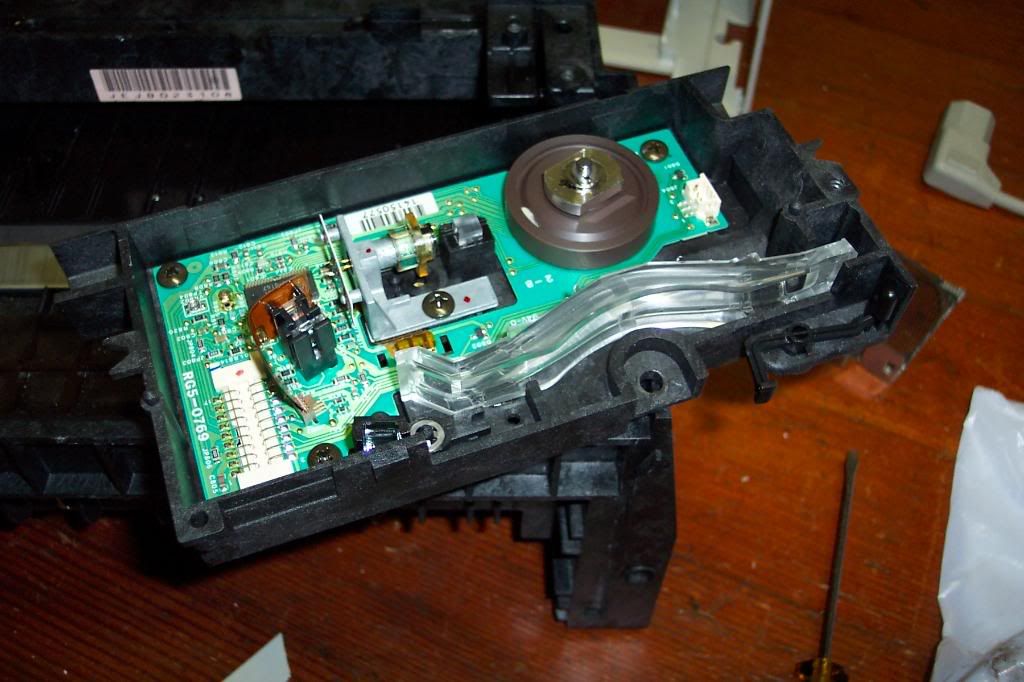
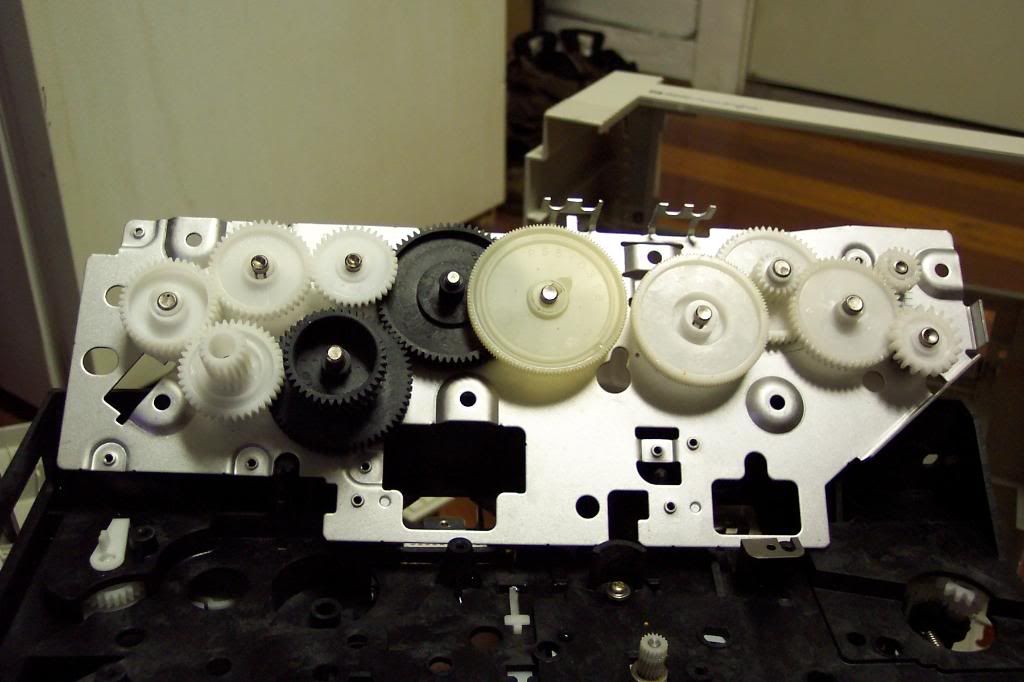
The obligatory bank of gears. And like most printers, only about two-thirds of them come off without damage, if they come off at all.
Behold the mess I made! Not that I'm usually precise or organized about scrapping, but after a long stretch of lackluster disassemblies, I couldn't help but be somewhat reckless with this one. Sort of like a kid at Christmas.
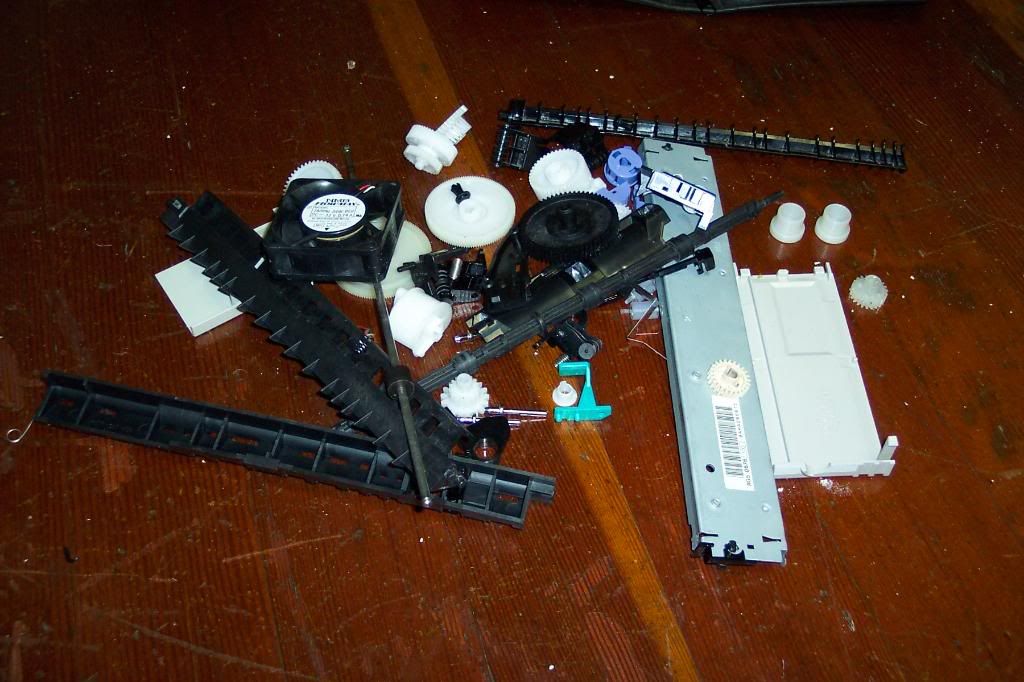
Now, that's a respectable trophy pile.


Saturday, December 1, 2007

Electrolux Silverado Deluxe canister vacuum

The majority of what I take apart is either the victim of obsolescence, shoddy construction, or most often it seems, a combination of the two. Buet every once in a while, I run across a relic from the Bygone Era of Solid Construction that finally gave up the ghost after years of service. I always feel a twinge of guilt when I scrap them and only keep a few arbitrary and minor trophies instead of keeping the whole thing and repurposing it. Case in point, this Electrolux. It sat on my floor for close to a week while I tried to think of something that I could make out of it that would use the body, but in the end, I couldn't come up with anything.

A bit of online research revealed this vacuum to have probably been built circa 1972 to 1975. This machine is skirting 35 years old, and it's design is very much of it's time. A lot of the parts are some sort of high-impact plastic, but the main body is steel, as is some of the accenting (note the shiny piece on the top). Visually, it falls somewhere in between the Jet Age swoopiness of the late 1960s and the stoic utilitarianism of early 1980s appliances. It's not as iconic as the old Kirby vacuums, but it's still a rather striking design for something that sucks up dirt and cat hair. And for some reason, the overall shape sort of reminds me of the Landmaster from Damnation Alley.

That's the motor right there. It didn't want to come out, which goes to show that my rule of disassemblability=quality does not always hold true.


The settings control is mechanical rather than electronic.

The top piece comes completely off. The rubber tube coming out of the main body channels the exhaust air into the air vents on that top piece, and it obviously wasn't cleaned out very often. It strikes me as odd for whatever reason that the main body doesn't have much indication beyond the screw holes that the plastic piece fits there. No indentation or recess stamped into the sheet metal or anything.

A vacuum cleaner with hubcaps. Seriously old school.


I wish I had enough reason to justify keeping more than just this small selection of parts. Or at least more storage room in the apartment. But even as the bulk of the old Electrolux goes on to the landfill, a few pieces remain behind as reminders of its 30-plus years of existence. And hell, even if I end up throwing the parts away, it still got soething of an online obituary, which is more than most vacuum cleaners get.

Wednesday, November 28, 2007

Dirt Devil Can Vac

For the most part, dead vacuum cleaners aren't worth the trouble it takes to bring them back to the apartment. I can't even carry a full-size upright vac on my bike. I only grabbed ths little Dirt Devil, almost as an afterthought, because it was small and ther wasn't anything better being tossed out.


It's a fairly unremarkable vacuum, with the exception of the carrying strap. At least I think a strap is unusual. It may not be for all I know.
The wheels came off easily. There was no axle, but rather a round tab and slot system (or whatever the technical name for that is) that the wheel snapped into. I've seen that done on other small vacuum cleaners, and it always reminds me of how the wheels are attached to a lot of toys.

Those screw holes go deep, almost down to the midline of the vacuum. My screwdriver was barely long enough for several of them, and not quite long enough for the one at the front. I really ought to get a better set of screwdrivers. I had to use another screwdriver to pry that back piece off.
That sticker on the aforementioned back piece indicates that this vacuum cleaner was only ten years old. Maybe it was heavily used and just wore out, but ten years seems kind of young for it to quit working. My parents had the same vacuum for close to twenty years, and still keep it around as a backup for the newer one.


Once I exhausted what I could do with screwdrivers, I only had one other tool to use: the ground. I took the carcass out to the trashpile, then I smashed it on the pavement a couple of times to jostle the on/off switch loose. Not that it was that impressive a button, but the trophy count on this one was so low, anything was better than nothing. Plus it's fun to smash things.


Yep, that's it. Two buttons and the axle from the front piece.

Saturday, November 24, 2007

Corningware blender

This blender sat on the bottom of my workbench for at least six months just gathering dust. I found it on top of a junkpile and grabbed it, but not as something to take apart. Instead, I wanted it for preparing ingredients for some...thermodynamic shenanigans. That particular 'science project' never came to fruition, so the blender has just sit there doing nothing and taking up space for months.

Incedentally, I didn't even know Corningware made blenders.
It still worked, but I wasn't just going to clean it up and set it in the kitchen. I have no idea where it's been, what's been in it, nor what might have leached into the soft plastics that might leach back out into a smoothie or puree. So no food, but I can't just send a working blender to appliance Valhalla without maiking it blend one last thing. Preferably something blenders were never designed to blend.
This is a leather belt that finally wore out last week. I wore this almost every single day for at least the past ten years. I got it when my Dad was going to throw it out for being worn out, so it's entirely possible that this belt is older than I am. Which means it's tough, and hopefully tough enough to kill a blender.

I put the belt in the cup, put on the lid, and hit the highest setting. Nothing. The blt was wrapped around the blades and they couldn't turn. It produced that straining motor smell that reminded me of my Mom's old Mixmaster. I ended up just running the motor and dipping the ends of the belt into the spinning blades. That still got caught in the blades a couple of times and made smoke come out of the blender.
I didn't grind the belt down to leather dust, but I did cause enough destruction to be satisfied, as you can see. Nor did I completely destroy the blender motor, since I decided I didn't want to risk tripping a circuit breaker.
I did mess up the teeth that spin the blades though. That's what was causing the smoke, not the motor as I first suspected.
I'm glad the belt-blending was as fun as it was, since the actual disassembly was rather dull. Not that I was surprised, as the base of a blender is basically a motor in a box, with a few buttons. I was surprised, however, at how flimsy the plastic of the case was. Corning is primarily a glass and ceramics company, so the cup was probably pretty good, but the base just didn't have the heft of a good blender. Come on Corning, you can make a better blender than this.

It also didn't appear to be built with disassembly and repair in mind, which in my experience is also a hallmark of cheaply made products. The motor looked like it was mounted in such a way that you can't get it out without destroying the plastic case. They didn't even have the decency to use reuseable wirecaps. Lame.
The amount of trophy parts I took is probably larger than it has a right to be. The quantity is much larger than the quality, as I have no idea what I will do with a bunch of chiclet-shaped buttons or the grey bottom piece with the oddly eyecatching vent design. Or any of it, really.

Wednesday, November 21, 2007

Panasonic tape recorder

Most of my disassembly fodder comes either from the sew/vac place or the campus's occasional purging of obsolete and broken electronics. These are fairly clean sources for junk, in the sense that they never have any nasty food trash mixed in with mechanical and electronic stuff. The piles outside of houses and apartments in anticipation of heavy trash day are generally 'clean,' but there's always a risk of food trash (or worse), so salvaging from them requires some discretion.

I almost didn't grab this one. It had just rained, and the junkpile that this recorder was in smelled as if it had some food trash in it, and I pretty much avoid trashpicking in anything that might have organic garbage in it. But the recorder was off to the side, and a cursory visual and smell test determined that it didn't have anything nastier than a little mud on it, so I took it back to the apartment. And washed it off, just to be sure.

All trash has a story, an object's history of use before it is discarded. Most of the time, the junked object doesn't give much indication of its 'life,' but sometimes it does. If I may play amateur detective/archaeologist for a second, the masking tape above the battery area seems to indicate that the battery cover didn't stay in place, which makes me think that at one point someone dropped the recorder and broke the latch, necessitating the quick-fix. Maybe the owner finally lost the battery cover altogether, prompting him or her to finally toss the tape recorder out.

Or not. I don't know for sure, and on a strictly practical level I really don't care. But I do think it is instructive to think about trash beyond just 'that stuff they take to the landfill twice a week.'

Anyway, I knew from previous experience with tape players that this disassembly was going to be at least somewhat more entertaining than the past few things I've taken apart. Yep, lots of little pieces, though I was disappointed in how many of the little screws didn't budge. Also, note the detatched carry handle in the upper right of the picture above. It's made of metal. You don't see that much these days.

The signal traces (i.e. printed wires) on this circuit board are much less compact than those of more modern electronics.

A few trophies that I don't what I'll do with. I like the shapes of the buttons though.