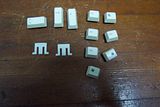
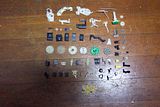
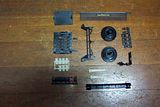
The blog doesn't really reflect it, but I've taken a decent amount of computer keyboards in the past. And while I usually like to have multiples of types of parts, keyboard keys are something of an exception. Like I've mentioned before, I've gotten rid of large quantities of keys that I had collected. If I had unlimited space to keep stuff in, I might keep them, but space is very much at a premium right now.
I got this keyboard at the same time as I bought that optical mouse, and it was of a similar cheapness. It broke (or I broke it; I don't remember now), and I set it aside, halfway intending to try to fix it. And there it sat for well over a year, until this Fall when they had an electronic waste collection drive on campus. And so I decided I might as well just get rid of it (again, space is very much at a premium), but not before I grabbed a couple of trophy parts.
I'm not entirely sure why I took this picture, other than to show the little height adjuster thing there.
The exception to not bothering with keyboard keys are the non-square ones, which are less common, and for some reason I think of them as more useful.
Saturday, December 27, 2008
Saturday, December 20, 2008
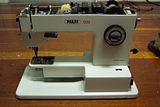
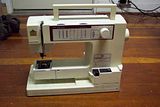
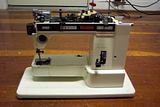
Pfaff 1222 sewing machine
I found this Pfaff on the same night as the Hobbymatic I wrote about a few entries ago. Haven't seen any before or since, though.
This was a fairly solidly constructed machine. Other than the unusual placement of the controls, this is a fairly standard (and sort of boring) sewing machine.
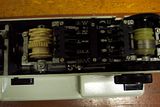
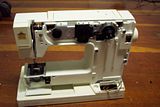
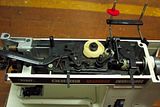
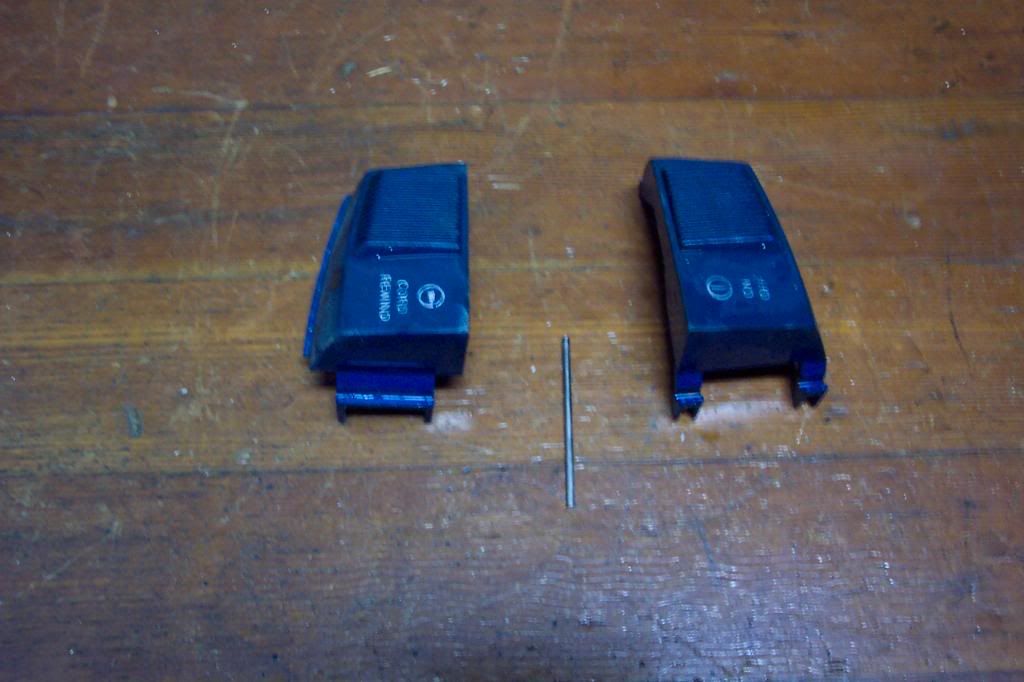
Close-up of the control buttons. The mechanism takes up most of the length of the main body.
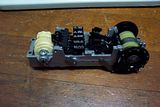
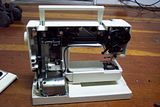
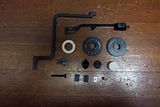
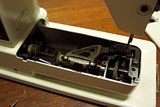
I was surprised that the control mechanism came out completely and so cleanly. In addition to the buttons, I pulled several metal parts that sort of look like heads of battle axes. No idea what I'll use them for, but I liked the shapes.
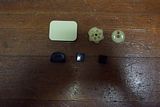
Not many things to salvage beyond the buttons and metal things.
Saturday, December 13, 2008
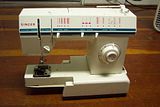
Singer sewing machine
I wish I had much to say about this week's entry, but I really don't. It's not that interesting of a machine, and I didn't get very many parts off of it.
I didn't see any model name or number on this one, but if I run across it later, I may amend the blog. It looks to me like a relatively recent model though, but I could be wrong.
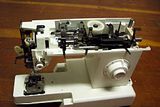
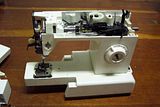
Once the plastic housing was removed, it was a lot less bulky.
The difference between the last picture and this one is basically the total of what I could pull from this sewing machine. See that wheel looking thing in the middle of the inner mechanism? I wanted that, but it didn't come off.
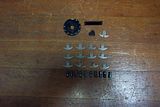
Very small parts pile this time.
Saturday, December 6, 2008
Micro Innovations optical mouse
This is one of those rare devices that I take apart that was mine to begin with, rather than something I trash-picked. I bought this right after I moved here, and since I was light on cash at the time, I didn't buy a better one. This lasted about two years or so until it became unreliable.
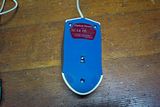
It just sort of looks cheap, doesn't it?
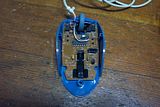
The inside of an optical mouse has a lot less moving parts than the traditional ball mouse, which makes it less interesting for my purposes.
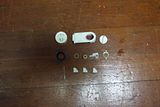
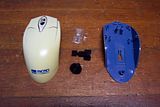
As a percentage of total parts, this is a decent parts pile, but beyond that, it's not very impressive.
It just sort of looks cheap, doesn't it?
The inside of an optical mouse has a lot less moving parts than the traditional ball mouse, which makes it less interesting for my purposes.
As a percentage of total parts, this is a decent parts pile, but beyond that, it's not very impressive.
Saturday, November 29, 2008
Husqvarna Classica 105 sewing machine
When I think of Husqvarna, I think of chainsaws. I do not think of sewing machines. Apparently, there's a whole family of companies with the Husqvarna name. I guess you learn something new everyday.
I've taken apart sewing machines from many different companies, and from several different countries, but this was the first time I got a hold of something by a Swedish brand. I was sort of interested to see if they designed any mechanisms or part configurations differently than the other machines I've taken apart.
Turns out they do. Or did for this model, anyway. Instead of the usual top panel that comes off to access the mechanisms, the side panels come off. It looks like, in some respects, this arrangement would be better for accessing parts to do repairs. I'm sure there's some trade-offs, otherwise everyone would build them like that.
I suppose that's about an average parts pile for a sewing machine, Swedish or not.
Saturday, November 22, 2008
Pfaff Hobbymatic 803
Busy Saturday, so I need a quick entry. Fortunately, I've got plenty of sewing machines that wouldn't come apart in the backlog.
This particular one is made by Pfaff, a German company I'd never heard of until I found this machine. The sew/vac place cannibalized the top and light covers before junking it, but it's not nearly as skeletonized as some machines I've found.
Note the paucity of removable fasteners. The few parts I got off were very superficially located.
Nothing came out of here.
I didn't get much out of this machine, and the trophy pile picture came out a lot darker than I thought it would. Meh.
Saturday, November 15, 2008
General Electric cordless phone
No entry last week because I just flat ran out of time.
Somewhere between last Saturday and today was the first anniversary of me keeping records of my junk disassembly hobby. So, I figured I'd use the occasion to post about a phone I took apart several years ago. This was the first time I had attempted to document the taking apart process, from complete appliance to pile of parts.
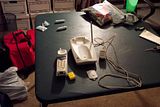
This is from November 2004, about a month before I moved to Hawaii, hence all the boxes and stuff in the background. If I remember correctly, I had set the table up to sort out erector set parts for sale, then realized I had a broken phone, and decided to take it apart.
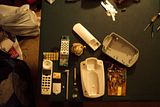
I didn't think/bother to document the process, so the documentation sort of skips to an end shot of all the parts. For some reason, I didn't separate the parts I kept with the ones I trashed. If I remember correctly, I kept the housing of the cradle, the cradle's antenna, and possibly the receiver housing. It's been a while, and not all of my junk is in the same place. Also, it seems like my photography skills have not really improved in 4 years.
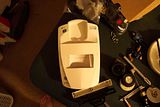
As I was taking the phone apart, I decided the cradle housing looked sort of vehicular, so I got out my collection of broken toy parts to mock up a dune buggy/ATV type configuration. The white thing on top is a piece of cardboard, and the two (well one and a half, anyway) action figures were there to try to work out the best scale.
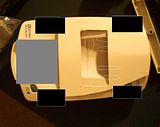
I made a crude mock-up in MS Paint to show where I wanted the wheels (black rectangles) and engine (grey rectangle). Unfortunately, the project has yet to move past the vague design stage. I should still have all the parts, so I may get back to it once I move to an apartment that's a bit more conducive to hobby work..
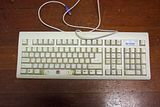
Saturday, November 1, 2008
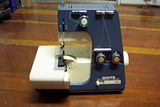
White Super Lock 503 Serger sewing machine
I've got other stuff to do tonight, including trying to figure out what went wrong with last week's pictures, so this will be a short one.
My lackadaisical approach to photography led to this blurry picture, in which the model number is illegible. I had to do a little googling to find out which model it was.
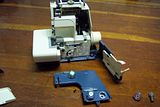
The front plate came off easily enough, and I think a couple other things came off, but overall there wasn't much on this I could or wanted to salvage.
I just kept the knobs. Like I said, short entry.
Saturday, October 25, 2008
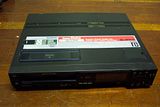
Sony SL-HFR70 Betamax player
I chose to do a write-up of this on the Saturday before Halloween because it was as close to thematically appropriate as I could get. You know, a dead media format. Yeah, it's a bit of a stretch, but until someone throws out a PKE meter or proton pack, it's probably as close as I can come.
Okey, let me get this out of the way: Holy crap, it's a Betamax player! I've never even seen one of these up close, let alone had a junker to take apart. And how I found it is kind of weird too. It was just sitting in the grass outside the 7-11 on the corner, all by itself, with no other junk anywhere near it. It was upside down, with the unpainted steel bottom tricking me into thinking it was some sort of traffic monitoring device at first. It was only on the way back home that I decided to flip it over and see what it actually was.
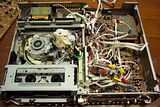
To my non-engineer's eye, all the parts inside look familiar, yet slightly askew, like a fast food franchise in a foreign country. That makes sense, I guess, since the process for playing both Betamax and VHS is basically the same. I honestly don't remember why this is the only picture of the inside that I took; I guess I didn't think about it until I was already done.
A pretty good assortment of parts, though none of them strike me as really eye-catching or otherwise interesting beyond where they came from. That could be a good thing, since I doubt I'll ever see another Betamax player.
Saturday, October 18, 2008
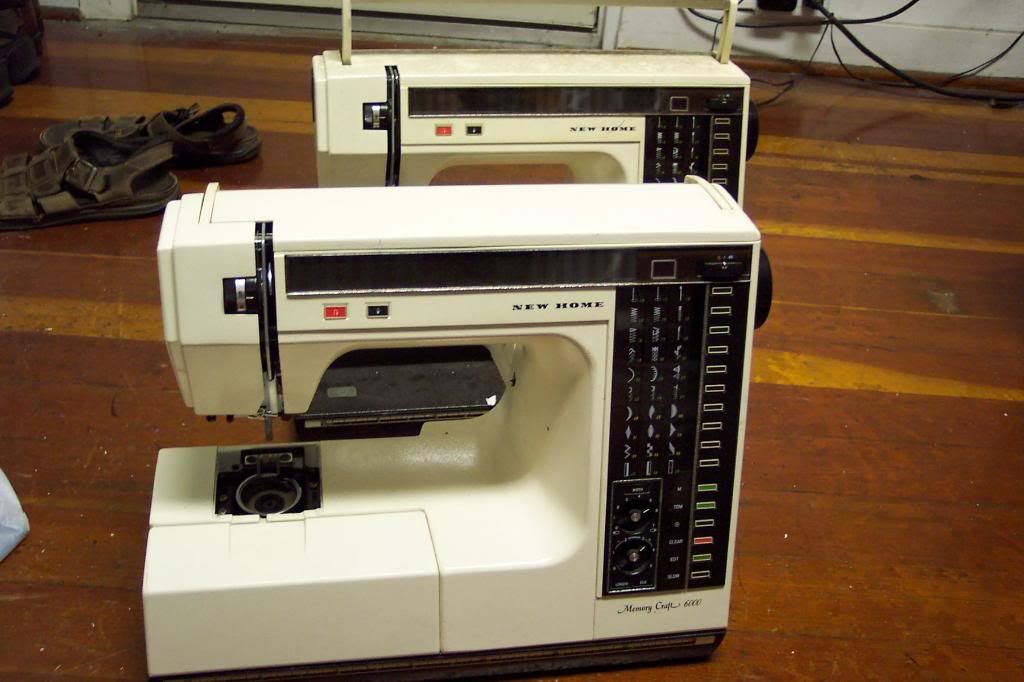
New Home Memory Craft 6000 (x2)
It really wasn't long after I remarked in my first Memory Craft 6000 entry about how it was rare for me to find the same machine twice, and even rarer to find multiples at the same time, that I found these two machines. Yep, two more 6000s, and on the same night. I still maintain that this is a fluke, but if I'm going to find multiples of something, I could do a lot worse than these.
I've been sitting on this picture set for a while because I didn't know how to handle it with the blog. I basically had three options: 1) don't make an entry at all, since this make and model is already represented pictorially, 2) make another full entry as if this was the first time I had taken this make and model apart, or 3) write a shorter entry, highlighting any differences in procedure or part selection from the first disassembly. I opted for the last choice, since it's better to have more potential blog entries than fewer, in case of lean times, but making a new exhaustive entry is redundant.
Here's the two machines still intact. I didn't bother to take many 'during' or 'after' pictures, since I think I covered that angle pretty well in the first entry, and there wasn't a whole lot of differences in procedure. I will note, though, that I remembered about that 'hidden' screw on the back panel, so that streamlined the process somewhat.
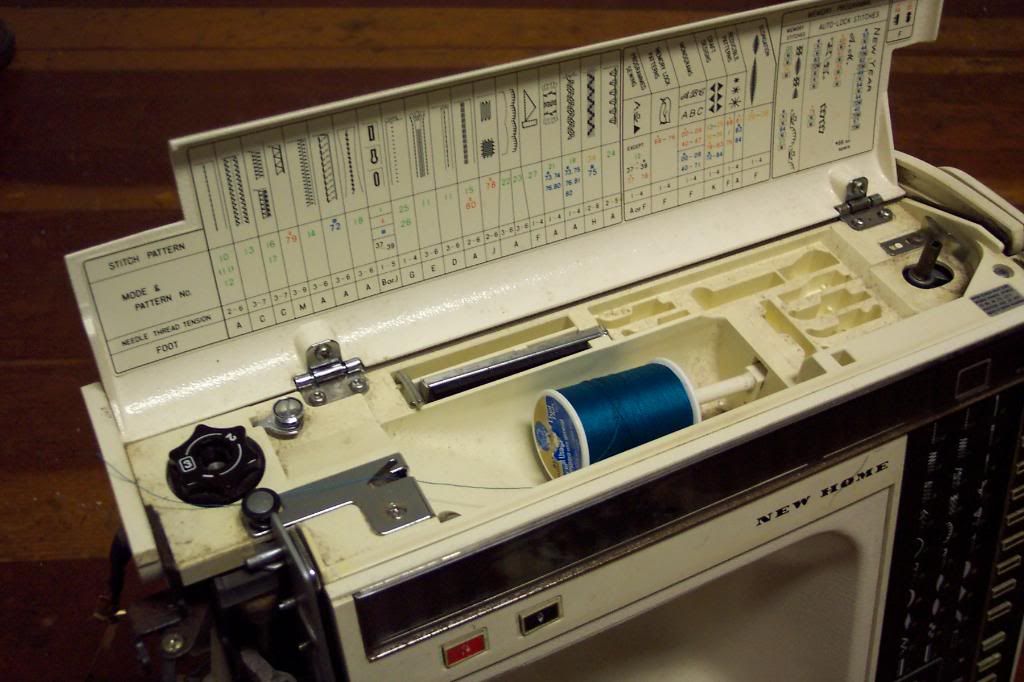
Hey, look. Free thread.
Parts selection was a bit different. The first difference was that I took more of the plastic wire connectors (I'm blanking on the actual term) this time. They were easier to pull on these sewing machines, and I think I have an idea for what to do with them.
The other difference is evident in the trophy pile pictures. Note the lack of the big side panels, and clear sliding things. I decided that they weren't worth trying to find storage for them, and the ones from the last teardown might get thrown away next time I cull the collection. Speaking of storage, I now have so many of those buttons that they warrant having their own container now.
Saturday, October 11, 2008
Hoover Celebrity QS
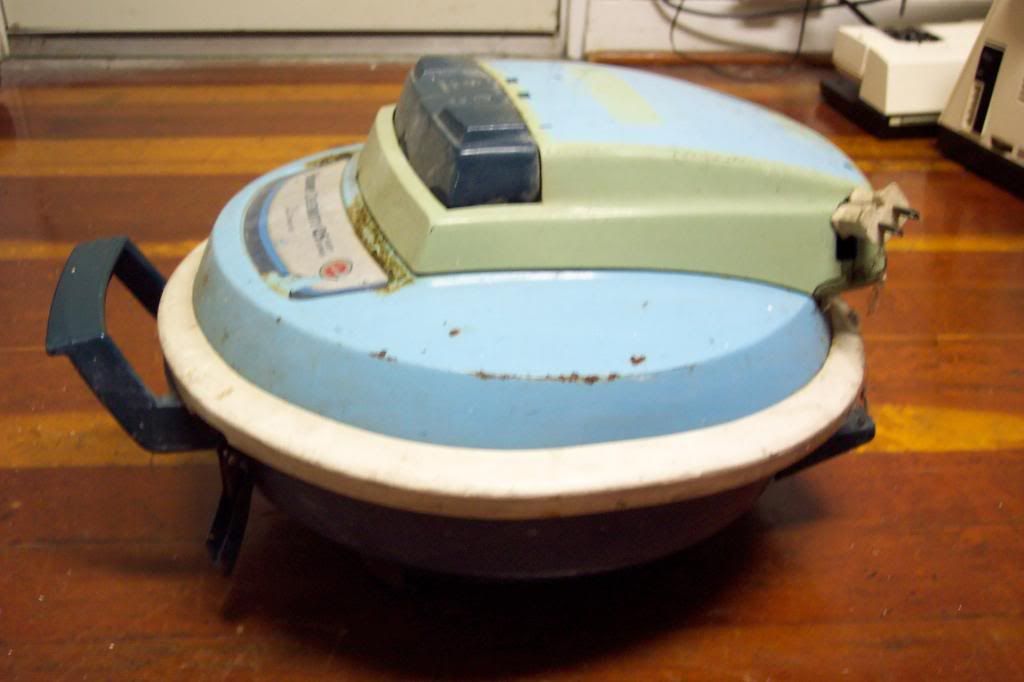
I picked this up less for any parts it might contain, and more because it was so damn weird looking. To me, it looks more like a waffle iron than a vacuum cleaner. A little research showed that this was probably made in the early to mid 1980s, which surprised me since this is made out of metal.
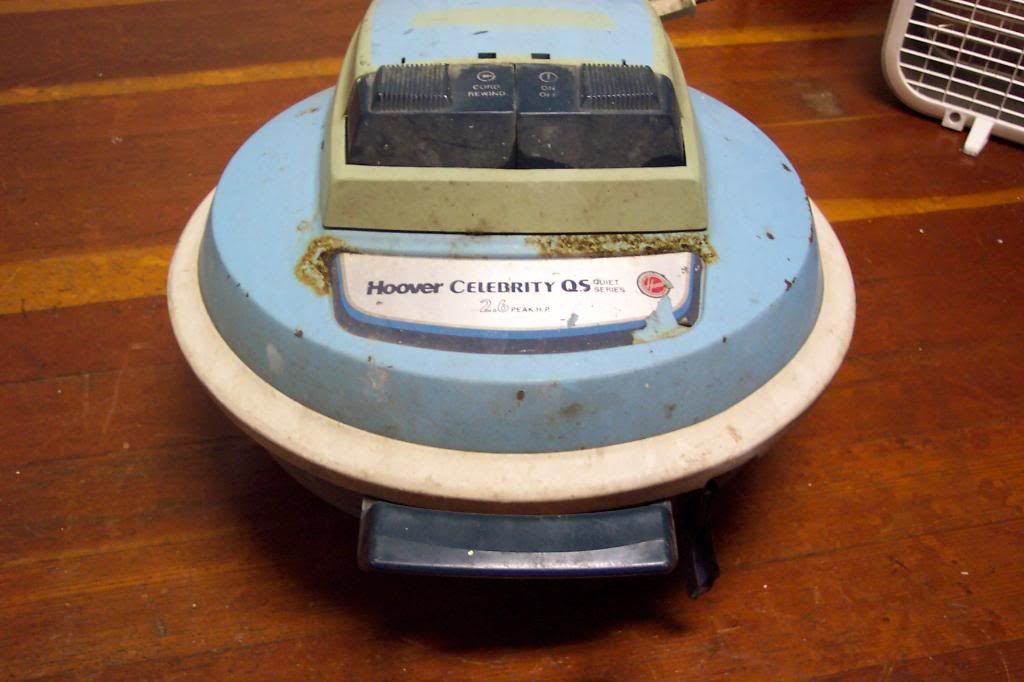
Vacuum cleaners usually boast about amperage, but I've never seen one advertise its motor in terms of horsepower. And to top that, it's more than a fraction of 1 horsepower.
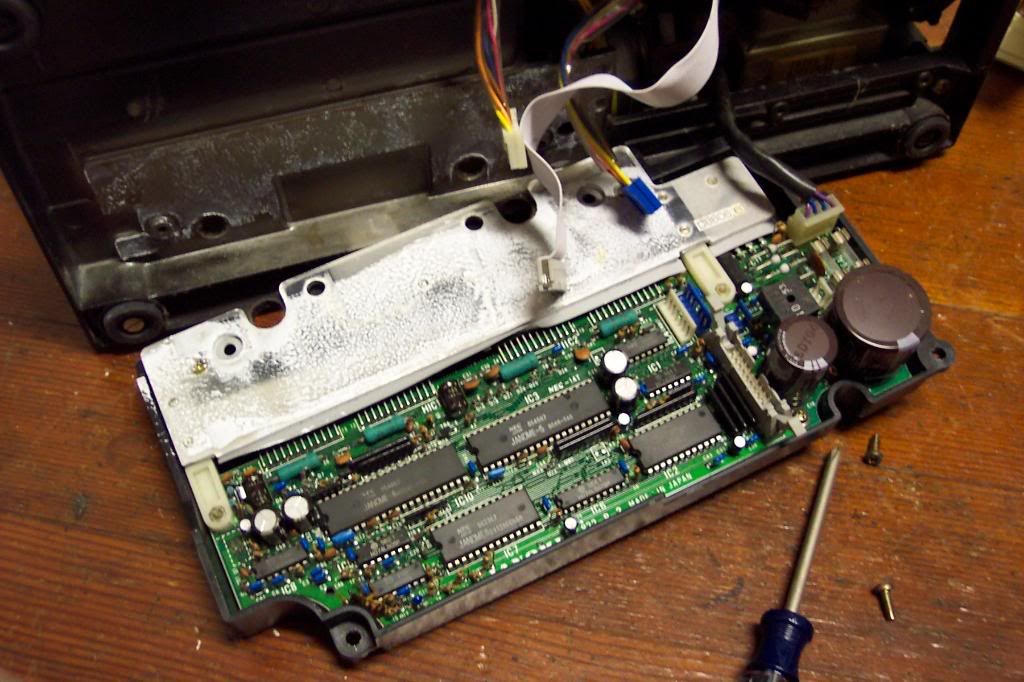
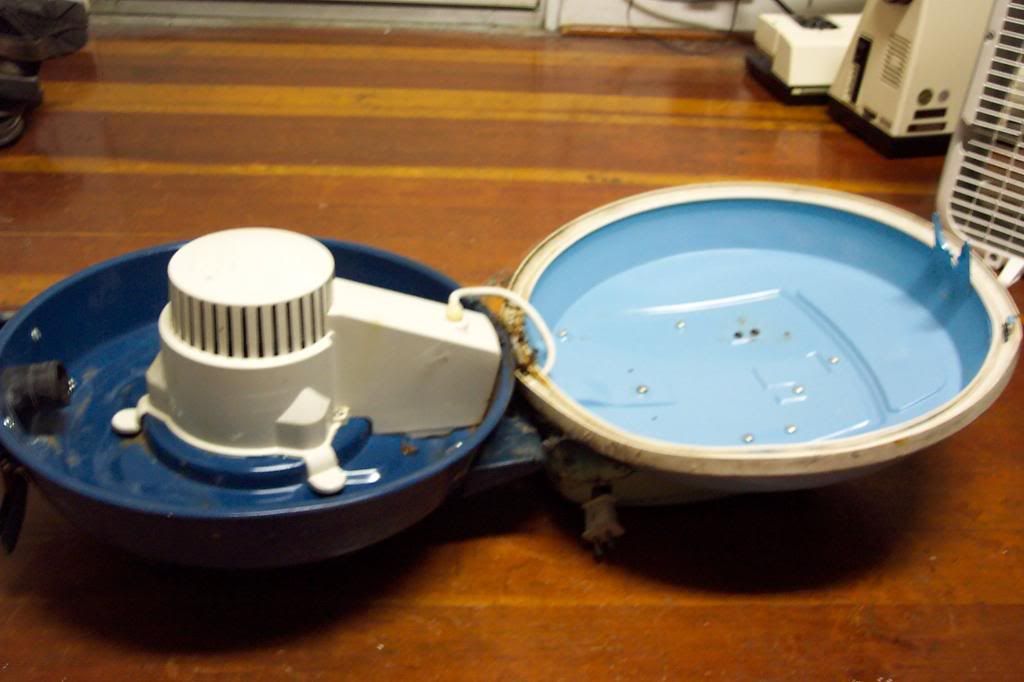
The inside is pretty weird too. As far as I can tell, there's no place for a bag or a filter or anything like that. The dirt just swirls around the inside, I guess. I wonder if there was a problem with crap getting into the motor.
The controls were extremely simple: on and off.
I only saved the button assembly, but like I said, this teardown was more for the novelty of it than the parts.
Saturday, October 4, 2008
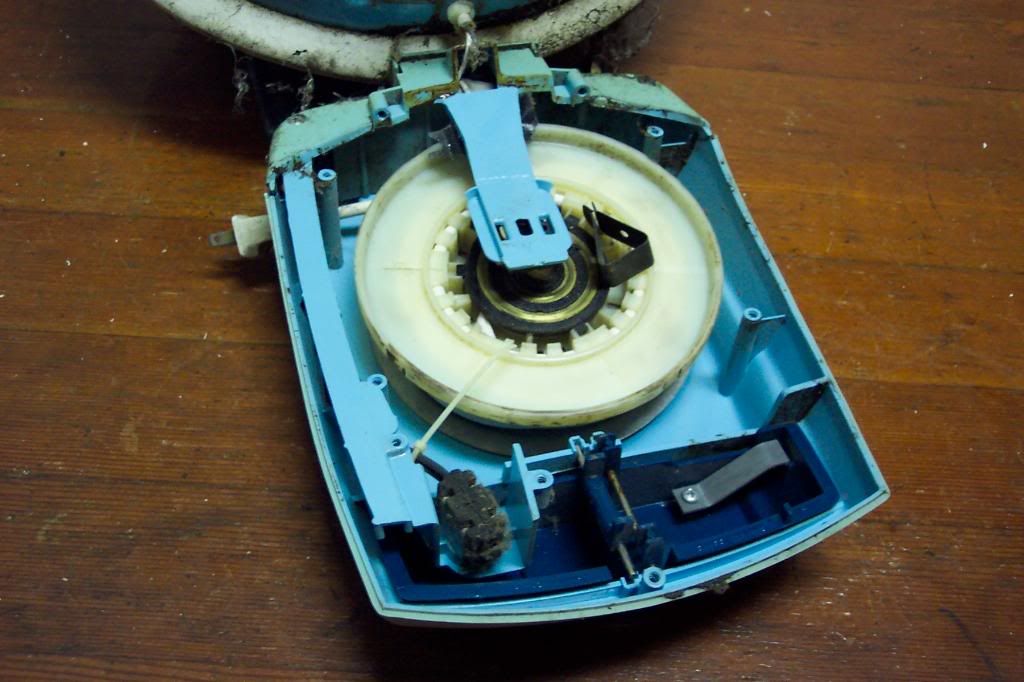
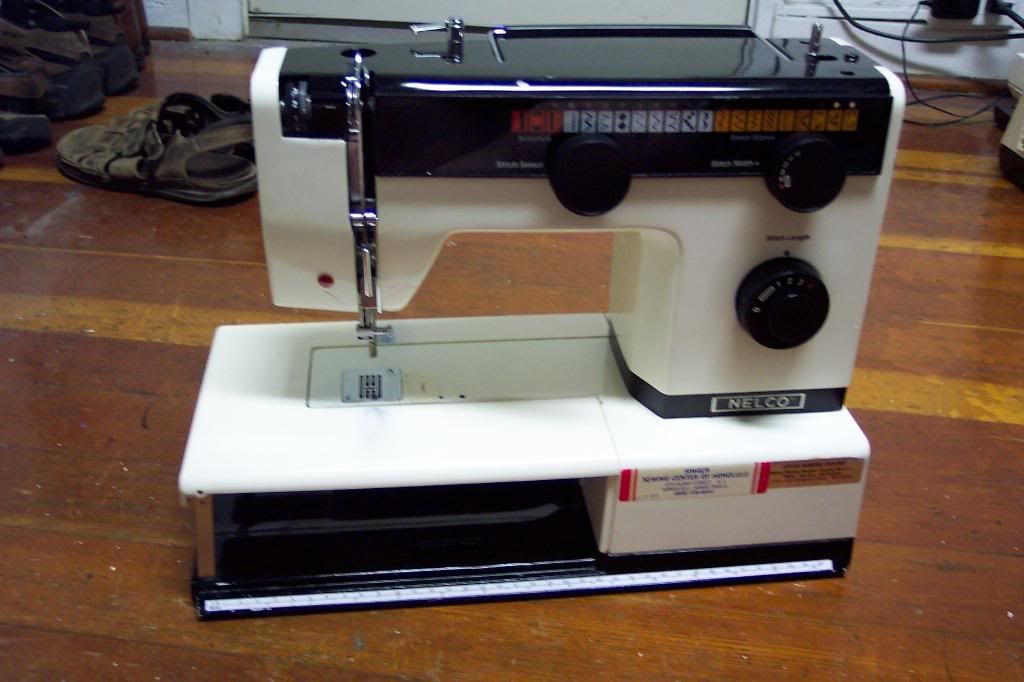
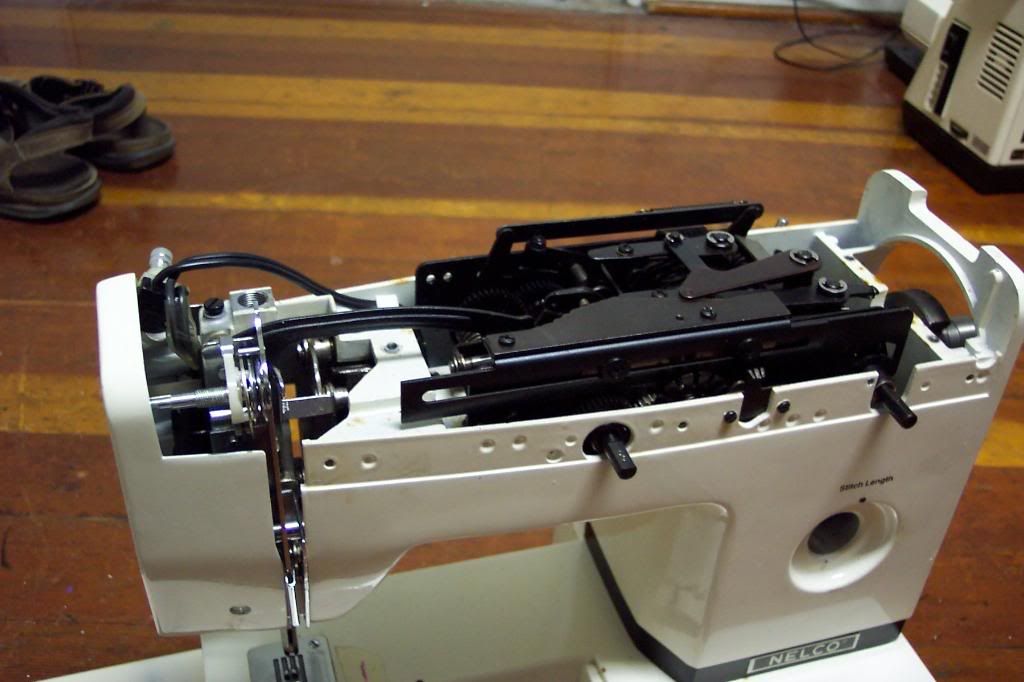
Nelco Model 6955 sewing machine
Before this one, I've never taken a Nelco sewing machine apart. And even after finishing with this one, I could still justifiably make that claim. Yeah, it was one those...
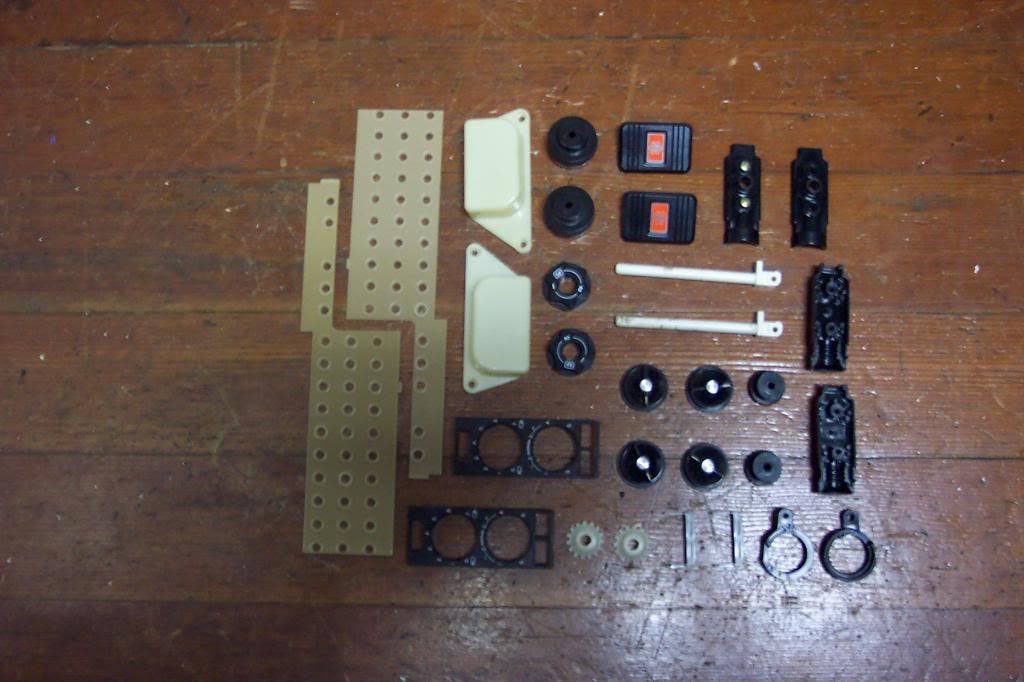
This was a pretty solid machine, mostly metal. The two-tone color scheme is sort of unusual. I kind of like it.
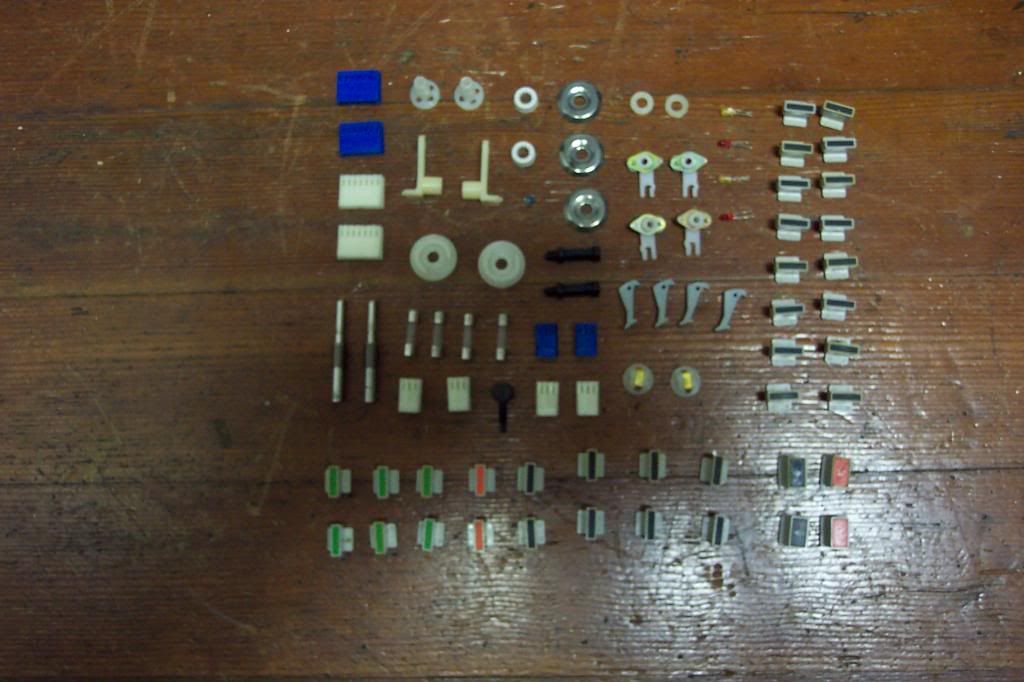
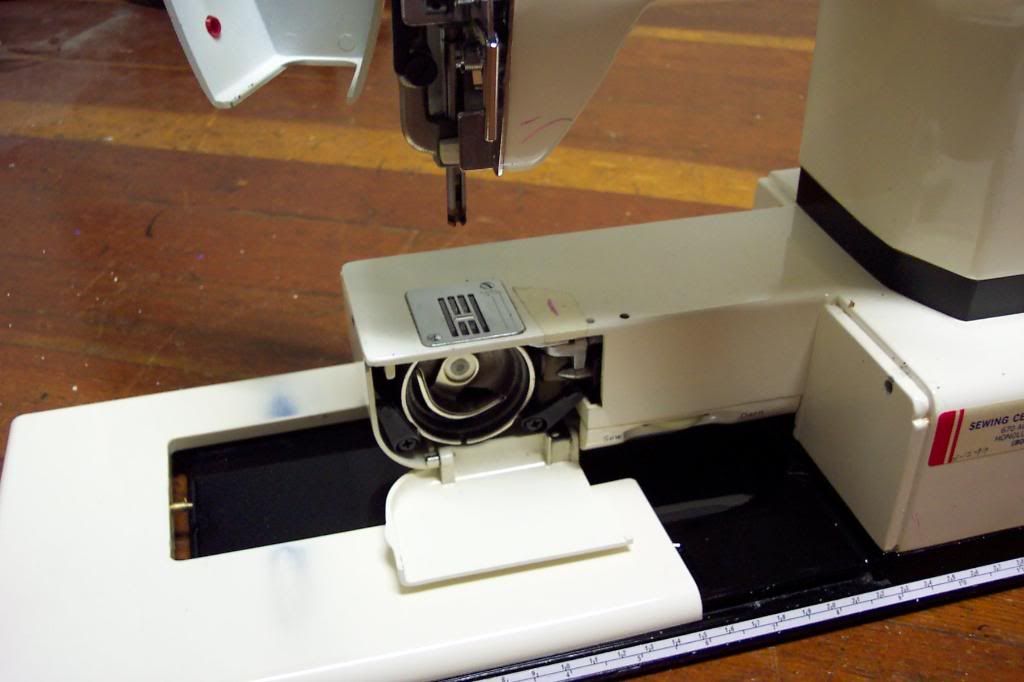
The fold down part here is kind of cool. I had never seen one like that, and when I accidentally folded it down at first, I though I broke it.
I wasn't able to go any deeper than this, especially frustrating because, as you can see, there are a couple of little gears tantalizingly close to extraction, but I just couldn't get at them.
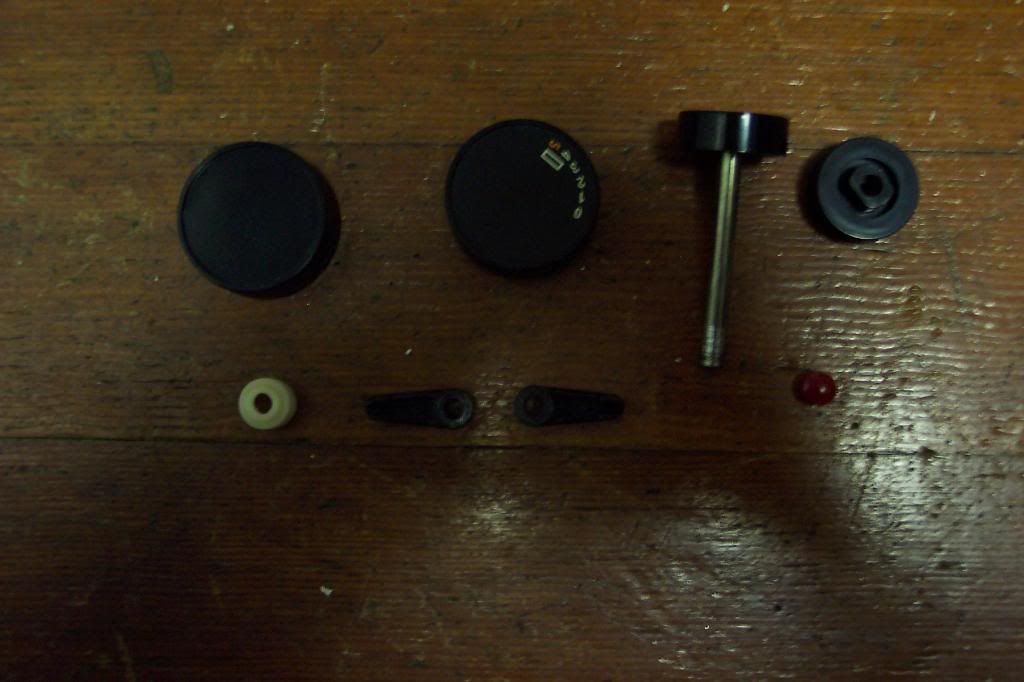
Kind of pathetic parts haul.
Saturday, September 27, 2008
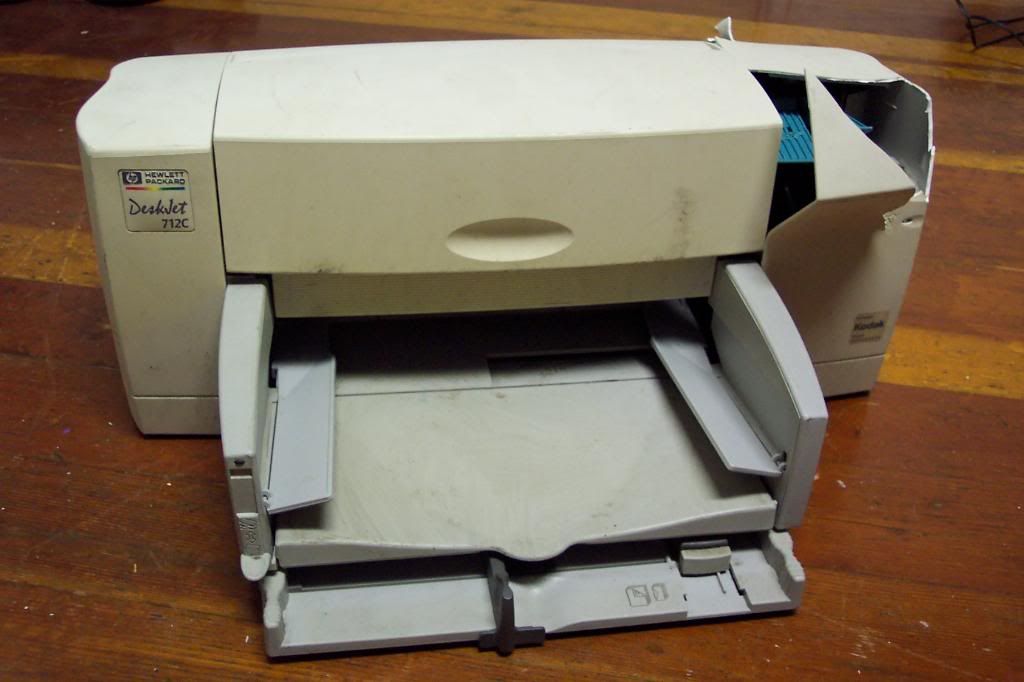
Hewlett-Packard DeskJet 712c printer
I usually try to come up with some sort of introduction for the first paragraph, but I'm just not feeling it this week. At the moment, I can't really think of anything to say about broken printers that I haven't already said.
I'm not sure why, but there was just something boring about this printer. It wasn't huge and heavy, but it wasn't tiny and feather-light. There weren't a huge number of parts, nor were any of them especially interesting. Thus, I didn't take many pictures of the teardown process. But I think you can get the idea anyway.
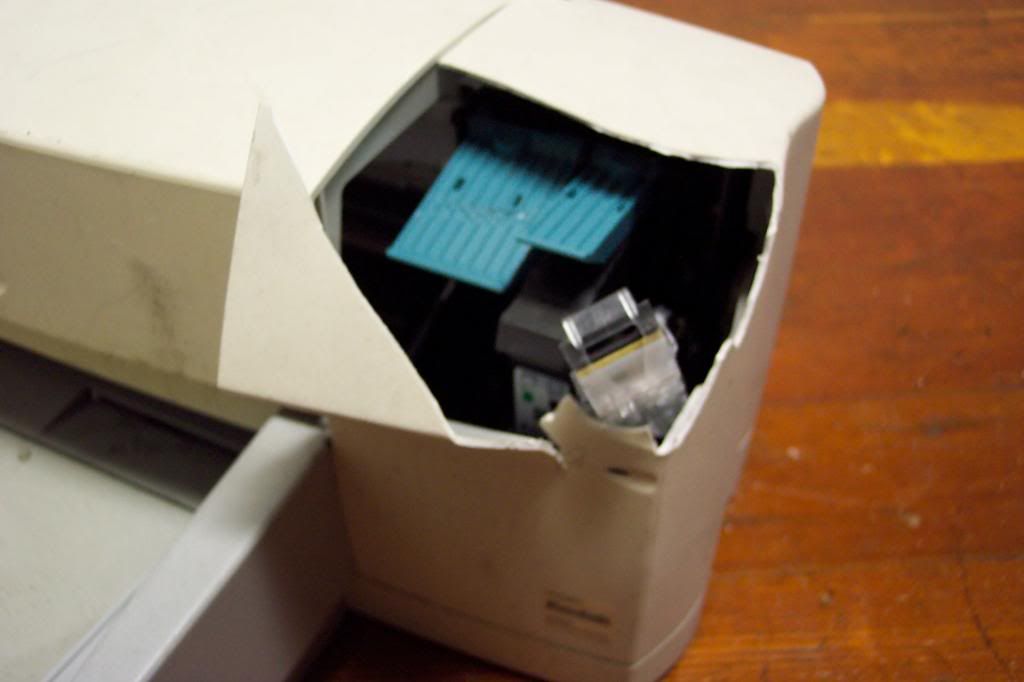
I guess this is sort of interesting. I found the printer already with this damage, but I'm not really sure why someone would bother. There's not anything really valuable inside a printer, as opposed to, say a TV which has that copper coil around the CRT. Maybe some homeless guy thought there was a leprechaun inside. Maybe a kid with a screwdriver just wanted to vent some rage on something he could break without getting in trouble (assuming that this damage happened after the printer was in the junk pile). I don't know.
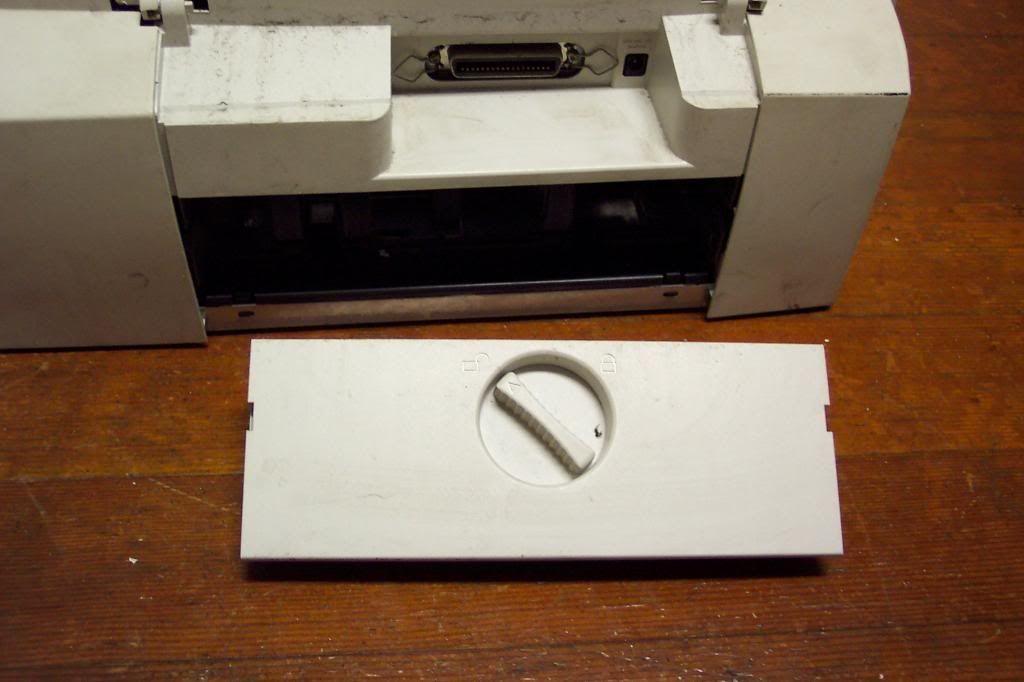
Access panel, but from the angle of the picture, I can't tell what was behind it anymore.
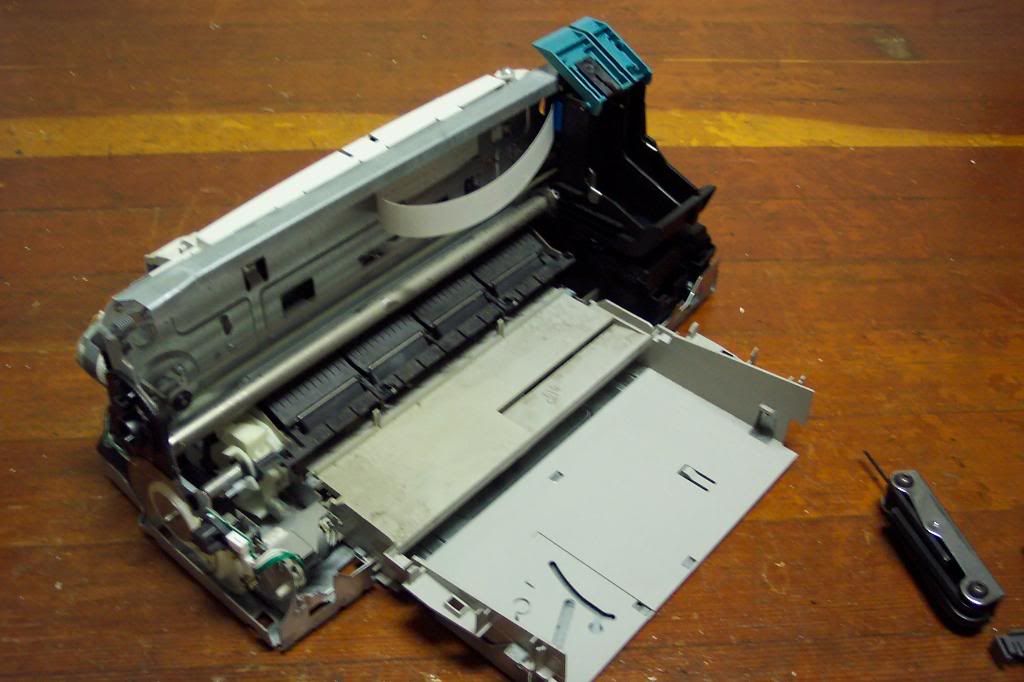
The exposed chassis of the printer. There weren't a lot parts that would come off, or were worth saving.
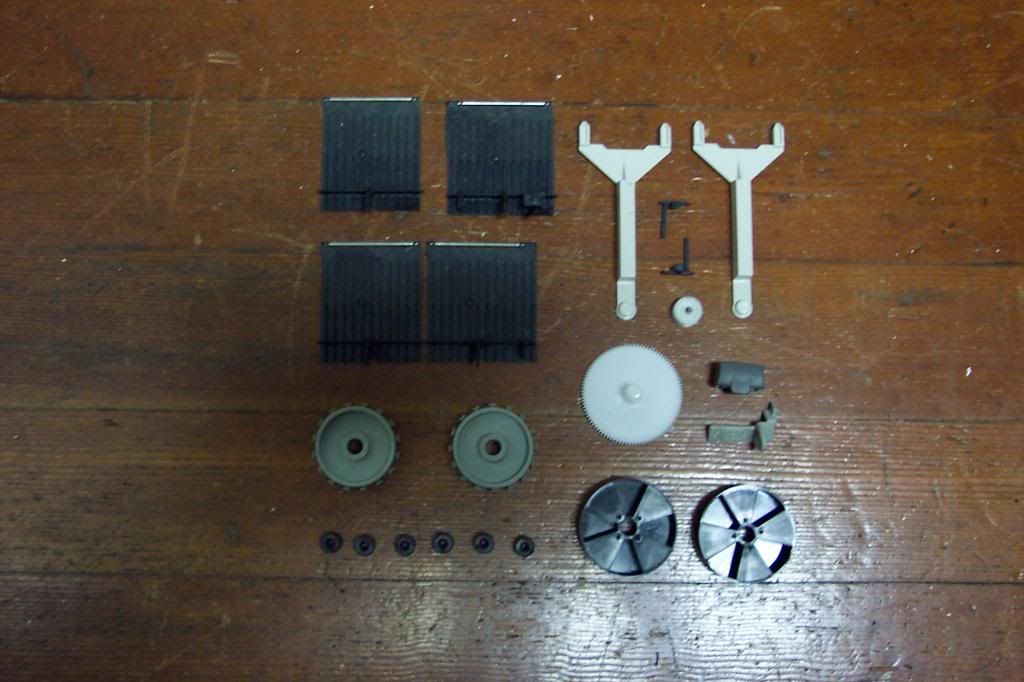
Weak. Even that junky Lexmark had more goodies in it than this.
Subscribe to:
Posts (Atom)