
I can't tell if this is an older machine, or a relatively recent one with retro or non-updated styling. I'm leaning toward mid 1970s, but I'm too lazy to look it up right now. Either way, it's a nice, simple design that looks like what it does.

This is the most uncluttered mechanism I've ever seen in a sewing machine. I don't think the picture does it justice. It's the same as popping the hood on a car from the 1960s versus a modern car. there's a sort of no-frills elegant simplicity to it.

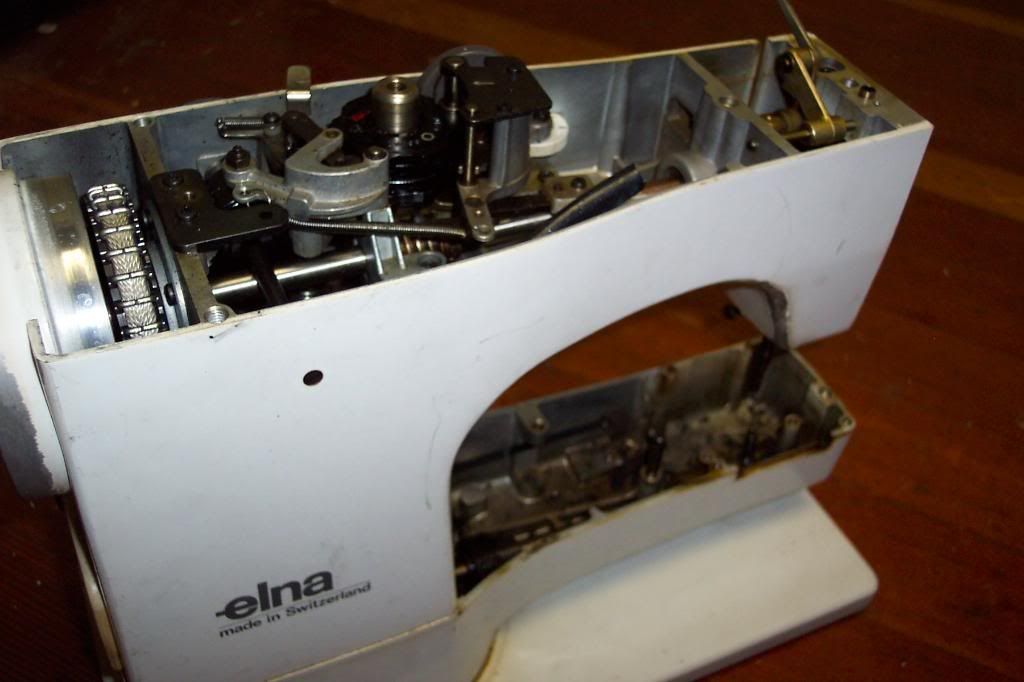
Removing the side panel (which I tried to do by prying until I realized there was another screw behind the Singer logo badge thing) revealed more parts, and another angle from which I could attack the screws and Allen bolts. There were a lot of parts that would actually yield to my efforts. Surprisingly enough, the two control dials wouldn't fully come out; I initially thought those would be some of the few things that would.

There were even a few things to remove underneath the bottom panel. And, yes, that is a pile of my shoes in the background.

For a sewing machine, that's a mighty pile of parts. The main parts of the mechanisms didn't come off, but I was amazed at how many little ones did. I seem to recall taking another Singer apart that looked similar, but I don't remember it giving up so many of its guts. Maybe it was a different model, or I just got lucky with this one. Also, it looks like I need to be a bit more careful with the camera; this picture is a little fuzzy and washed out, even for my fairly lax standards.

The final trophy pile is considerably smaller than the total amount of parts I took off, but not bad for a sewing machine. Why bother with the front panel? I like the texture of the design on the plastic.
ADDITIONAL NOTE: On the off chance anyone besides me reads this, I'm going to be out of town for a few weeks, so no new entries until around mid-January. However, I do plan to try to fix the crappy formatting on the previous entries.
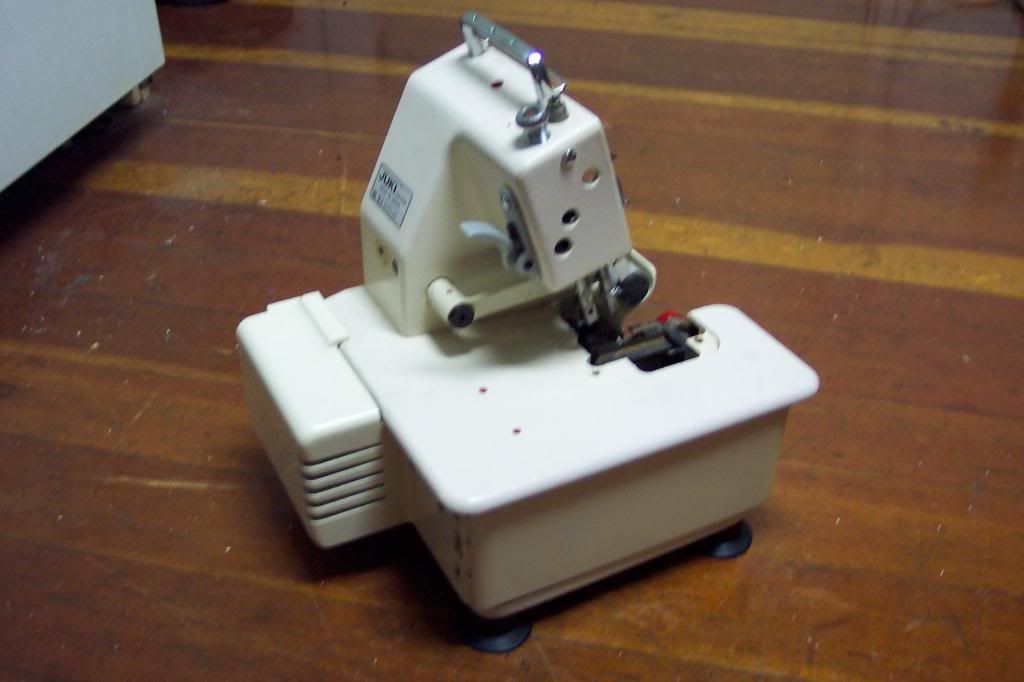
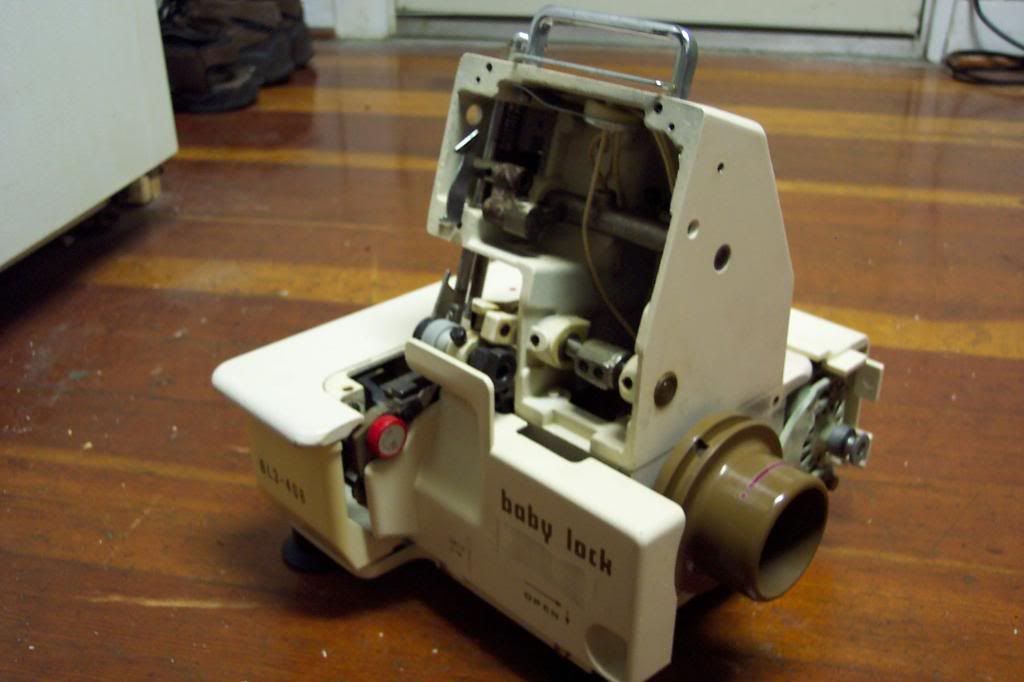
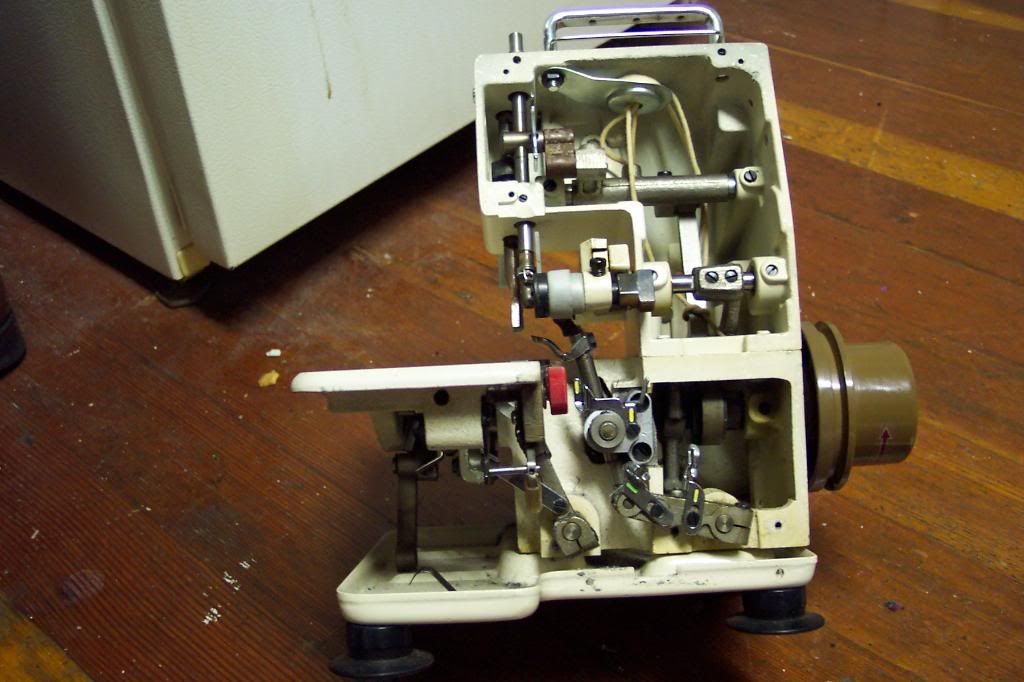 Here's a shot of the innards. Like so many sewing machines, there are plenty of fasteners that won't come undone, taunting me with the little parts they hold in place.
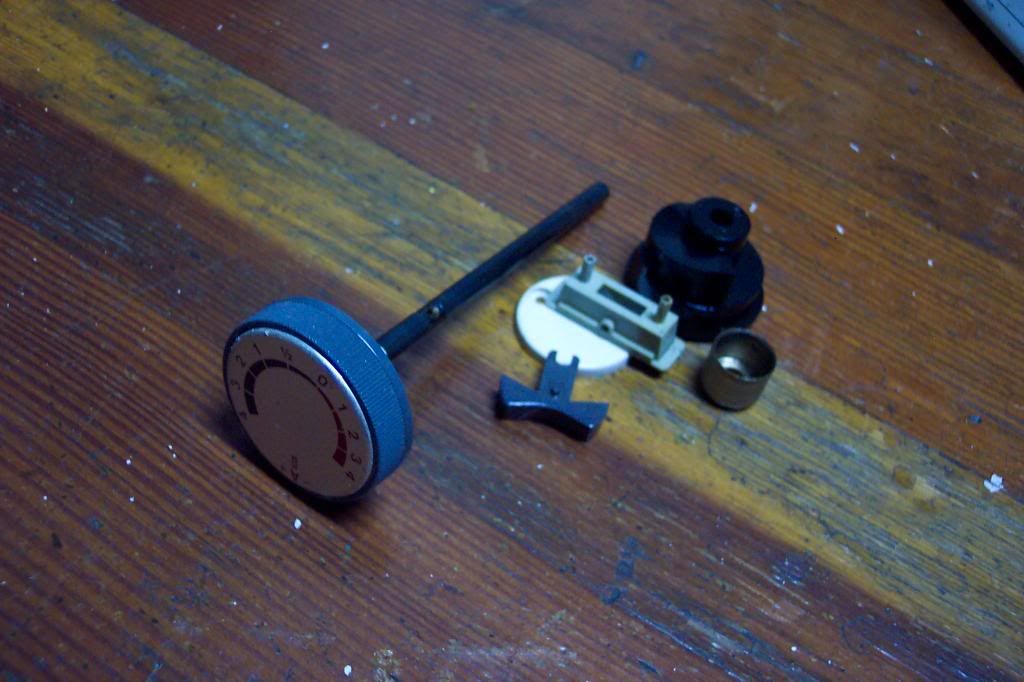
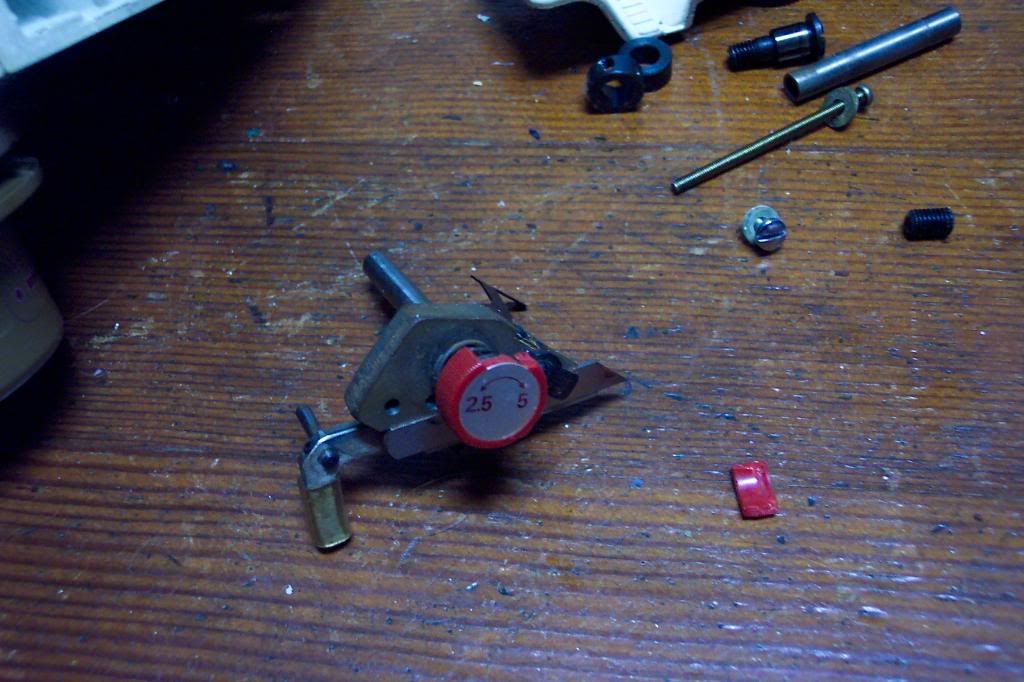 I really wanted that red dial. There's nothing special about it on its own, but the 418 has one just like it, and having two of something appeals to me a lot more than having just one. It's just more symmetrical that way. Anyway, the dial didn't yield to gentle pressure, so I applied more force and ended up breaking it. The plastic was kind of brittle. Oh well.
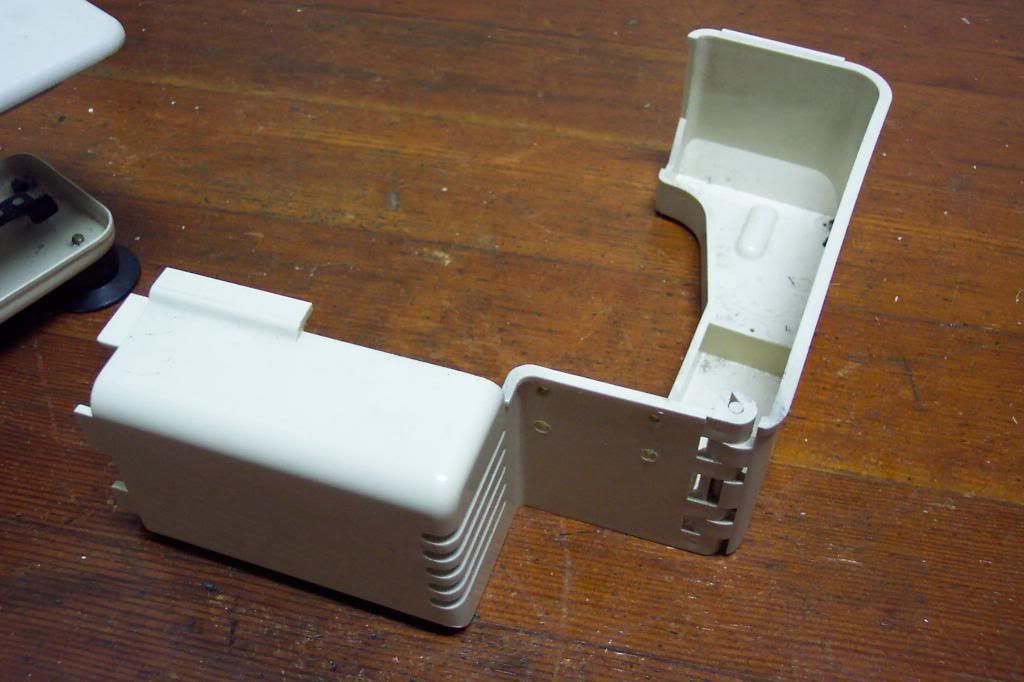
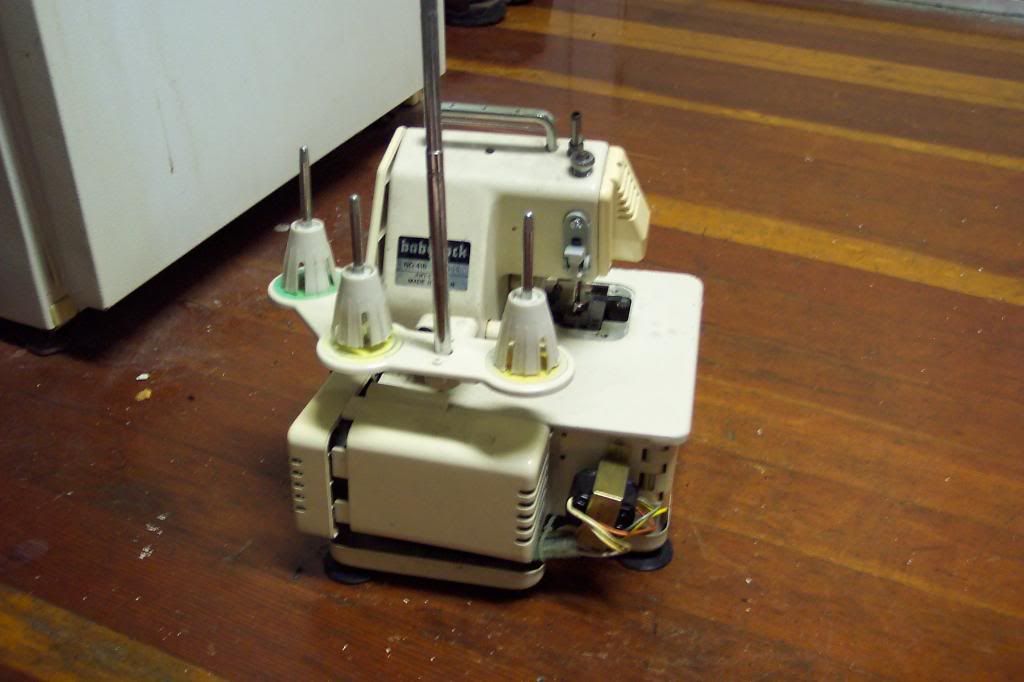
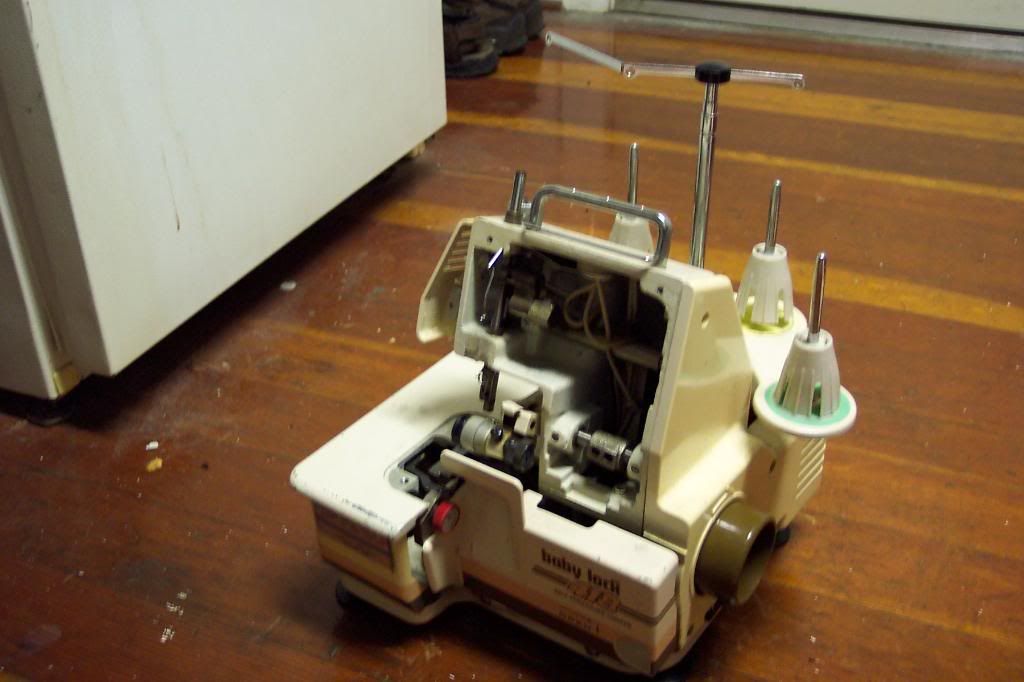
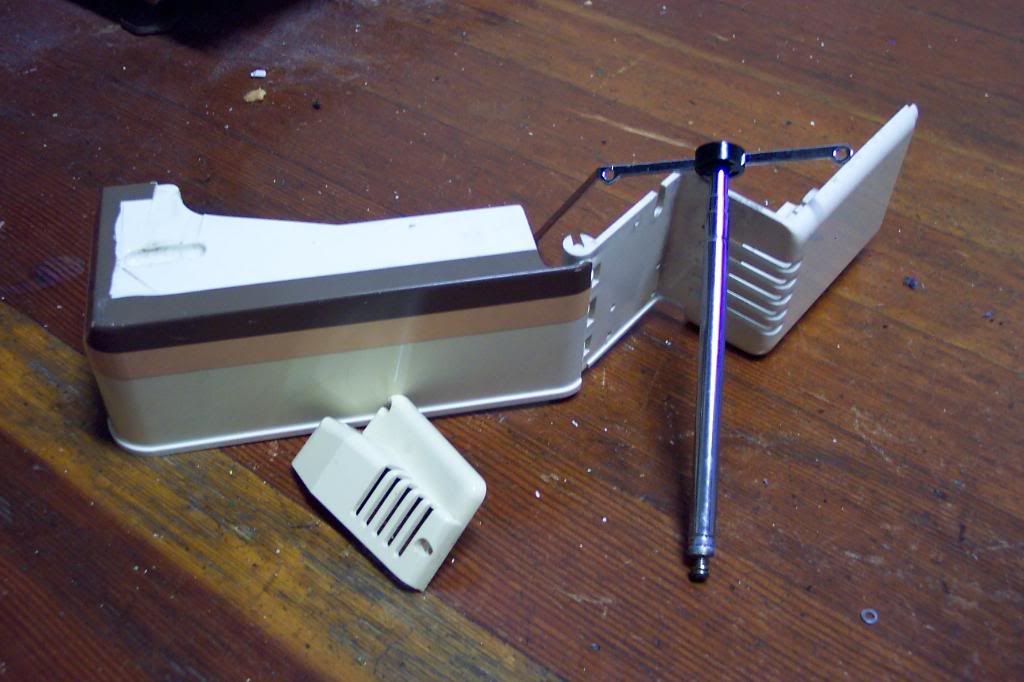
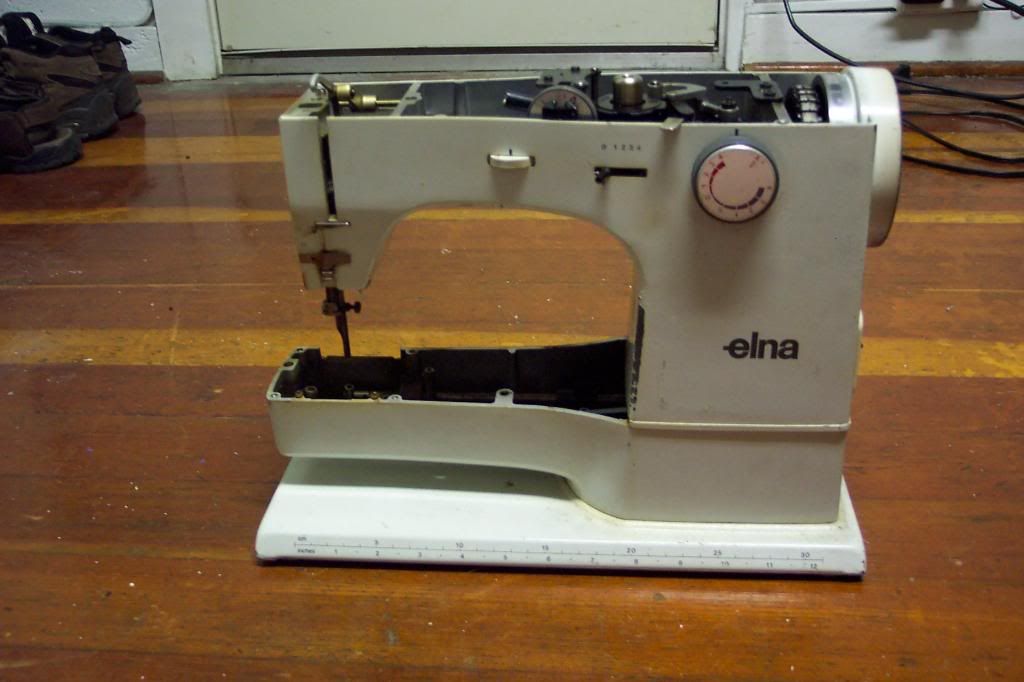 First of all, it's a sewing machine, and as I said before, sewing machines often don't lend themselves well to disassembly. Not with my limited tool set anyway. Secondly, it's only most of a sewing machine. It was already picked pretty clean when I got it. When I grabbed this one, I felt sort of like the slow vulture at the carcass.
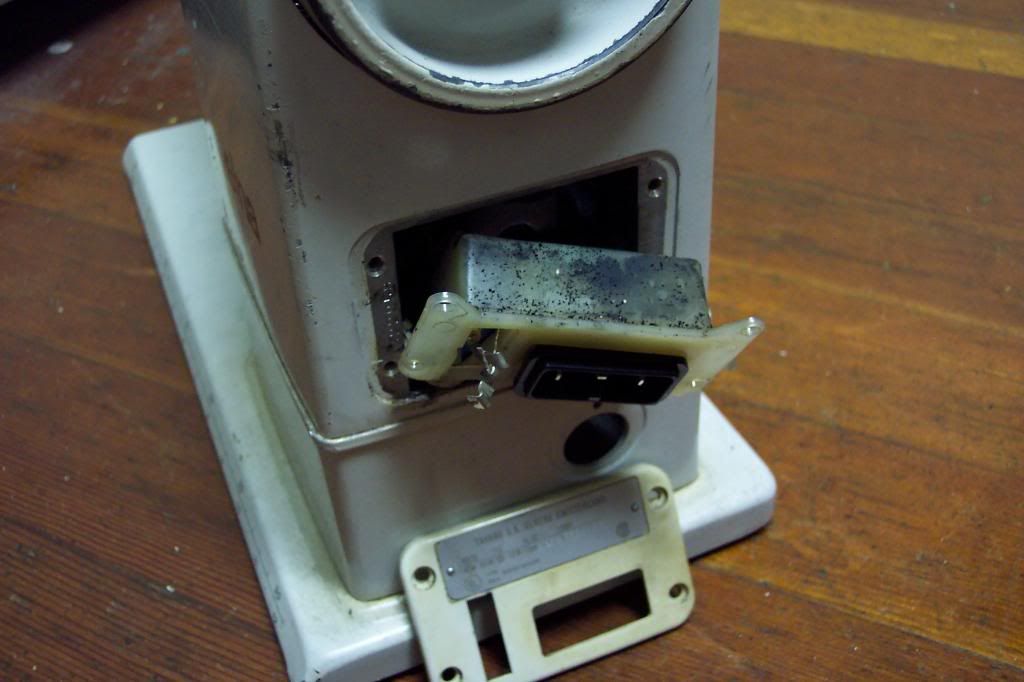 Most of the screws I could actually remove were on the back of the machine, holding that plate over the switch box.
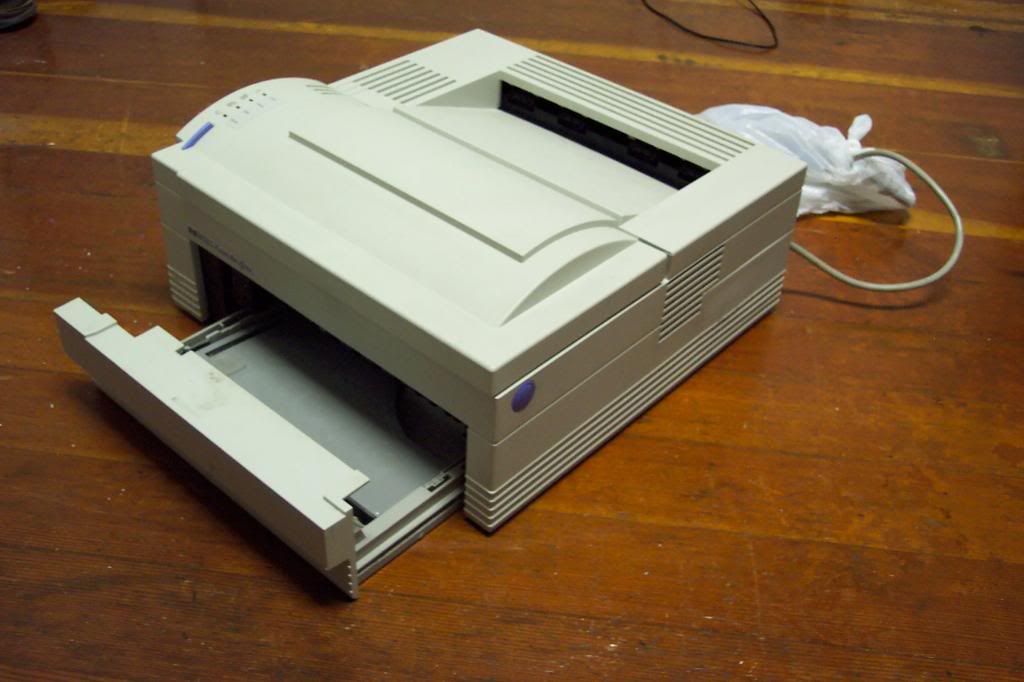 I really like scrapping printers. By their nature, they have to have a certain number of mechanical parts; you can't move a sheet of paper from one tray to another with a printed circuit board. And the parts are usually in 'layers,' for want of a better word. Removing a panel or circuit board often opens up a new set of parts.
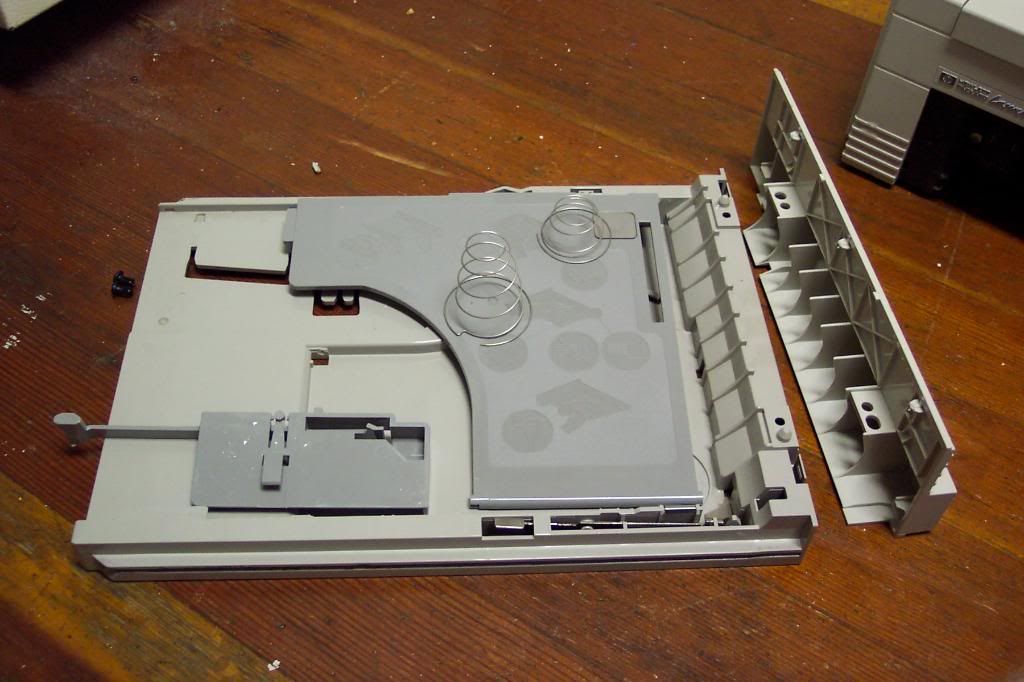 I disassembled the paper tray just because I could, not because there were any parts of practical use or visual interest. It's just another activity on the Dead Printer Playset.
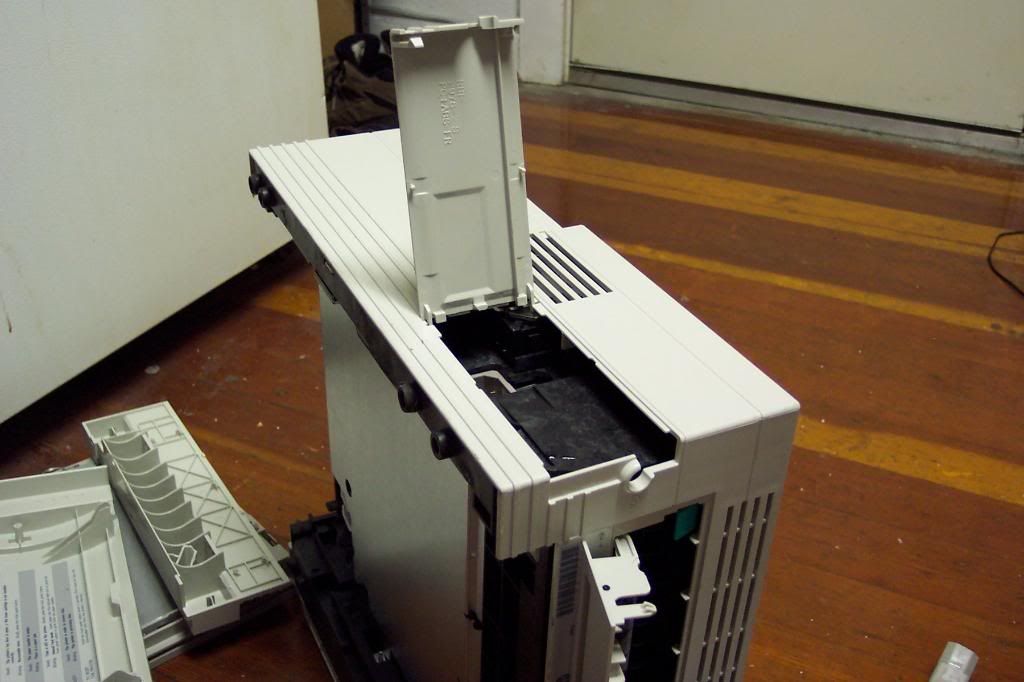 This access panel alows you to remove the cord, presumably for storage purposes, without having to take it directly off of the circuit board. Rather convenient, actually, though I'm going to be getting to the board anyway.
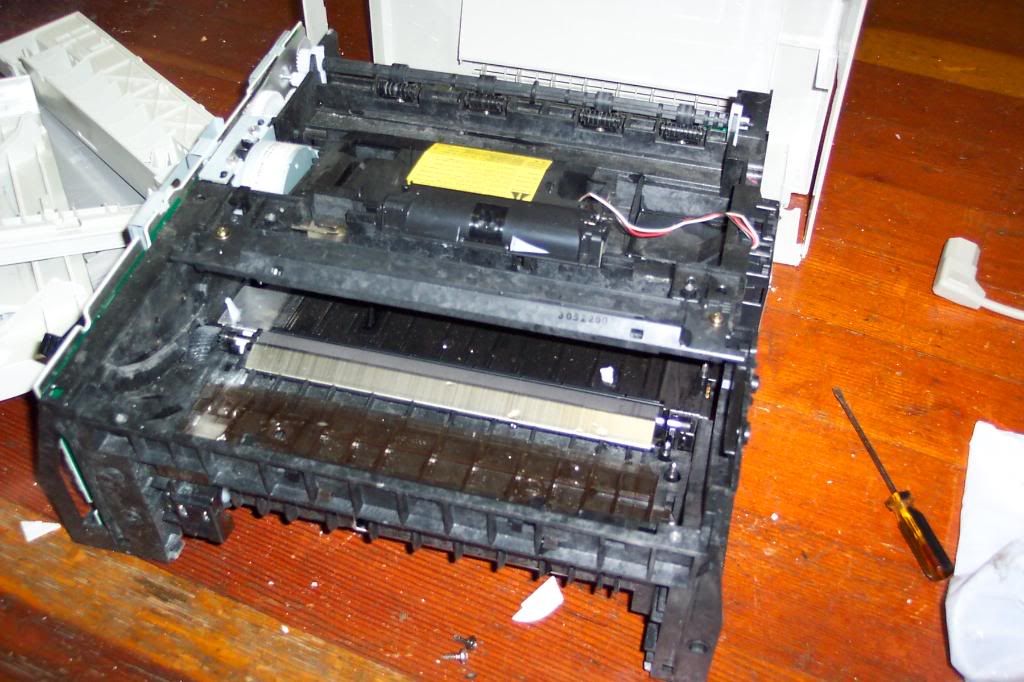 Here's the naked printer, without it's housing. The camera flash washes out the detail, but you get the idea. Notice the couple of shards of plastic toward the bottom of the photo. Printer housings are generally a pain to get off, and chucks inevitably get broken off in the process, but the plastic was unusually brittle. It's ABS plastic, which usually has more give than this. Even if this printer was sitting on front of a window, I can't imagine the UV degrading the plastic to that degree.
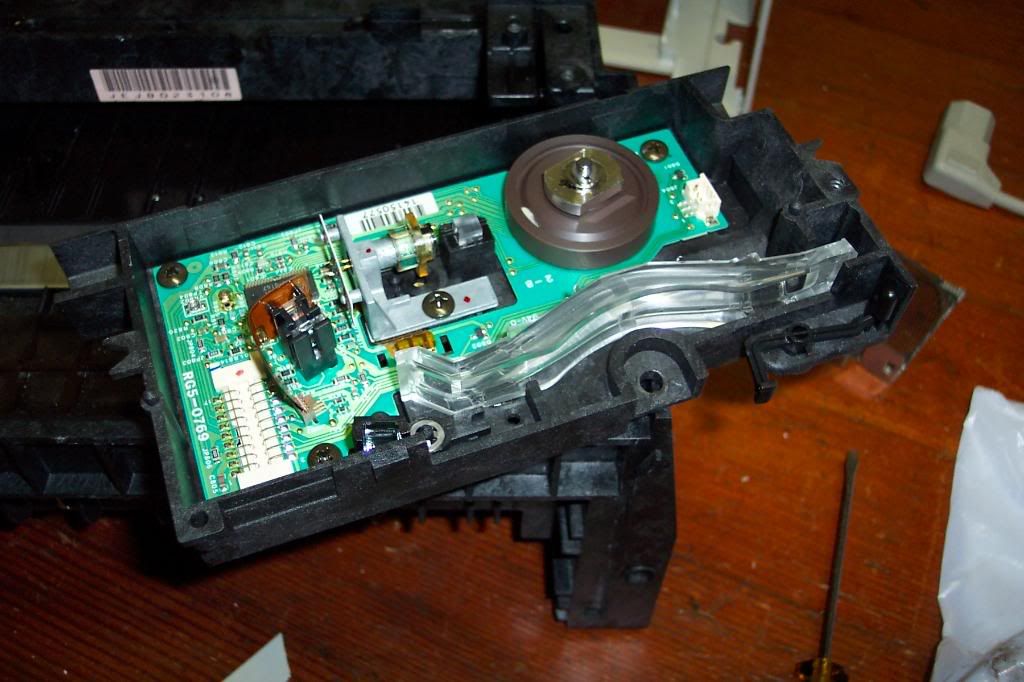
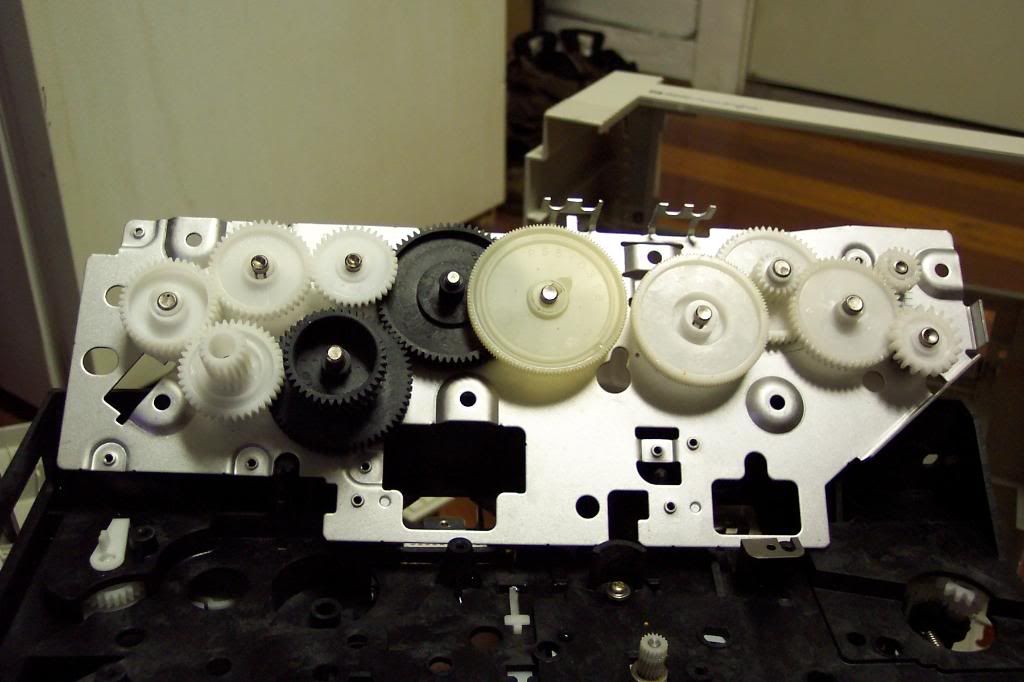 The obligatory bank of gears. And like most printers, only about two-thirds of them come off without damage, if they come off at all.
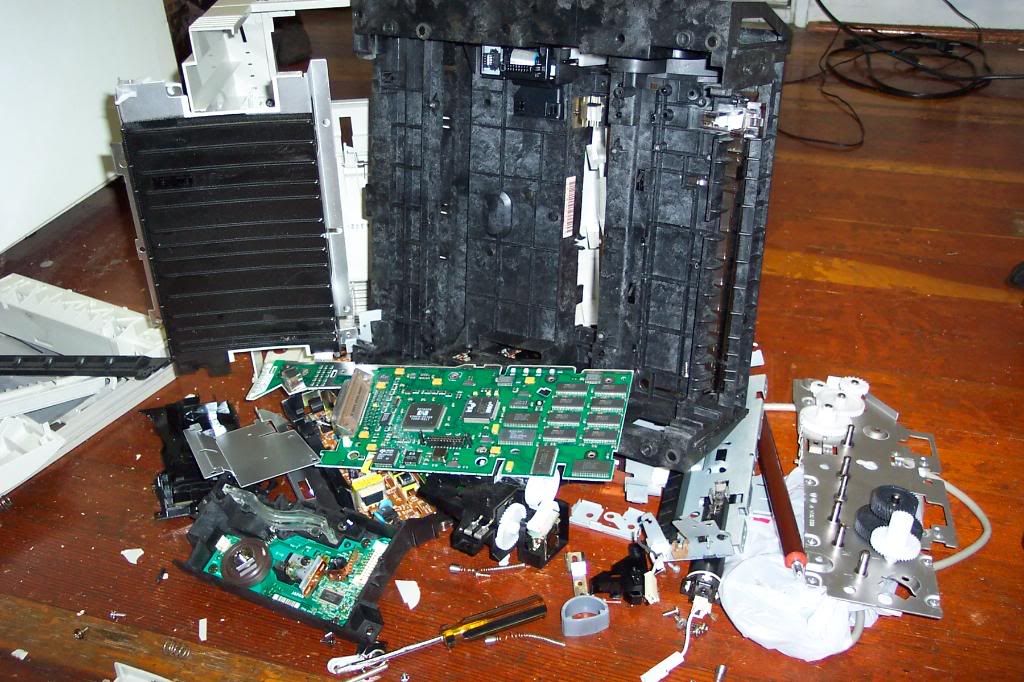 Behold the mess I made! Not that I'm usually precise or organized about scrapping, but after a long stretch of lackluster disassemblies, I couldn't help but be somewhat reckless with this one. Sort of like a kid at Christmas.
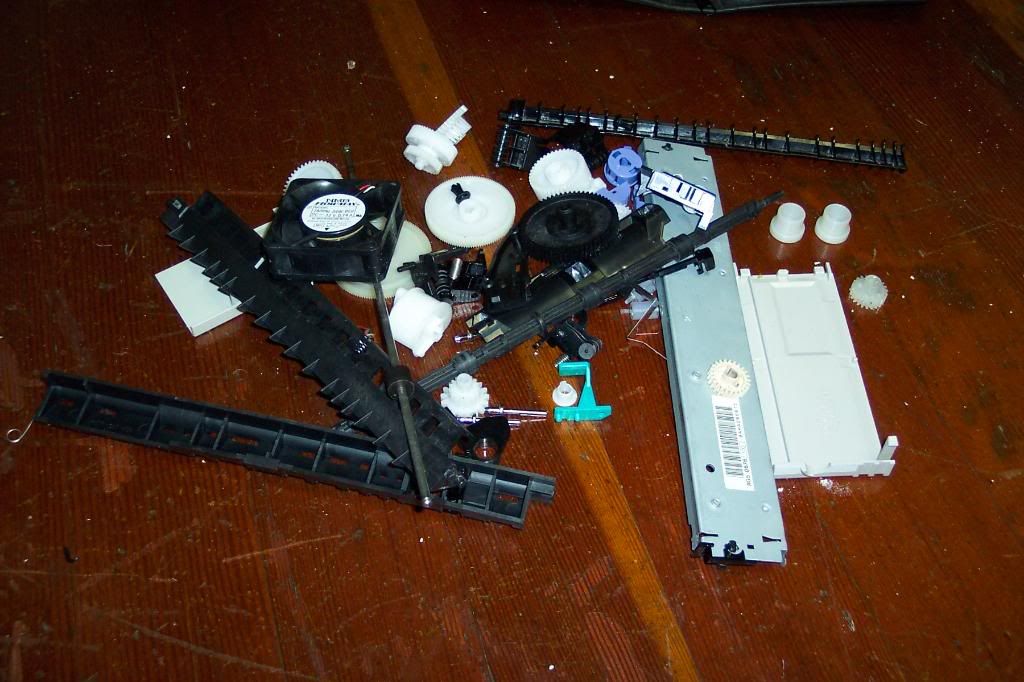 Now, that's a respectable trophy pile.


