I chose to do a write-up of this on the Saturday before Halloween because it was as close to thematically appropriate as I could get. You know, a dead media format. Yeah, it's a bit of a stretch, but until someone throws out a PKE meter or proton pack, it's probably as close as I can come.
Okey, let me get this out of the way: Holy crap, it's a Betamax player! I've never even seen one of these up close, let alone had a junker to take apart. And how I found it is kind of weird too. It was just sitting in the grass outside the 7-11 on the corner, all by itself, with no other junk anywhere near it. It was upside down, with the unpainted steel bottom tricking me into thinking it was some sort of traffic monitoring device at first. It was only on the way back home that I decided to flip it over and see what it actually was.
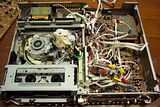
To my non-engineer's eye, all the parts inside look familiar, yet slightly askew, like a fast food franchise in a foreign country. That makes sense, I guess, since the process for playing both Betamax and VHS is basically the same. I honestly don't remember why this is the only picture of the inside that I took; I guess I didn't think about it until I was already done.
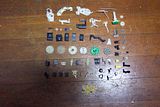
A pretty good assortment of parts, though none of them strike me as really eye-catching or otherwise interesting beyond where they came from. That could be a good thing, since I doubt I'll ever see another Betamax player.
Saturday, October 25, 2008
Saturday, October 18, 2008
New Home Memory Craft 6000 (x2)
It really wasn't long after I remarked in my first Memory Craft 6000 entry about how it was rare for me to find the same machine twice, and even rarer to find multiples at the same time, that I found these two machines. Yep, two more 6000s, and on the same night. I still maintain that this is a fluke, but if I'm going to find multiples of something, I could do a lot worse than these.
I've been sitting on this picture set for a while because I didn't know how to handle it with the blog. I basically had three options: 1) don't make an entry at all, since this make and model is already represented pictorially, 2) make another full entry as if this was the first time I had taken this make and model apart, or 3) write a shorter entry, highlighting any differences in procedure or part selection from the first disassembly. I opted for the last choice, since it's better to have more potential blog entries than fewer, in case of lean times, but making a new exhaustive entry is redundant.
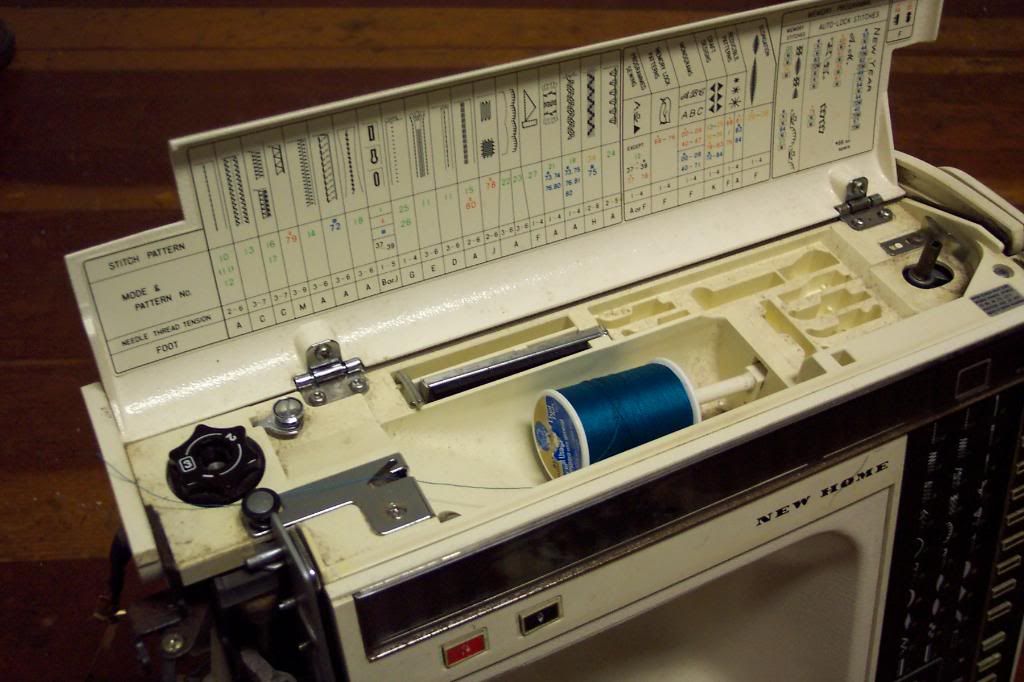
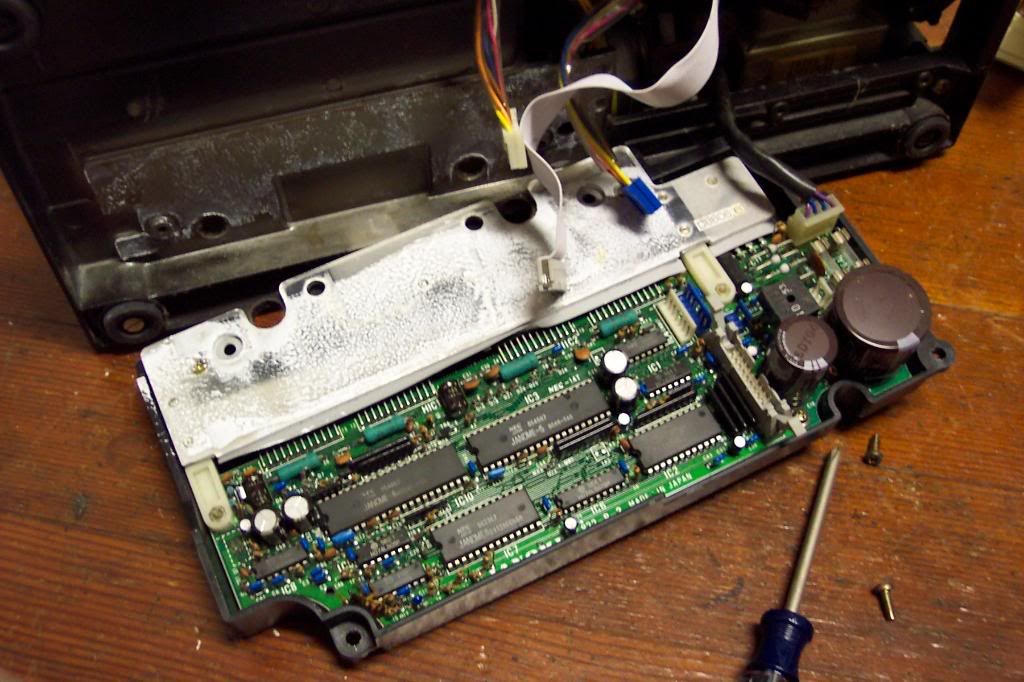
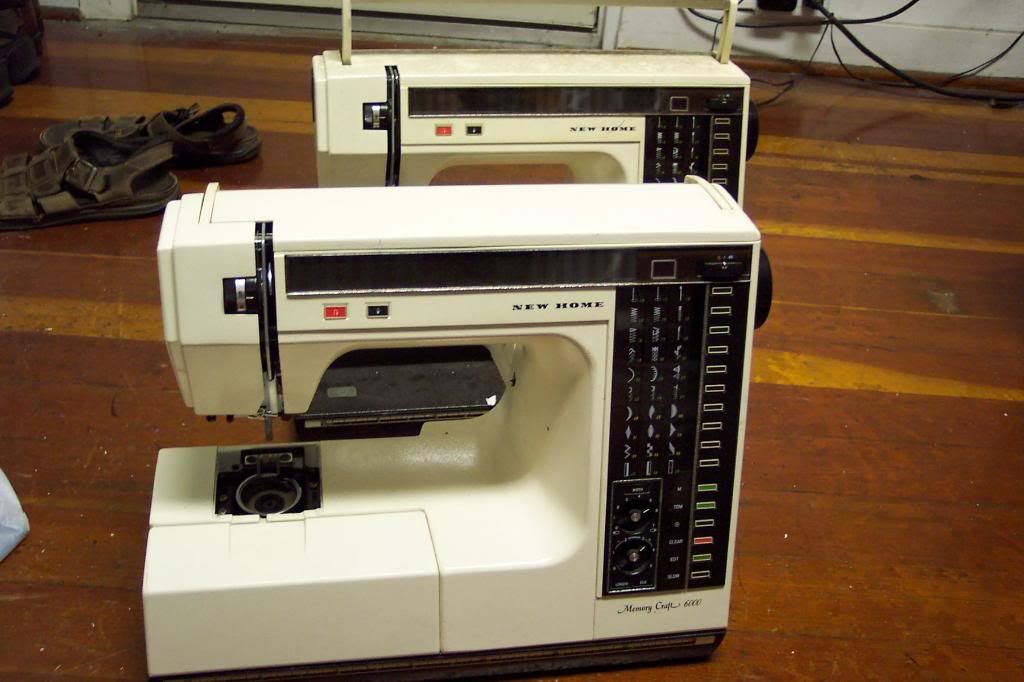
Here's the two machines still intact. I didn't bother to take many 'during' or 'after' pictures, since I think I covered that angle pretty well in the first entry, and there wasn't a whole lot of differences in procedure. I will note, though, that I remembered about that 'hidden' screw on the back panel, so that streamlined the process somewhat.
Hey, look. Free thread.
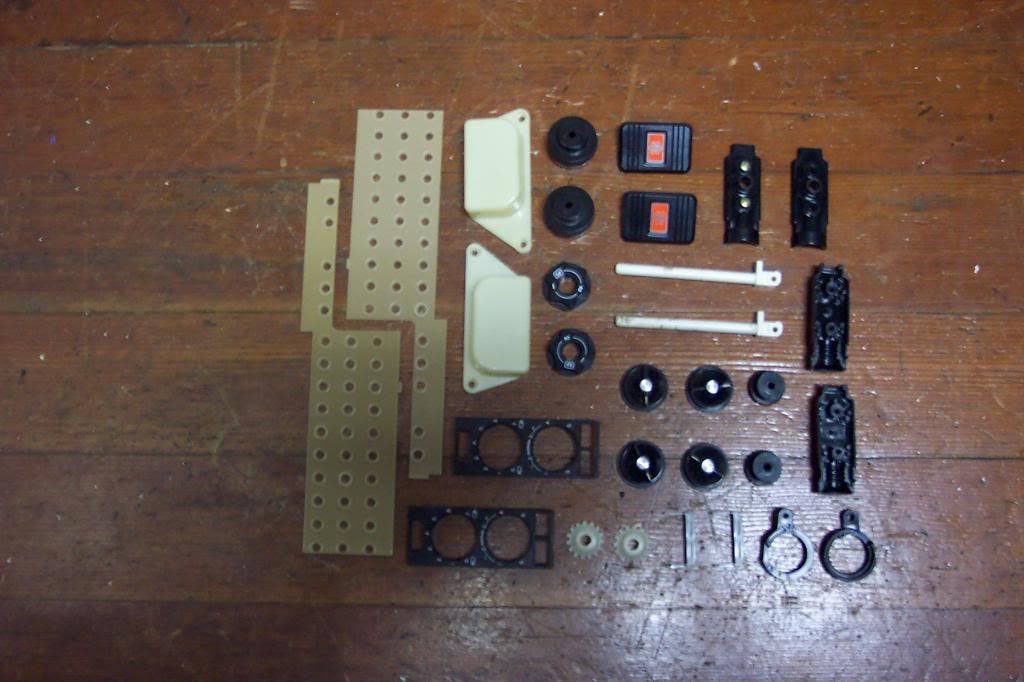
Parts selection was a bit different. The first difference was that I took more of the plastic wire connectors (I'm blanking on the actual term) this time. They were easier to pull on these sewing machines, and I think I have an idea for what to do with them.
The other difference is evident in the trophy pile pictures. Note the lack of the big side panels, and clear sliding things. I decided that they weren't worth trying to find storage for them, and the ones from the last teardown might get thrown away next time I cull the collection. Speaking of storage, I now have so many of those buttons that they warrant having their own container now.
Saturday, October 11, 2008
Hoover Celebrity QS
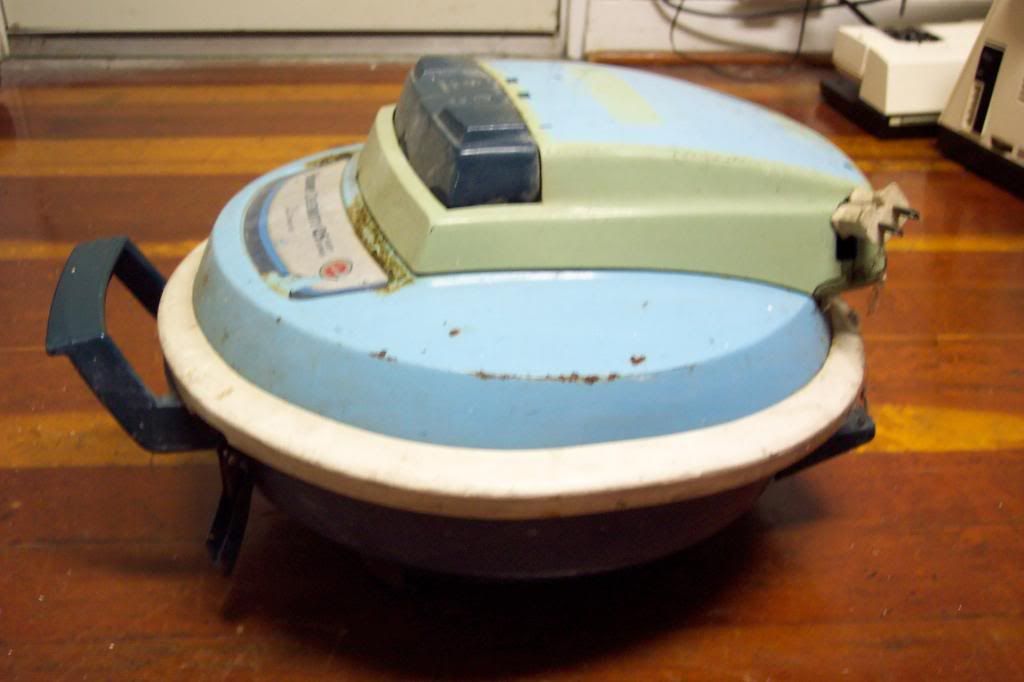
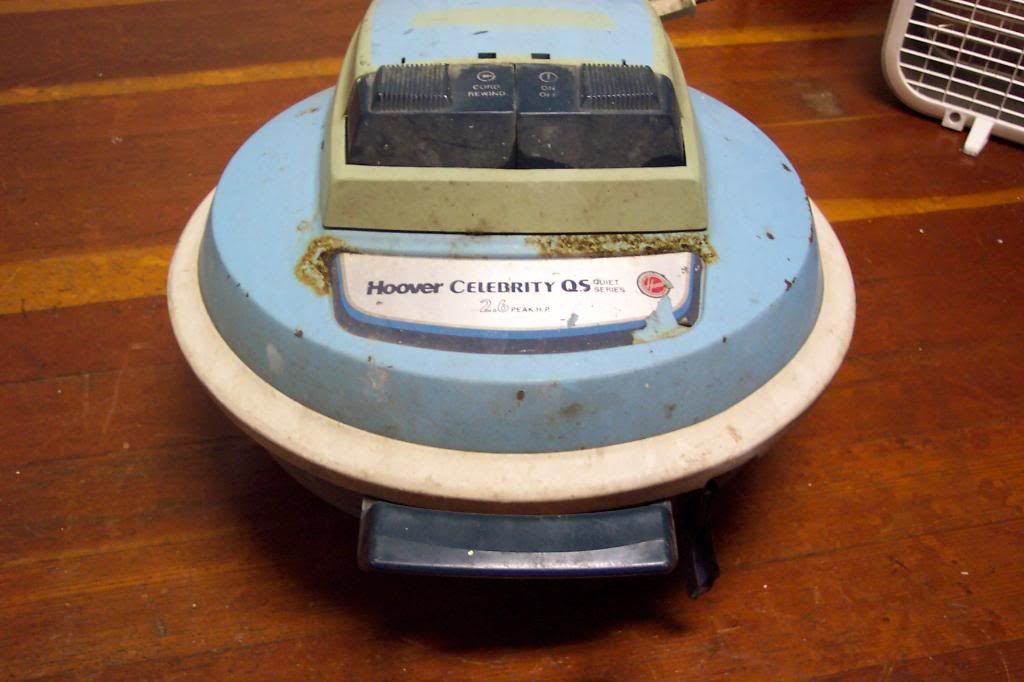
I picked this up less for any parts it might contain, and more because it was so damn weird looking. To me, it looks more like a waffle iron than a vacuum cleaner. A little research showed that this was probably made in the early to mid 1980s, which surprised me since this is made out of metal.
Vacuum cleaners usually boast about amperage, but I've never seen one advertise its motor in terms of horsepower. And to top that, it's more than a fraction of 1 horsepower.
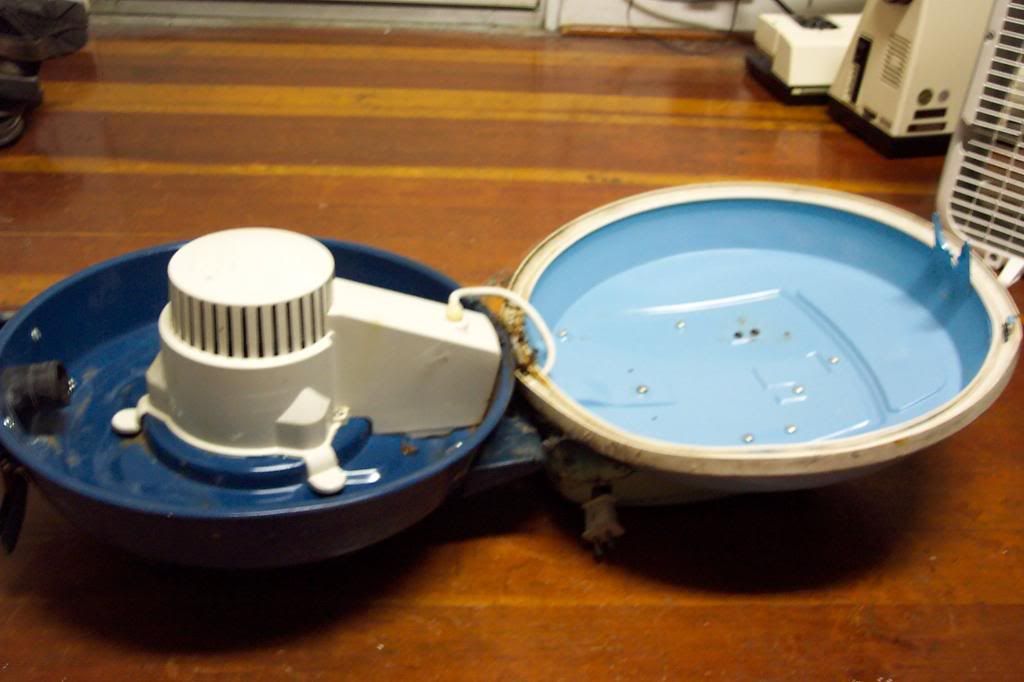
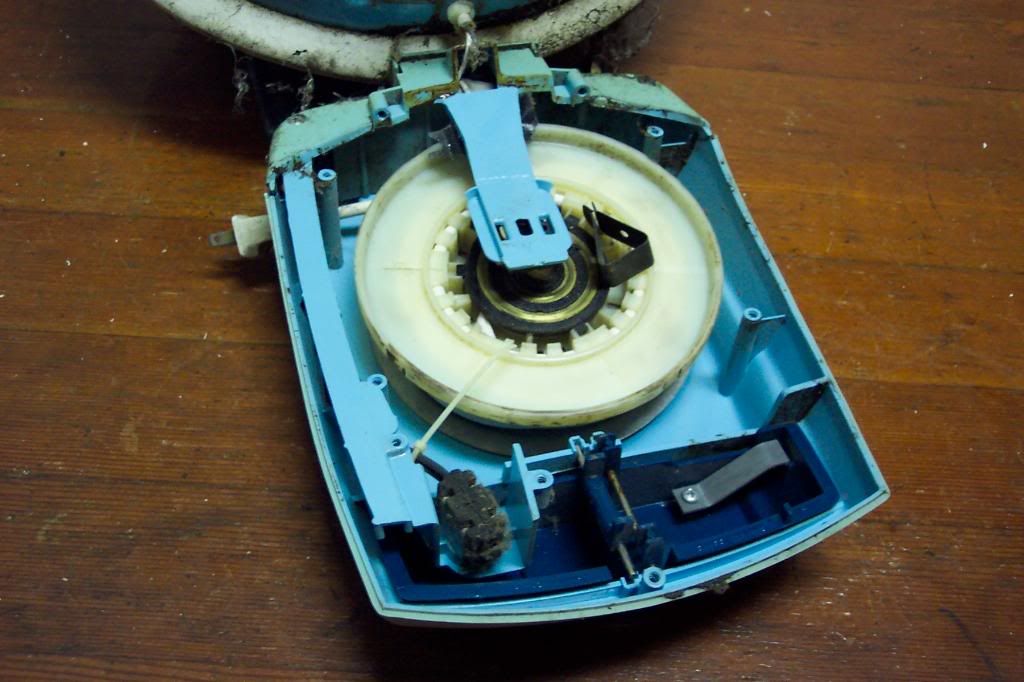
The inside is pretty weird too. As far as I can tell, there's no place for a bag or a filter or anything like that. The dirt just swirls around the inside, I guess. I wonder if there was a problem with crap getting into the motor.
The controls were extremely simple: on and off.
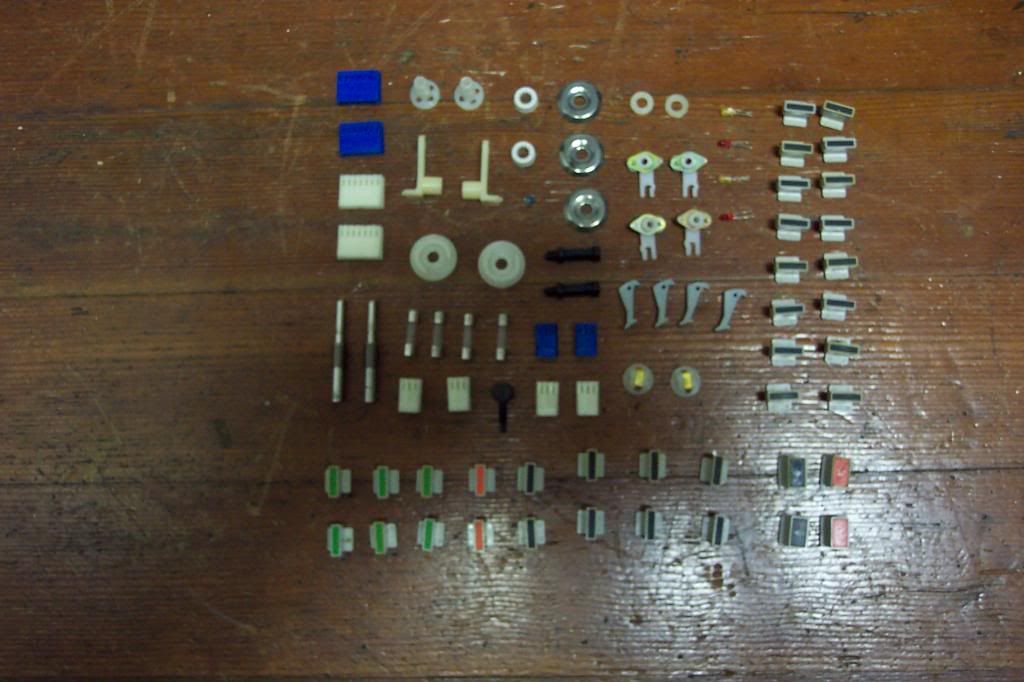
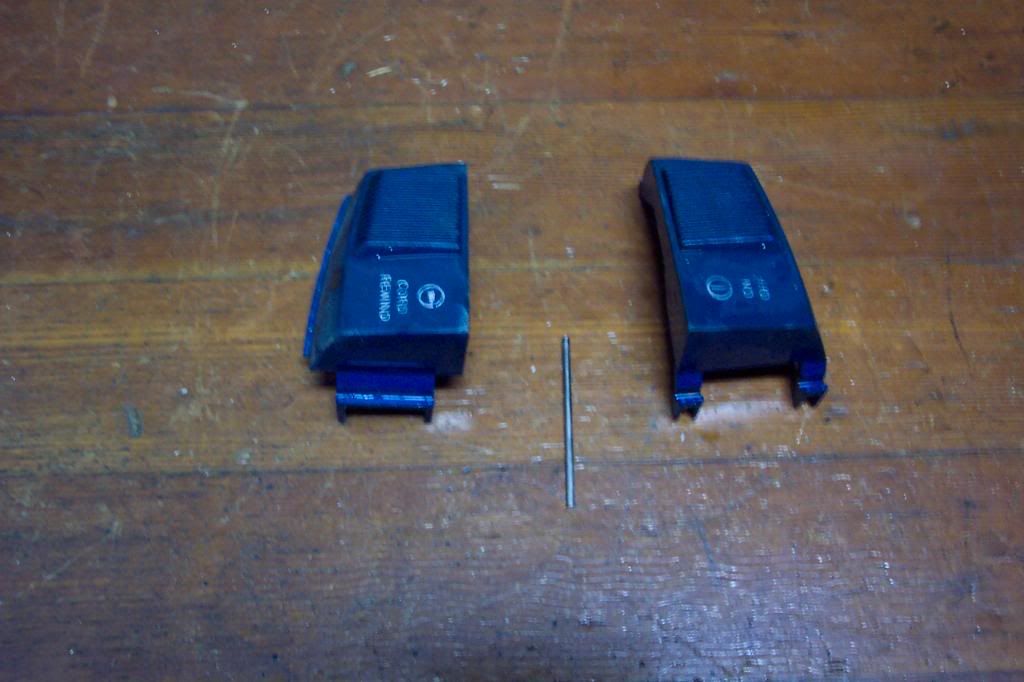
I only saved the button assembly, but like I said, this teardown was more for the novelty of it than the parts.
Saturday, October 4, 2008
Nelco Model 6955 sewing machine
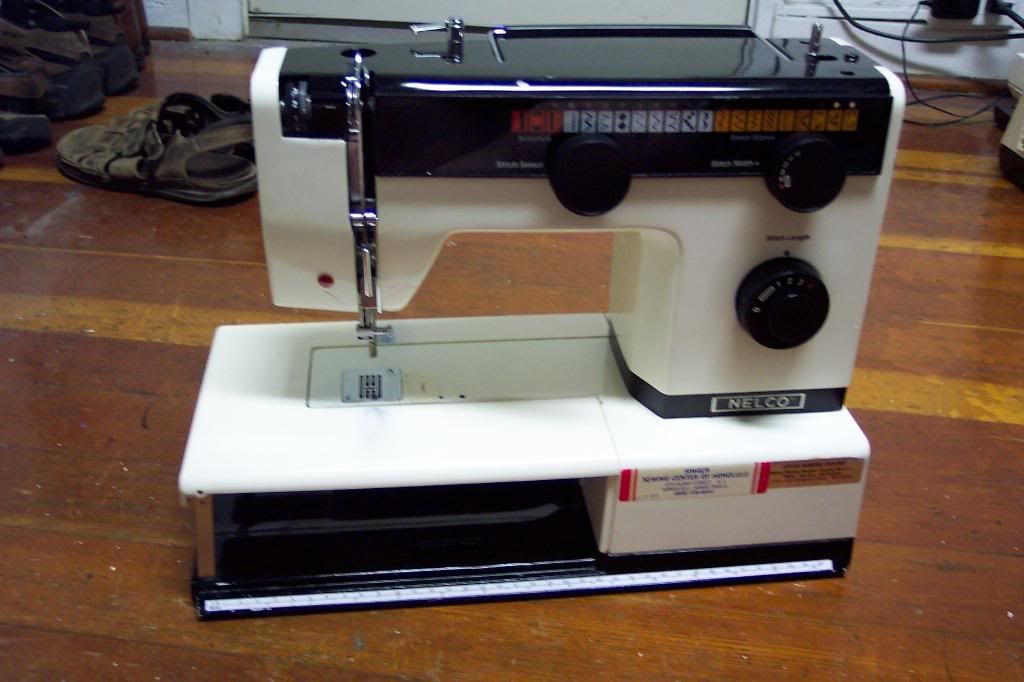
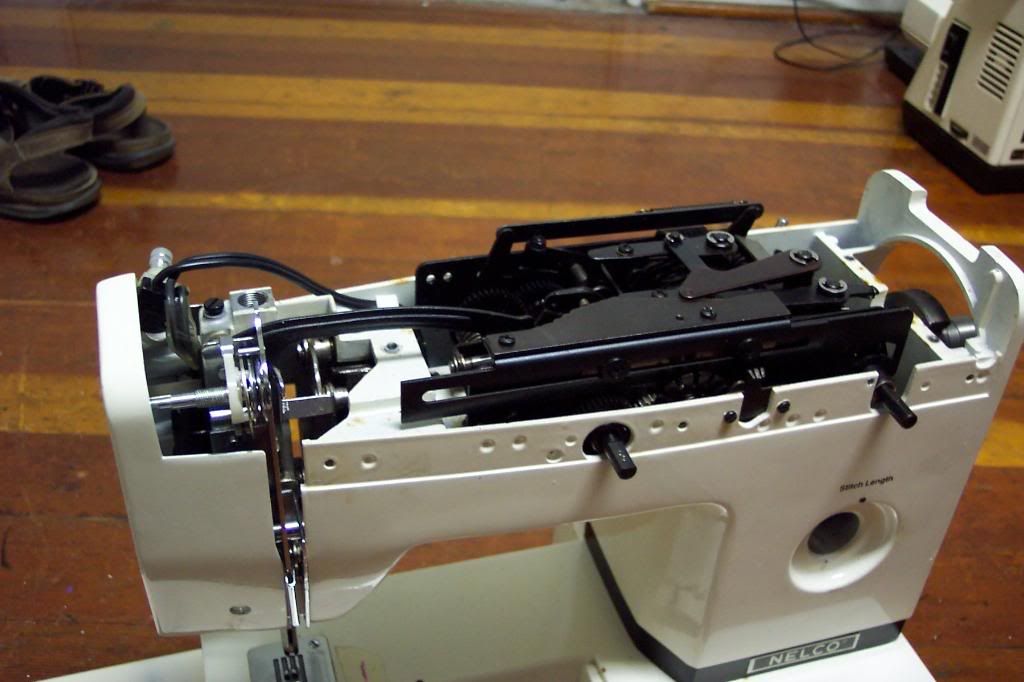
Before this one, I've never taken a Nelco sewing machine apart. And even after finishing with this one, I could still justifiably make that claim. Yeah, it was one those...
This was a pretty solid machine, mostly metal. The two-tone color scheme is sort of unusual. I kind of like it.
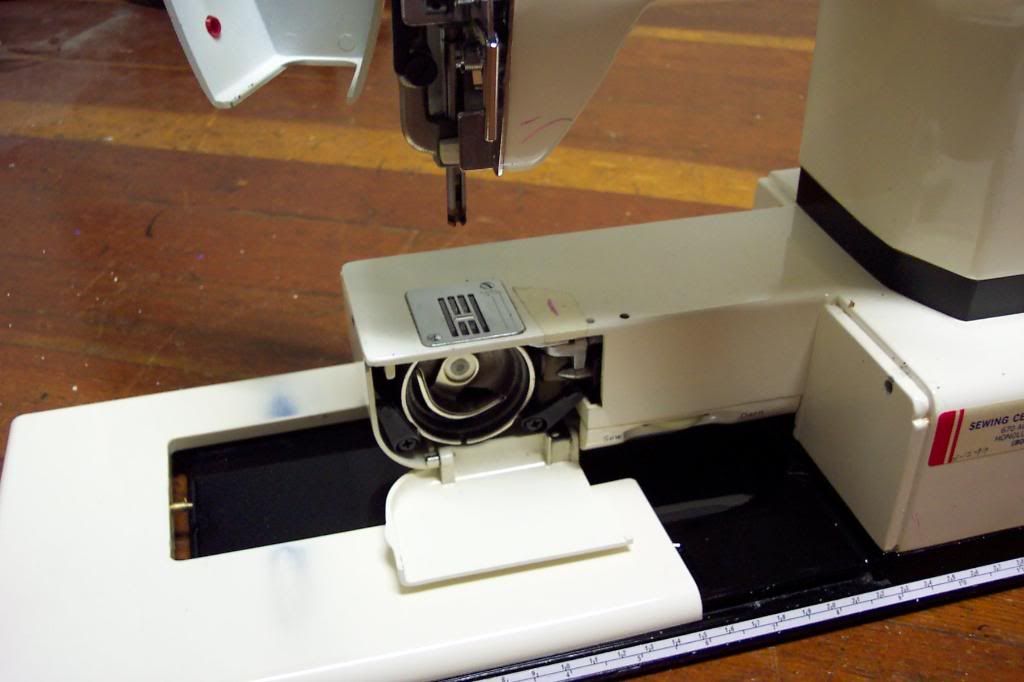
The fold down part here is kind of cool. I had never seen one like that, and when I accidentally folded it down at first, I though I broke it.
I wasn't able to go any deeper than this, especially frustrating because, as you can see, there are a couple of little gears tantalizingly close to extraction, but I just couldn't get at them.
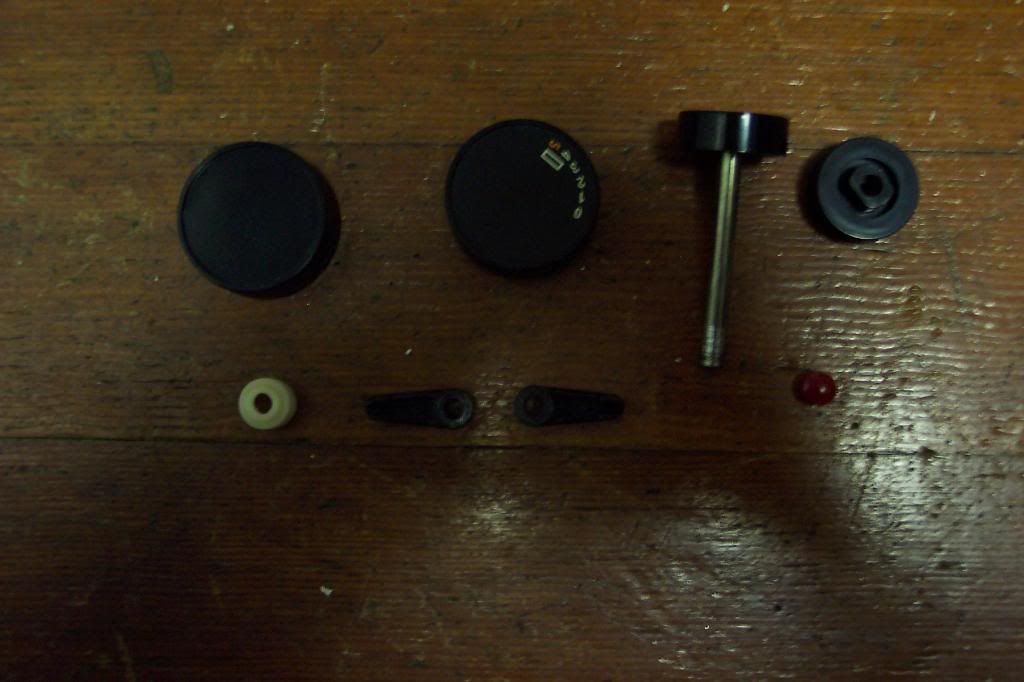
Kind of pathetic parts haul.
Subscribe to:
Posts (Atom)